To configure a Network Profile for wireless, perform the following steps.
- Log in to the JoinNow Management Portal.
- Navigate to Device Onboarding > Getting Started.
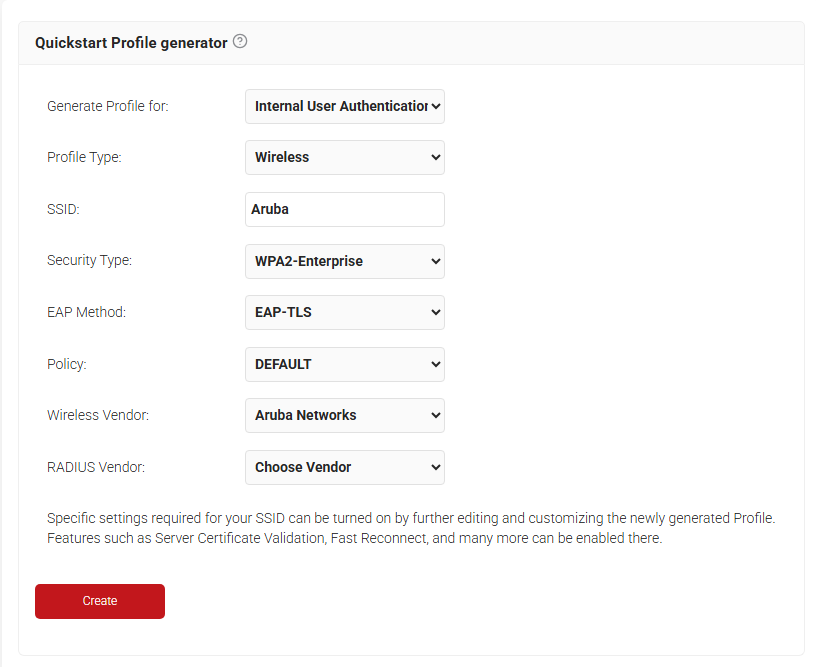
- On the Quickstart Profile generator page, from the Generate Profile for drop-down list, select Internal User Authentication.
- Then select Wireless for the Profile Type drop-down list.
- In the SSID field, type the name of a profile.
- From the Security Type drop-down list, select WPA2-Enterprise.
- From the EAP Method drop-down list, select EAP-TLS.
- From the Policy drop-down field, retain DEFAULT.
- From the Wireless Vendor drop-down list, select Aruba Networks.
- From the RADIUS Vendor drop-down list, select a RADIUS vendor.
- Click Create.

Follow the steps below to retrieve our RADIUS Server’s information:
- Log in to the JoinNow Management Portal.
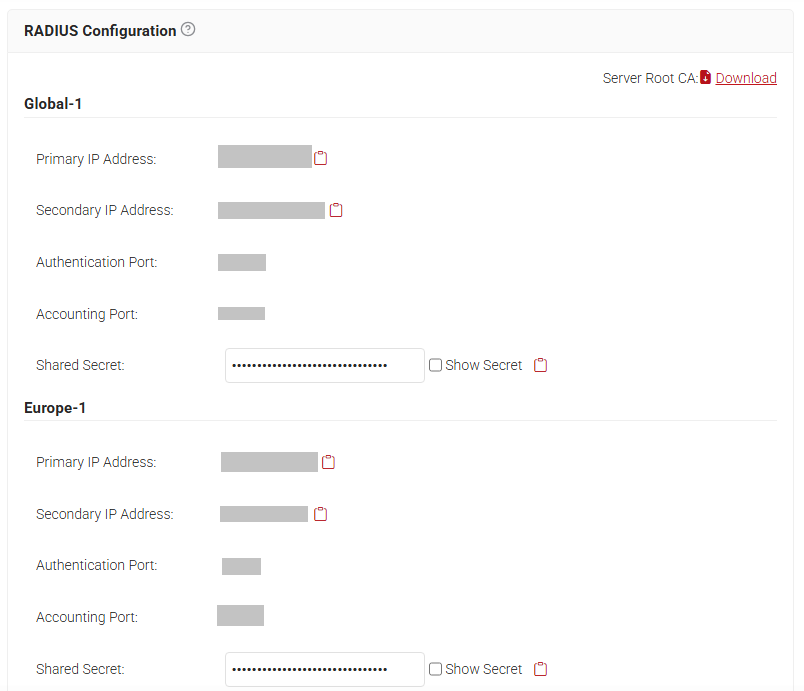
- Navigate to RADIUS > RADIUS Configuration.
- Copy the Primary IP address of your subscribed region to your console.

- Log in to the Aruba management portal.
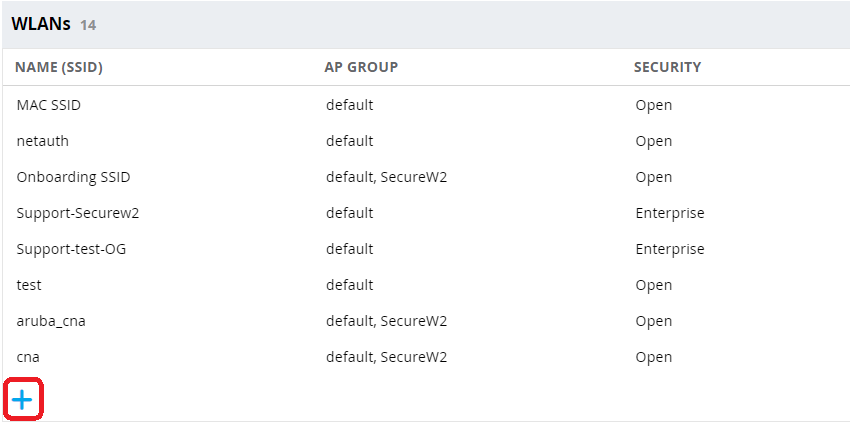
- On the left pane, navigate to Configuration > WLAN.
- Click the + icon to add a new WLAN.

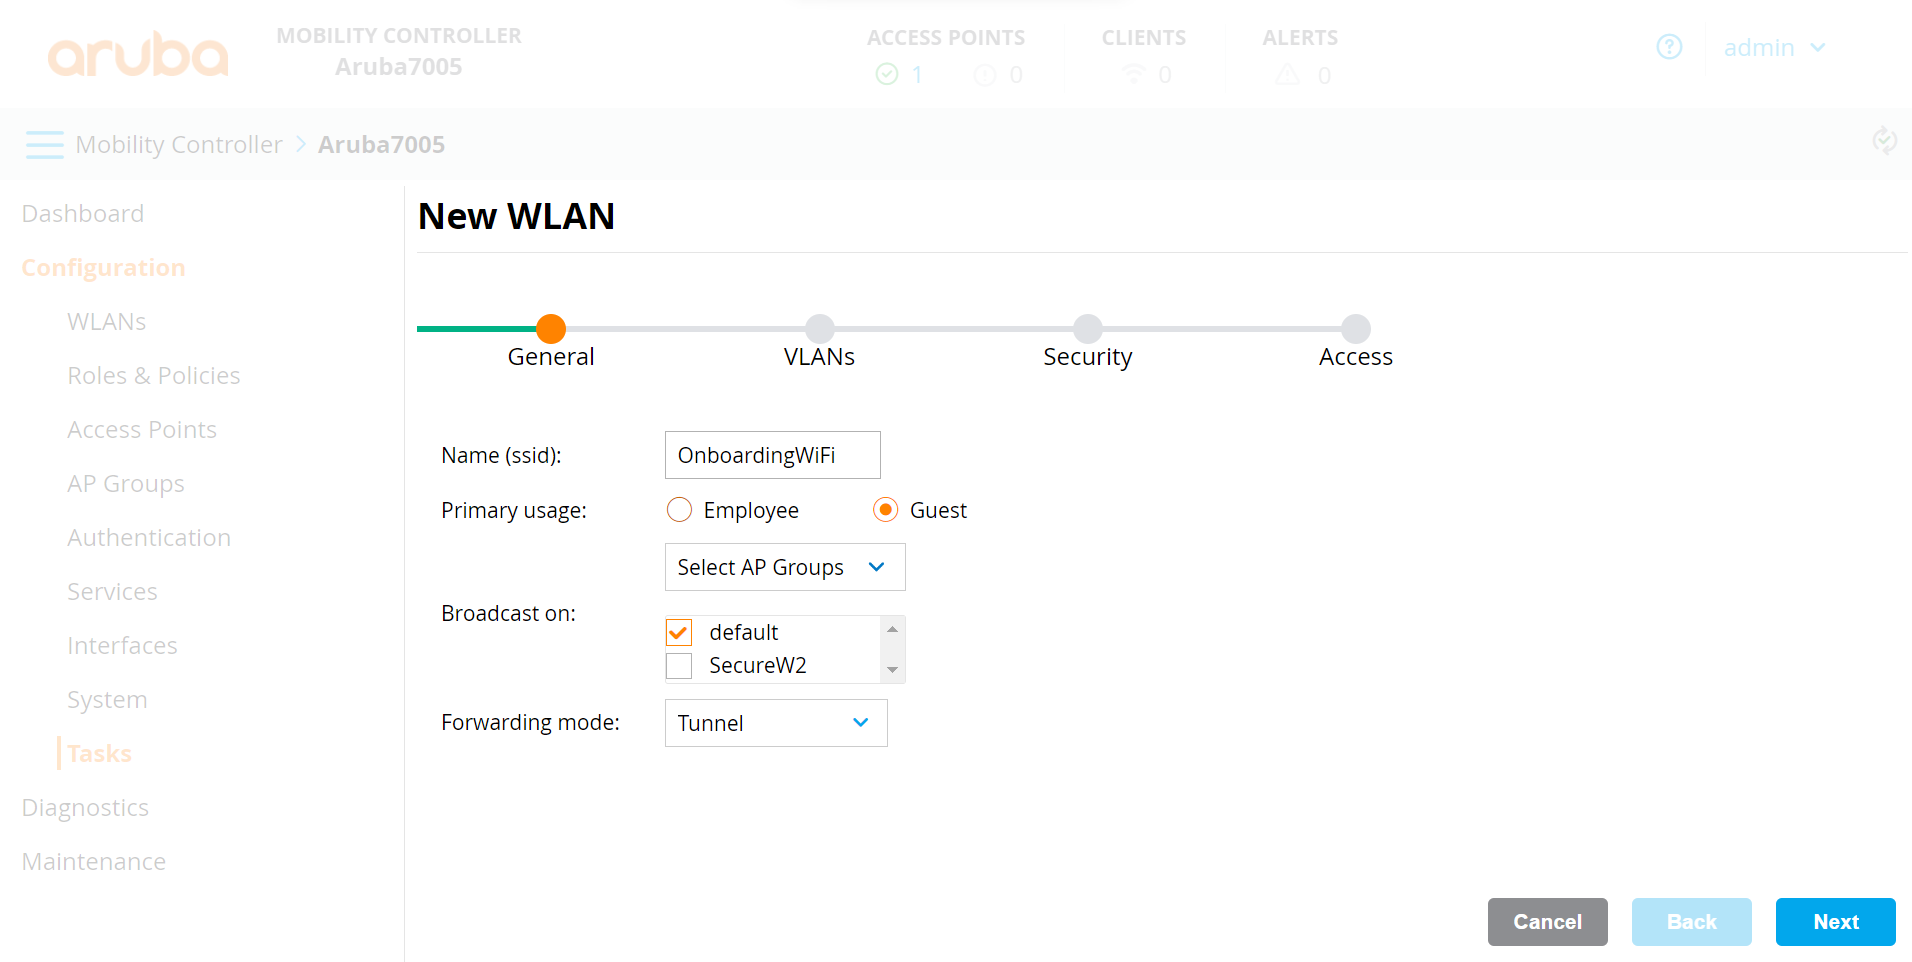
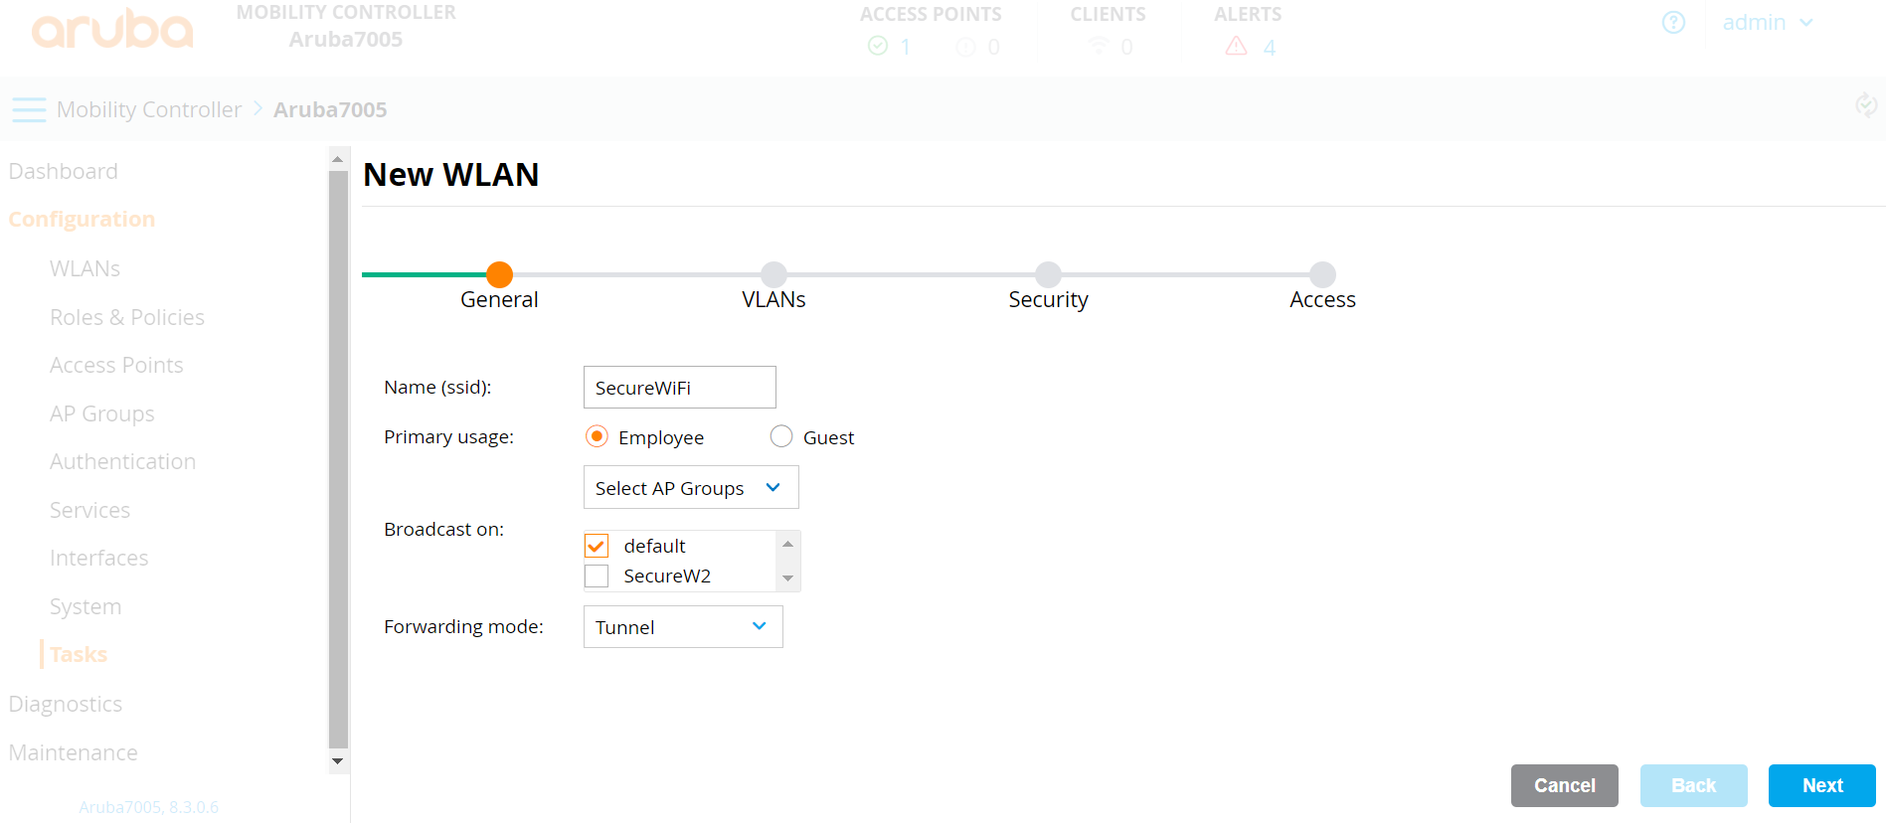
- On the General tab:
- In the Name (ssid) field, enter a name for the SSID.
- For Primary usage, select the Employee option.
- From the Select AP Groups drop-down list, select an option. According to the option, the Broadcast on list is displayed. Select the default option.
- From the Forwarding Mode drop-down list, select an option for client traffic.

- Click Next.
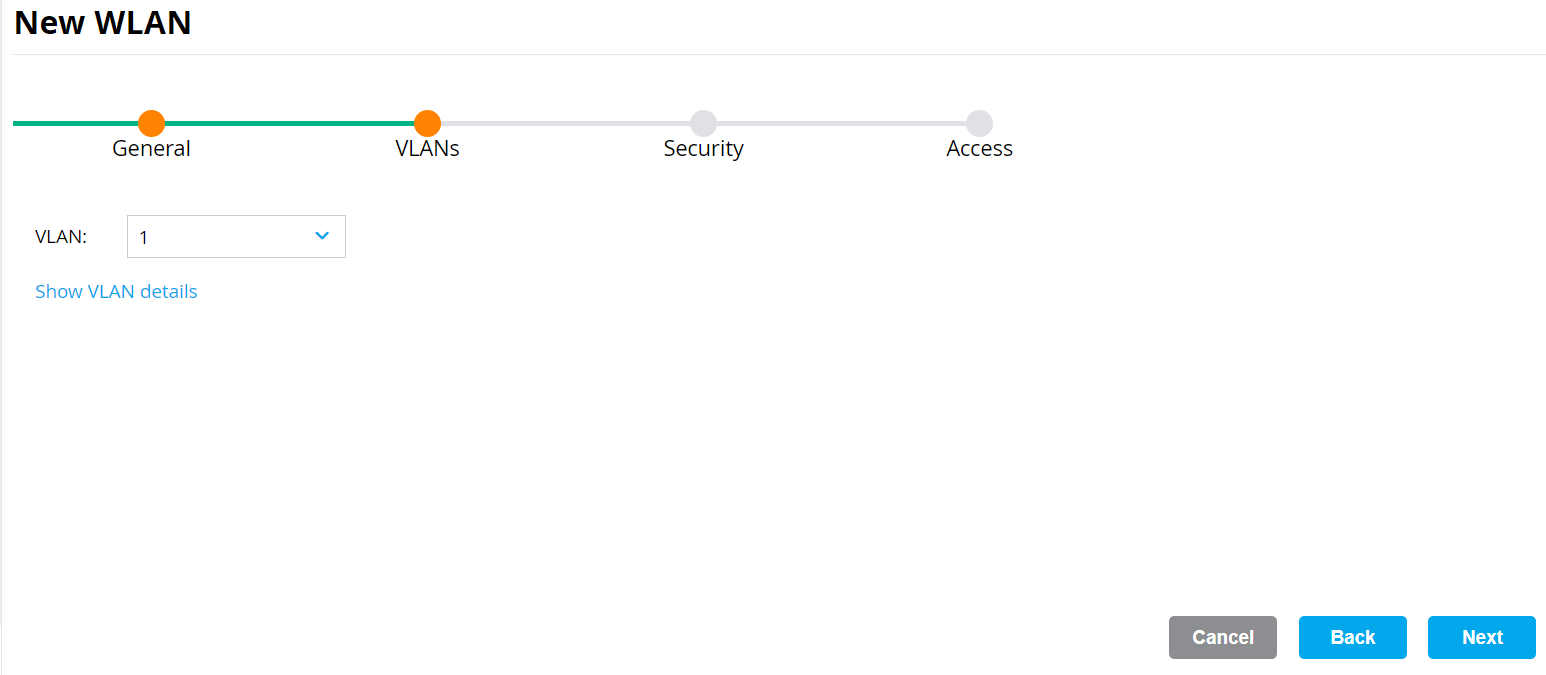
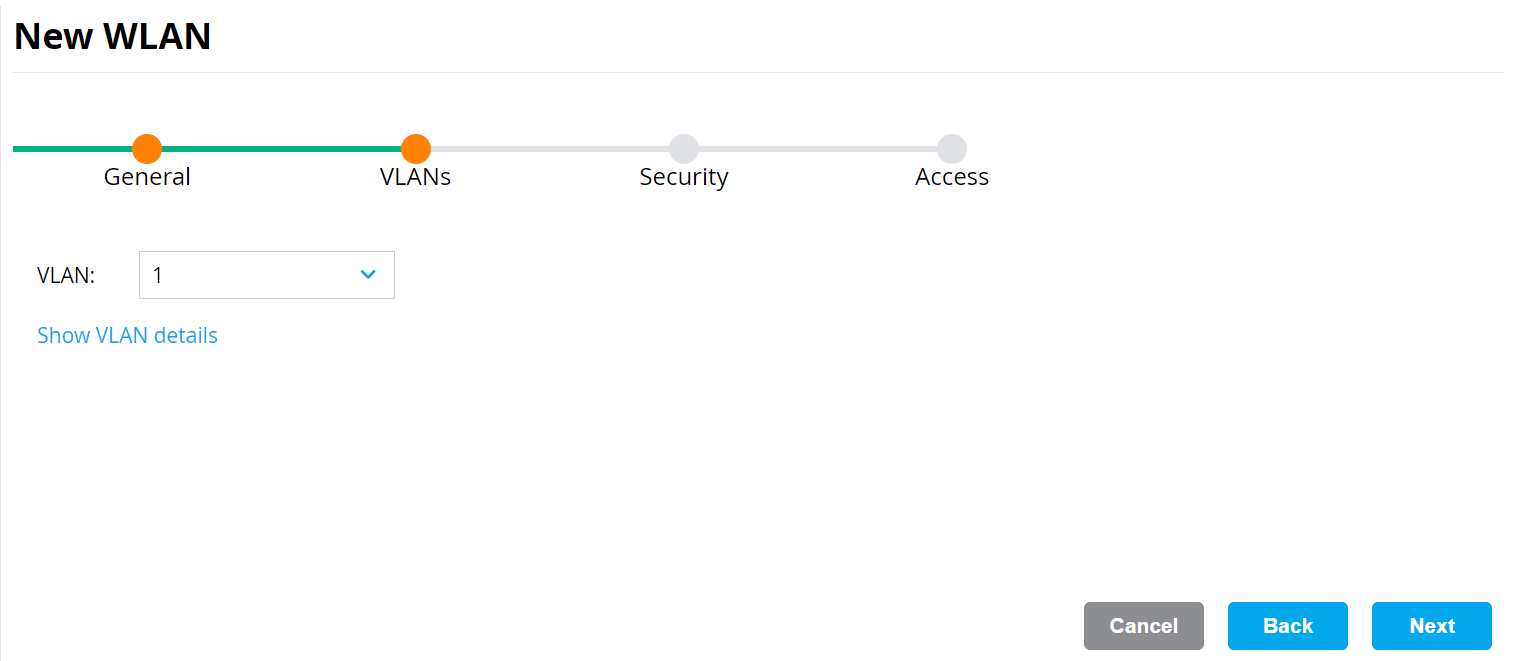
- On the VLANs tab, select your VLAN ID.

- Click Next.
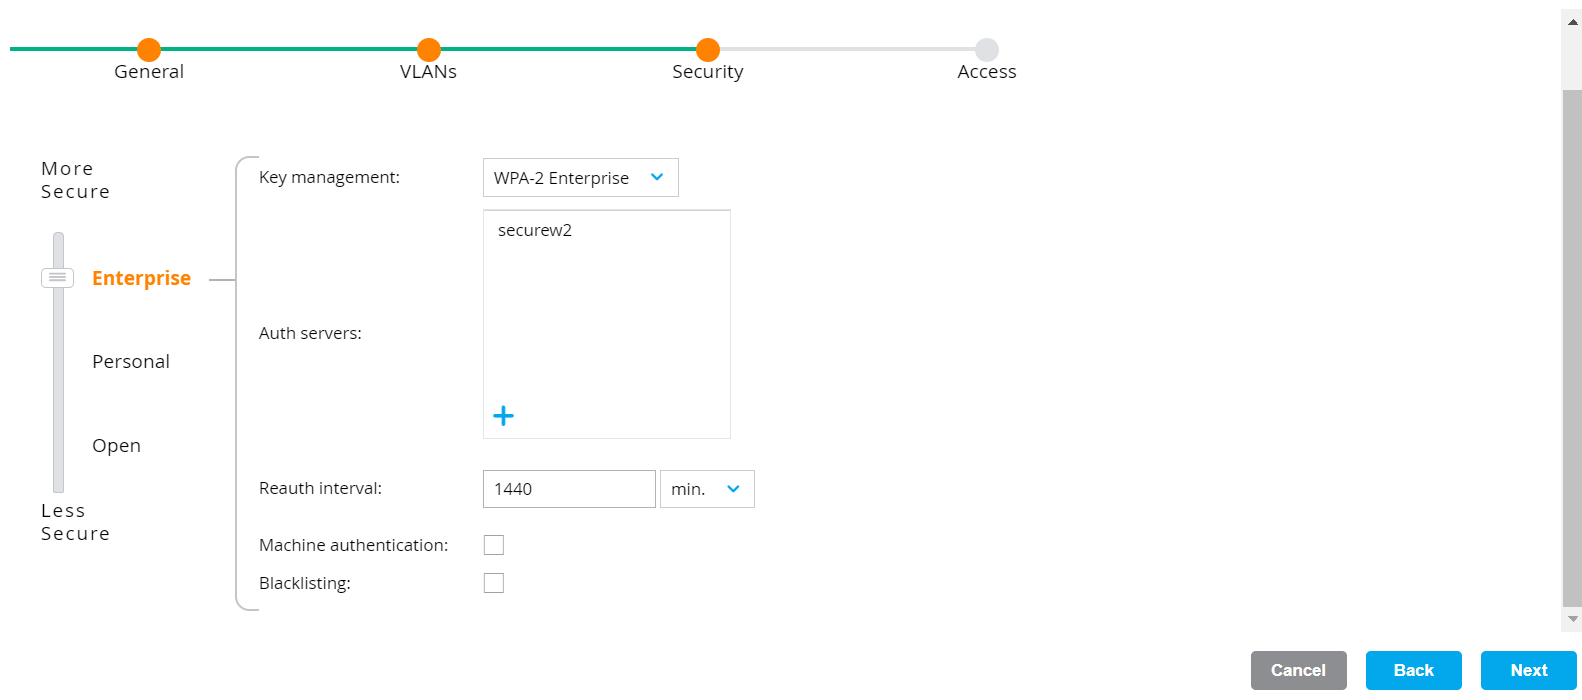
- On the Security tab:
- Ensure that the dial is at Enterprise (default value).
- From the Key management drop-down list, select WPA-2 Enterprise.

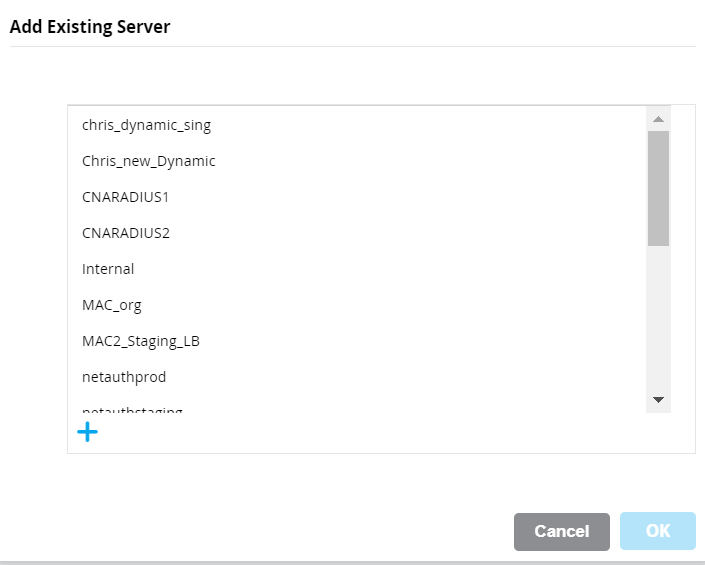
- In the Auth servers section, click +.

- Select the RADIUS server you wish to connect to and click OK.
- Repeat steps a-c to add additional servers.
- Click Next.
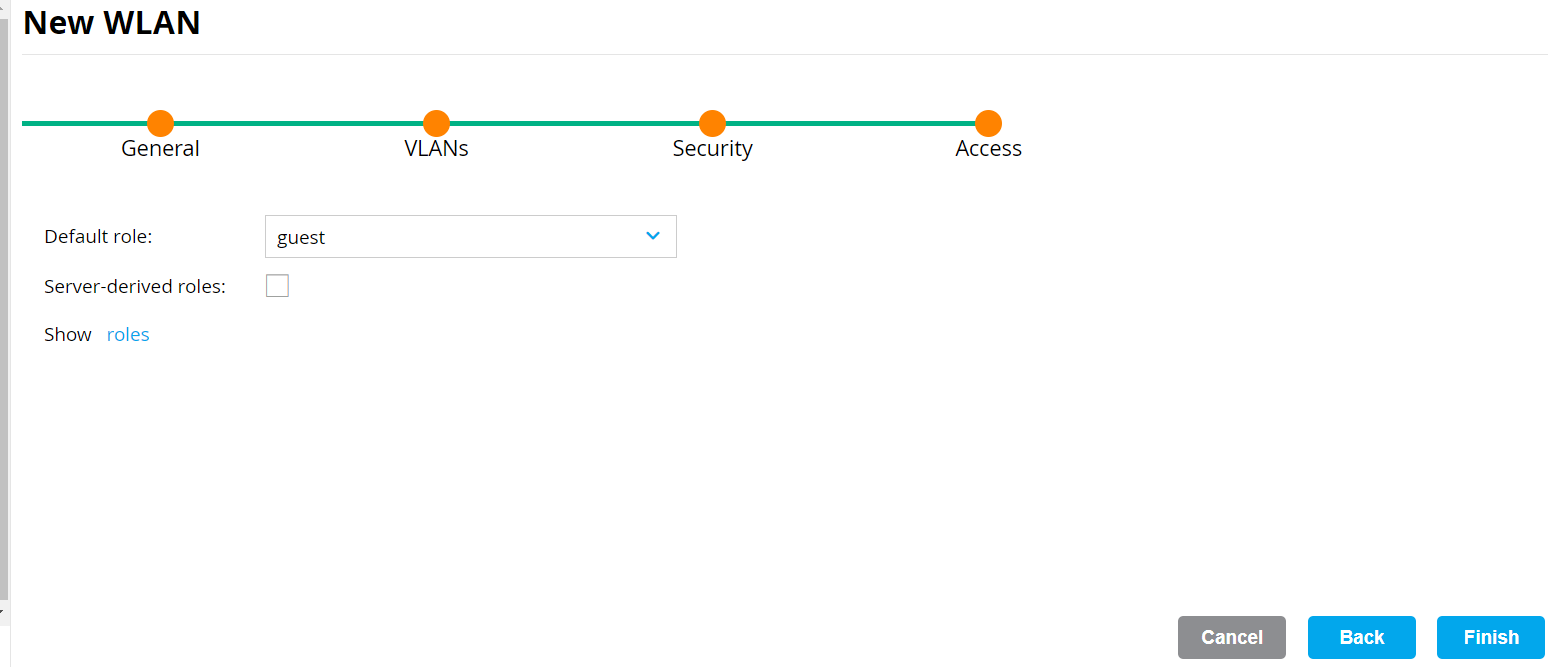
- On the Access tab:
- From the Default role drop-down list, select an option.

- From the Default role drop-down list, select an option.
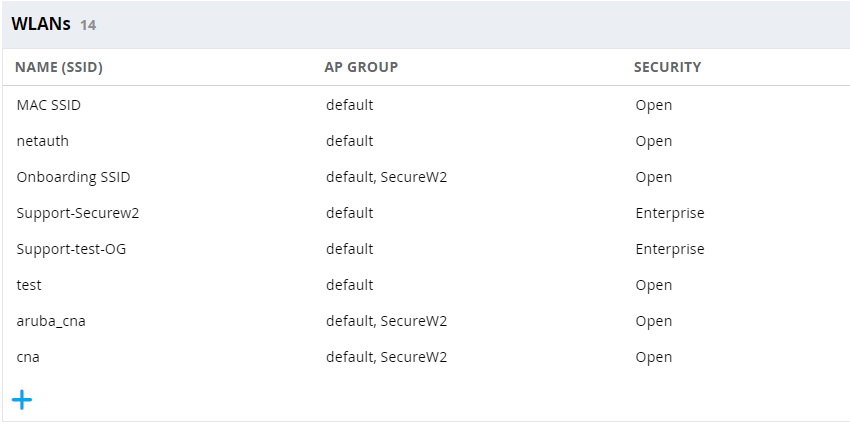
- Click Finish. The new SSID appears in the WLANs section.
To test the configuration, complete the onboarding process and enroll for the Secure network access. In the JoinNow Management Portal, navigate to Data and Monitoring > RADIUS Events. The RADIUS event logs are displayed. For a successful configuration, RADIUS Reply is ACCESS_ACCEPT.
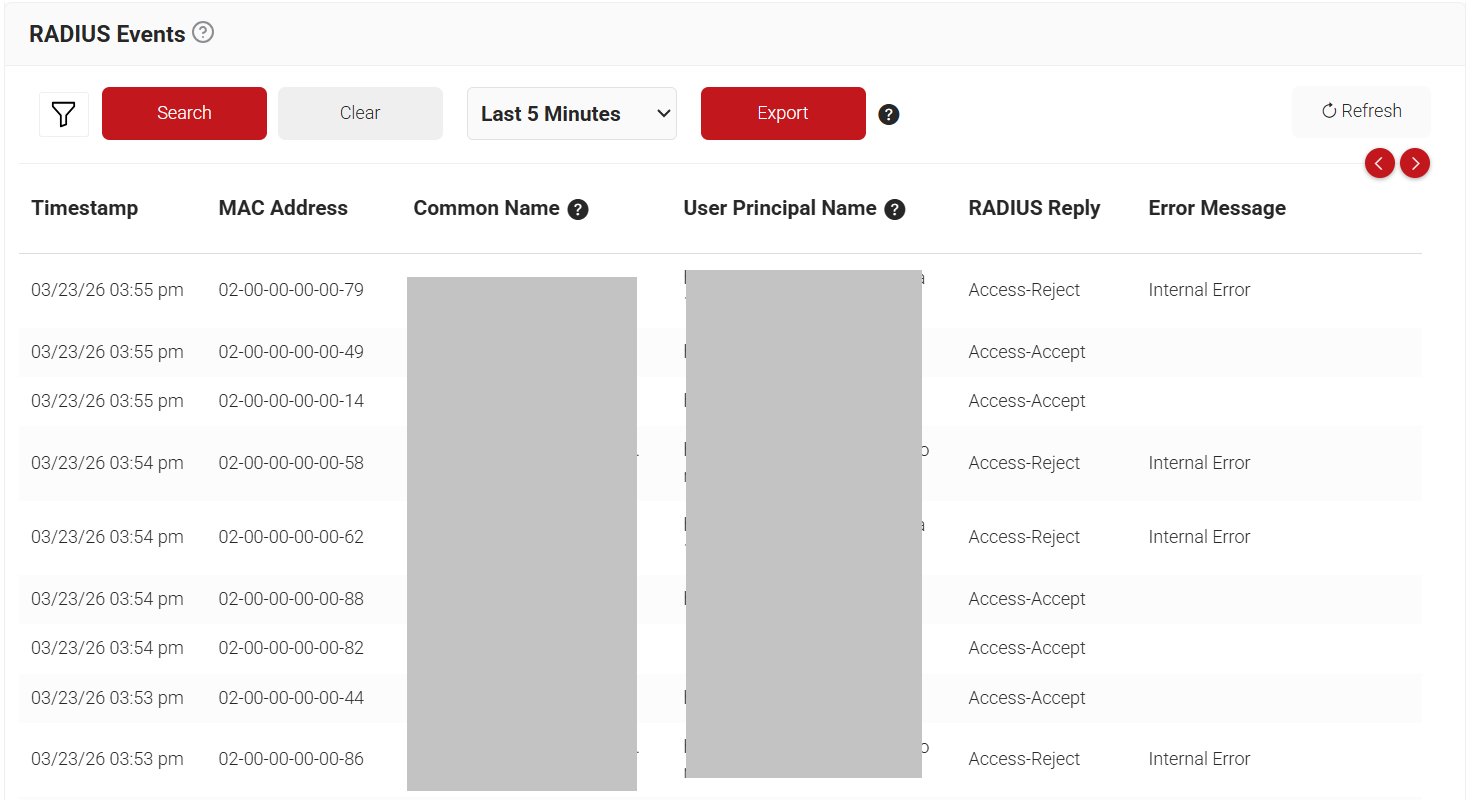
The RADIUS server is now configured to authenticate users to connect to the secure SSID.
- Log in to the Aruba Management Portal.
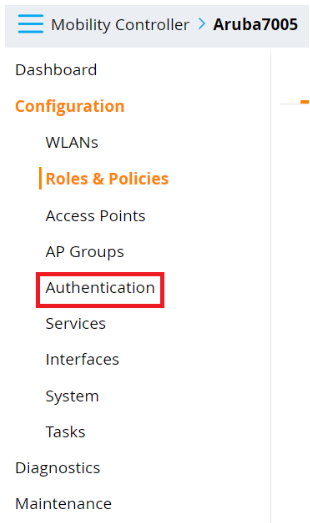
- Navigate to Configuration > Authentication.

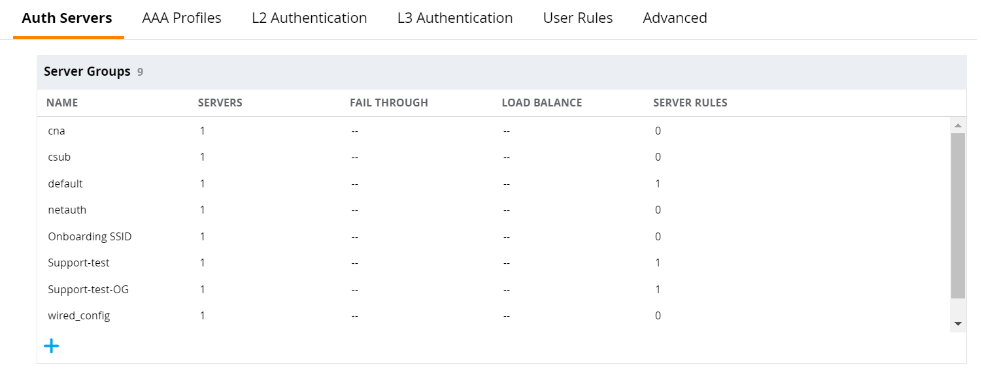
- Click the Auth Servers tab.
- Click +.

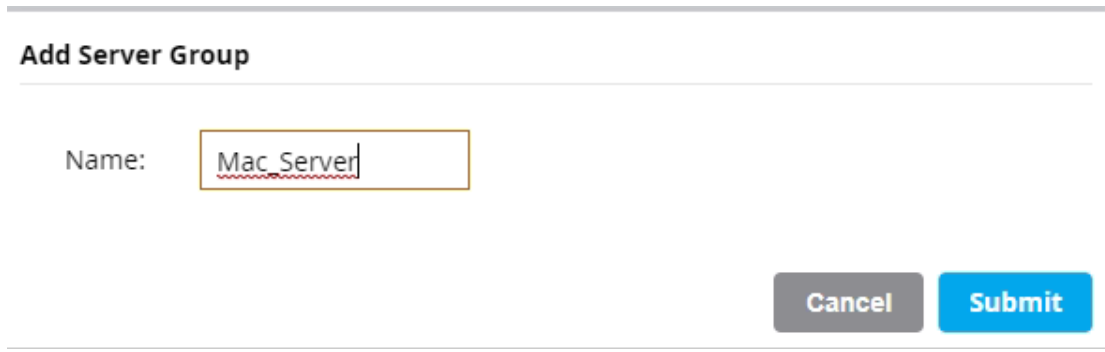
- On the displayed page, in the Name field, enter a name.

- Click Submit.
- From the Server Group section, click the group you just created.
- Below the Server Group section, click the + sign to add server details.
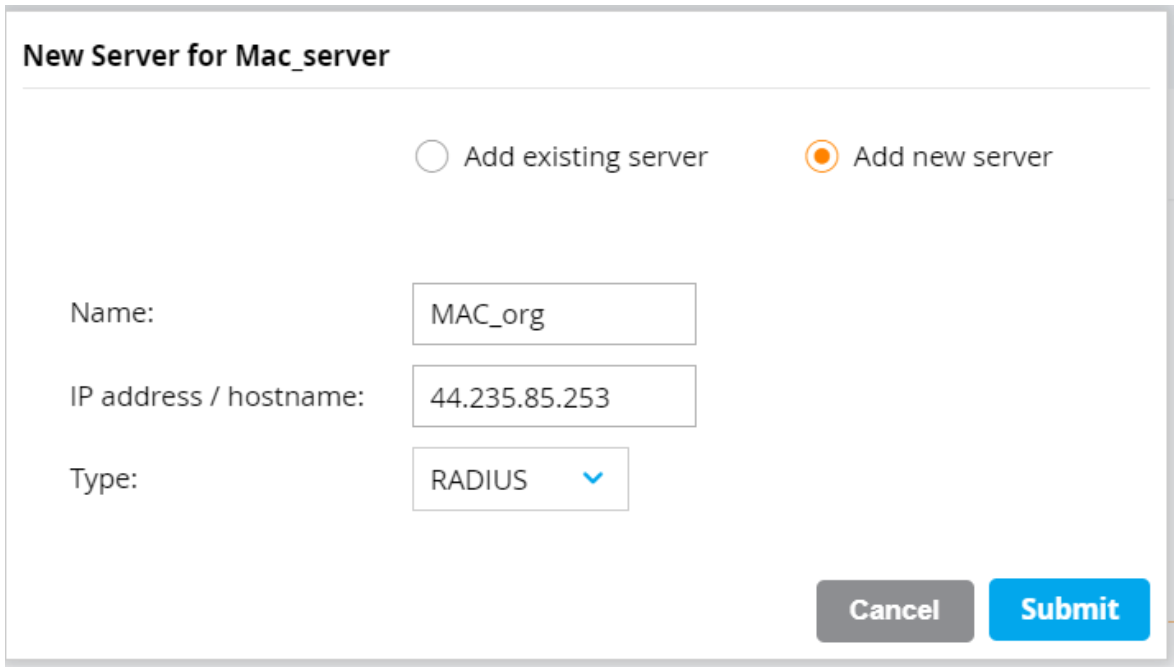
- Select the Add new server option.

- In the Name field, enter a name for the server.
- In the IP address / hostname field, enter the RADIUS IP address that you obtain from the JoinNow Management Portal.
- From the Type from drop-down list, select RADIUS.
- Click Submit.
- Log in to the Aruba portal.
- On the left pane, navigate to Configuration > WLANs.
- Click the + icon to add a new WLAN.
- On the General tab:
- In the Name (ssid) field, enter a name for the SSID.
- For Primary usage, select the Guest option.
- From the Select AP Groups drop-down list, select an option. According to the option, the Broadcast on list is displayed. Select the default option.
- From the Forwarding Mode drop-down list, select an option for client traffic.

- Click Next.
- On the VLANs tab, select your VLAN ID.

- Click Next.
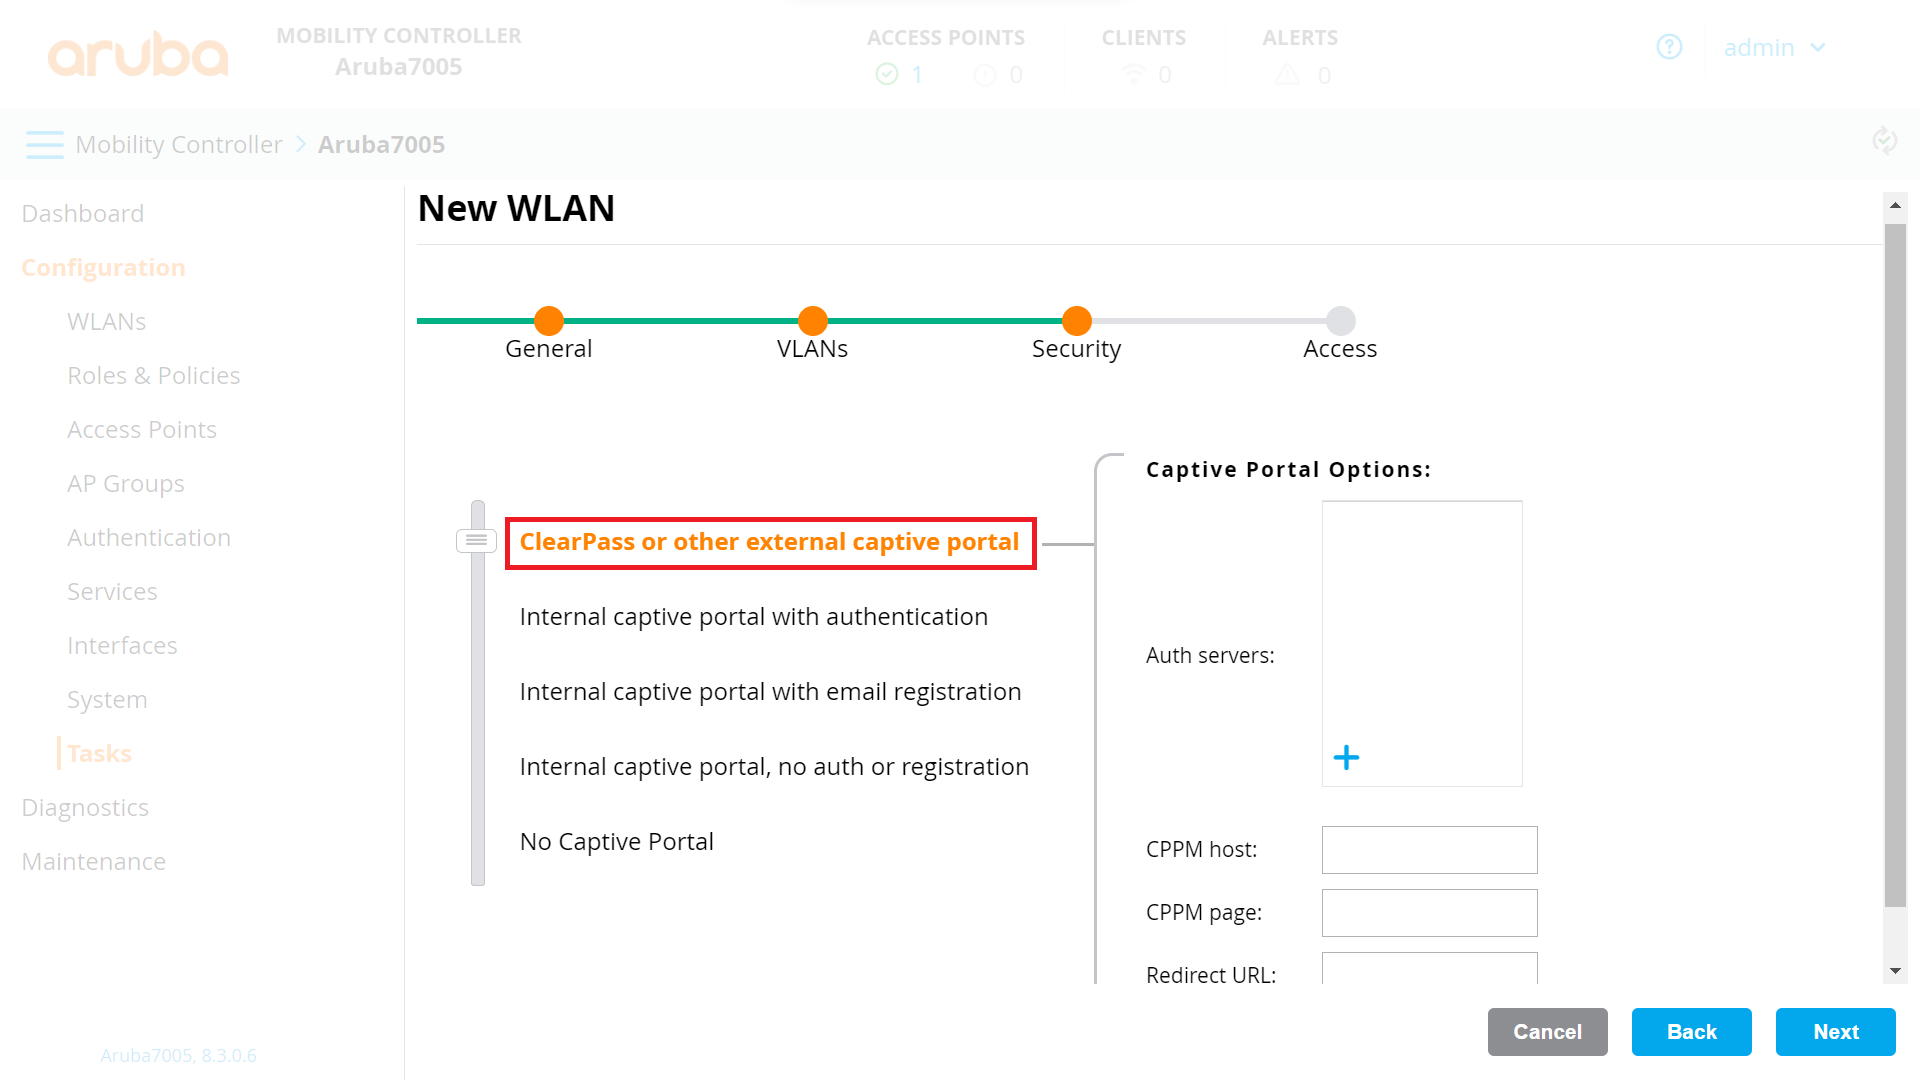
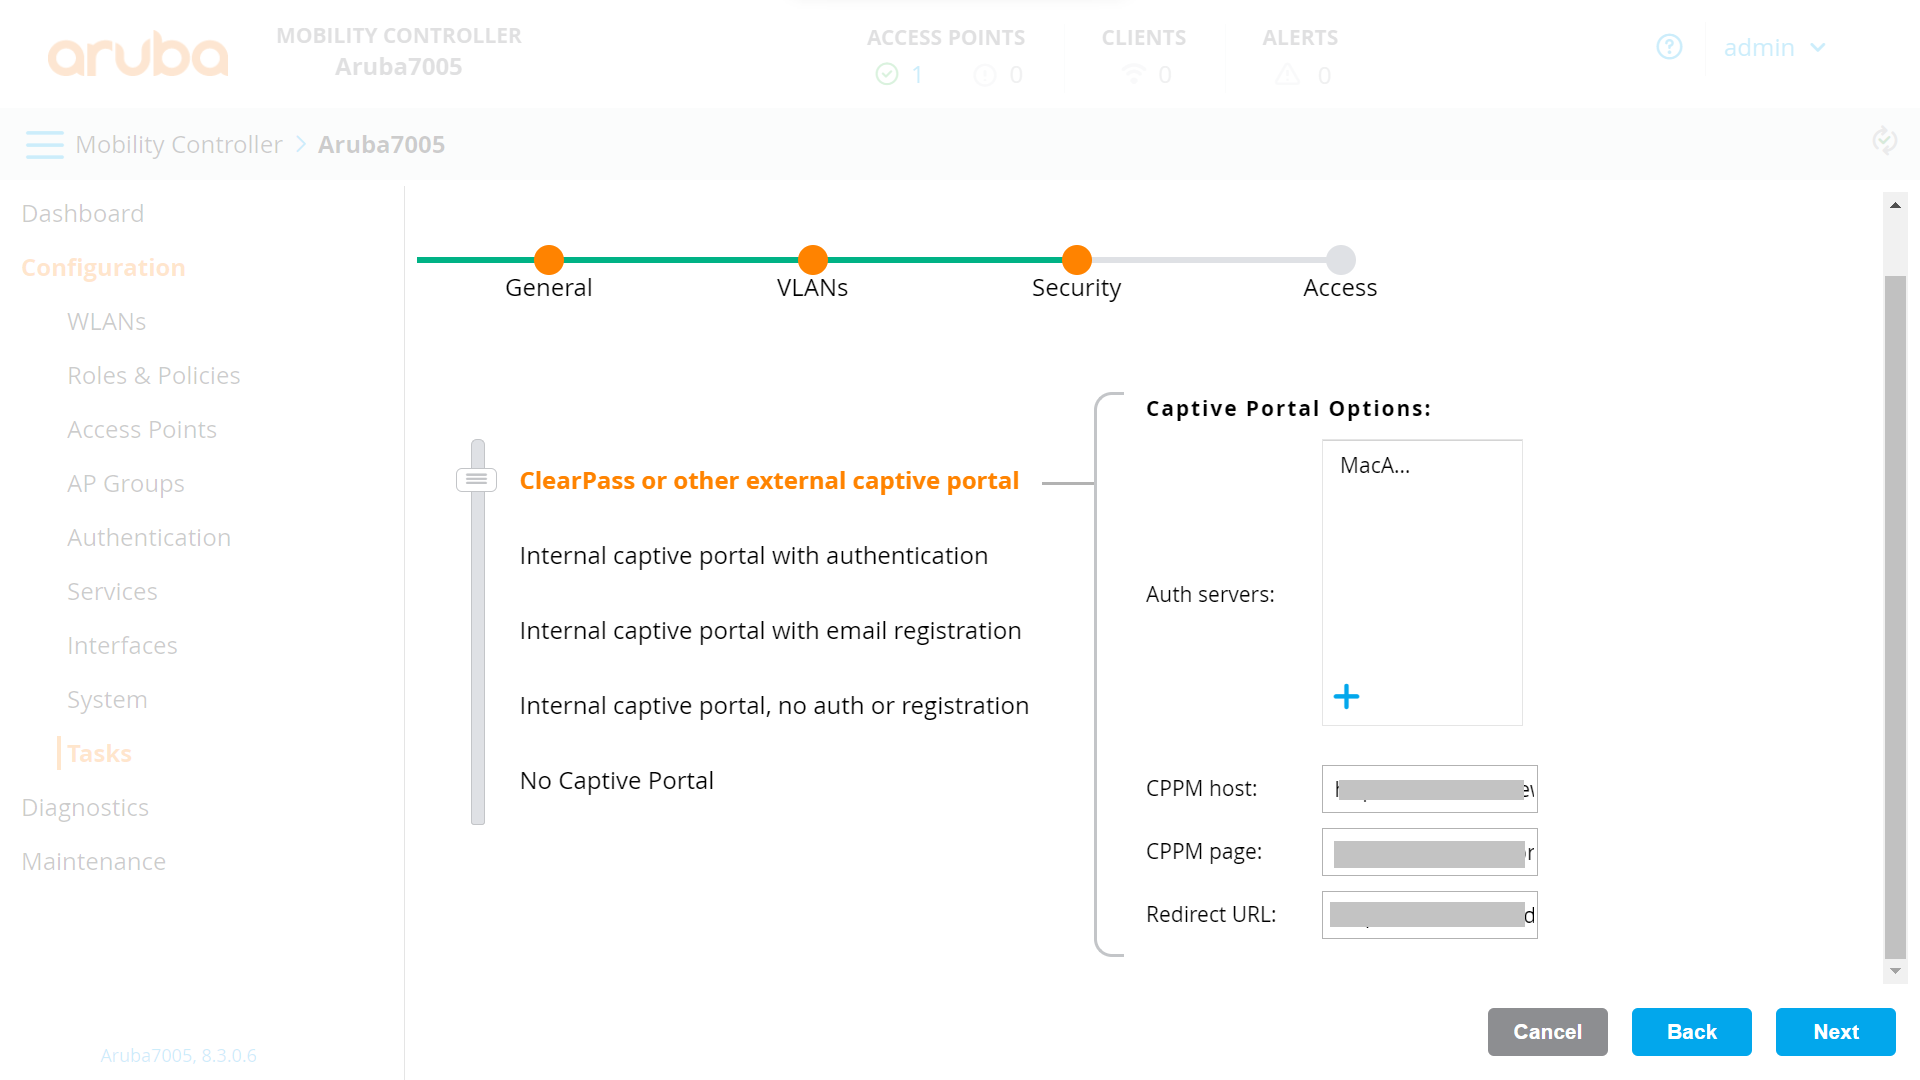
- On the Security tab:
- Select ClearPass or other external captive portal.

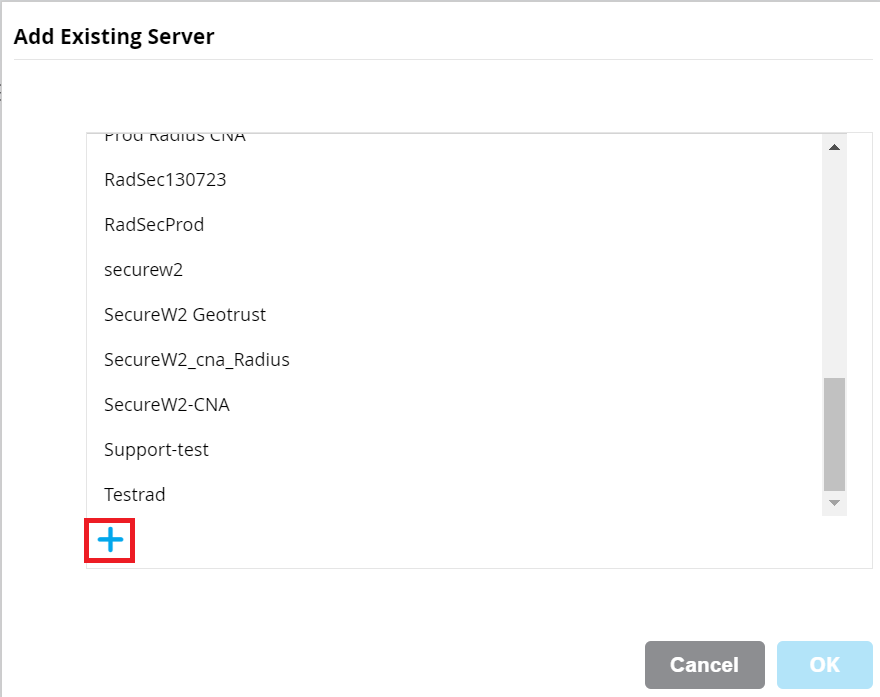
- In the Captive Portal Options section, in the Auth servers field, click +.
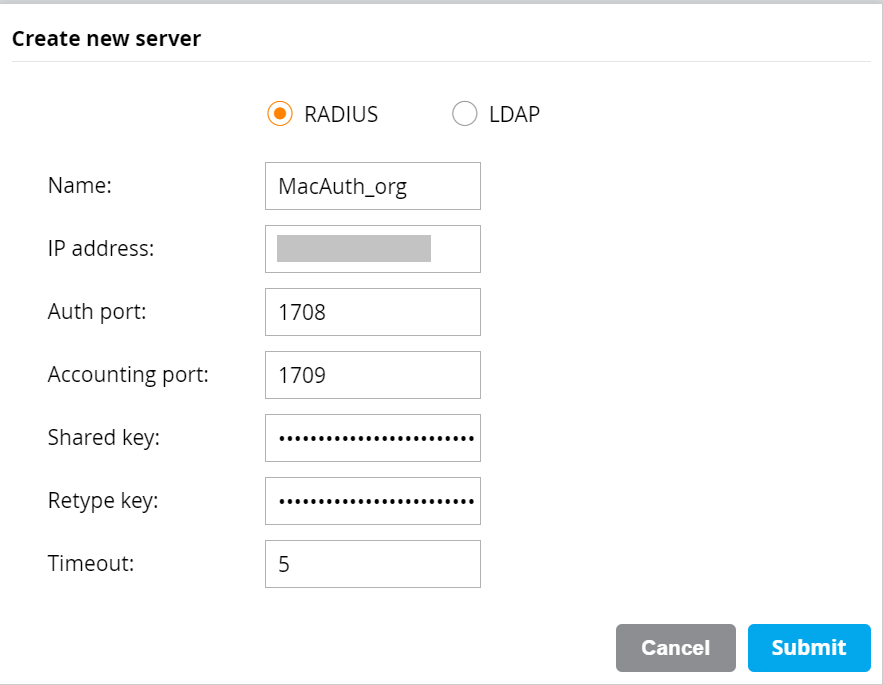
- In the Add Existing Server pop-up window, click + and add the following details:

- Select the RADIUS radio button.
- In the Name field, enter the name of the RADIUS server.
- In the IP address field, enter the RADIUS IP address that you obtain from the JoinNow Management Portal.
- In the Auth Port field, enter the RADIUS port value that you obtain from the JoinNow Management Portal.
- In the Accounting port field, enter the RADIUS port value that you obtain from the JoinNow Management Portal.
- In the Shared Key field, enter the shared secret value that you obtain from the JoinNow Management Portal.

- Click Submit.
- In the CPPM host field, enter https://captiveportal.securew2.com
- In the CPPM page field, enter v1/public/{orgid}/{profilename}
NOTE: For example, if the network profile to onboard users is https://cloud.securew2.com/ public/123456/eduroam, the CPPM Page will be v1/public/123456/eduroam. - Click Next.
- Select ClearPass or other external captive portal.
- In the Access section, select the default guest role.
- Click Finish.