Introduction
In an effort to avoid data breaches through over-the-air credential theft attacks, many organizations are switching to certificate-based authentication for the superior security it provides. Certificates are also beneficial from a user perspective, as they eliminate the need to remember credentials and the inevitable headaches of password reset policies. Certificates can be configured to stay valid for the lifetime of a device, so users only need to configure their Wi-Fi once per device. Fortunately, you can easily switch to the EAP-TLS, certificate-based authentication, and implement certificates while continuing to use your Aruba IAPs. Just hook up our world-class PKI Services to your existing infrastructure and set up an onboarding SSID so that users can self-enroll for certificates without bothering the IT department. Our PKI Services include Managed Device Gateways, which allow your managed devices to automatically enroll for certificates. Here’s a quick overview of the whole process of setting up your Aruba IAPs for EAP-TLS with SecureW2. Afterward, we’ll go through the step-by-step guide for configuring your Aruba IAPs for EAP-TLS.
Tech Overview
- Configure SecureW2 PKI Services:
- While it’s possible, setting up and maintaining your own PKI is an arduous task. SecureW2 PKI services can be deployed and integrated into your existing network infrastructure quickly and easily to fill any gaps you might have (Management Software, CAs, CRL, etc.)
- Integrate with your Identity Provider:
- SecureW2 seamlessly connects with every major SAML and LDAP IDP to authenticate users and enroll them for certificates. Below are a few of our popular integration guides:
- Enroll Users for Certificates:
- Set up Onboarding SSID for BYOD Self-Service Certificate Enrollment:
- The SecureW2 JoinNow suite is the industry’s best solution for configuring devices for self-enrollment of certificates. Using an Open SSID for onboarding, they are guided through a foolproof enrollment process.
- Using Gateway APIs to Auto-Enroll Managed Devices for Certificates:
- Rather than manually enrolling each managed device for a certificate, use our Managed Device Gateway APIs to automatically enroll all your managed devices with any major MDM software for machine and/or user certificates.
- Set up Onboarding SSID for BYOD Self-Service Certificate Enrollment:
- Configuring the RADIUS (AAA) Server:
- Integrating SecureW2 PKI Services with a RADIUS Server:
- Our PKI services integrate cleanly with all major RADIUS servers. We can work with your existing infrastructure to make the implementation totally painless. No RADIUS infrastructure? No problem, SecureW2 comes built in with our Cloud RADIUS. Click here to read more about our RADIUS Solutions.
- Integrating an Aruba IAP with a RADIUS Server:
- If it’s not already set up, SecureW2 can integrate your RADIUS server with your Aruba IAP. Below are the steps you’ll take.
- Integrating SecureW2 PKI Services with a RADIUS Server:
Configuring Aruba IAP for Certificate Enrollment Onboarding SSID
In the SecureW2 JoinNow Management Portal:
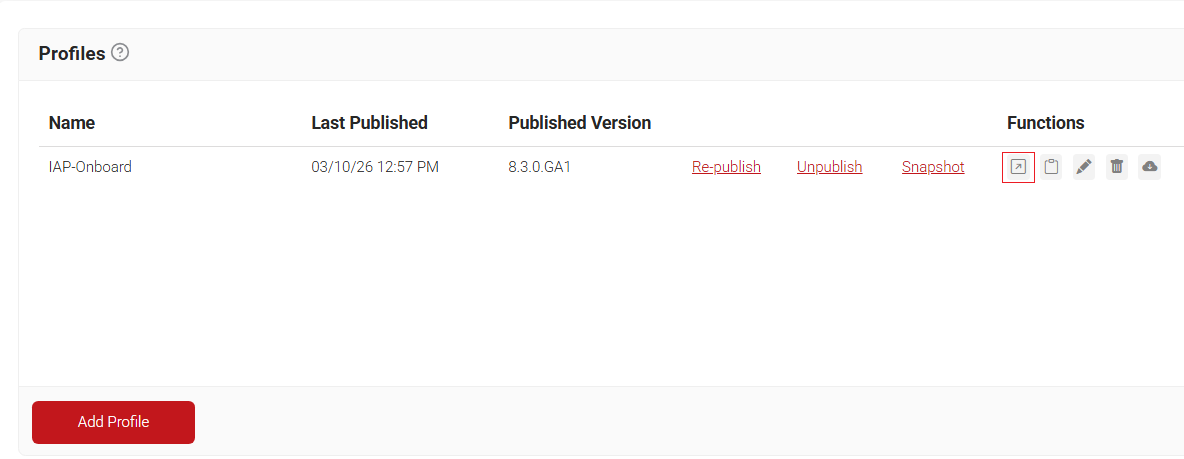
- Click Profiles under Device Onboarding.
- Click Open Landing page in the function section on the profile you created:
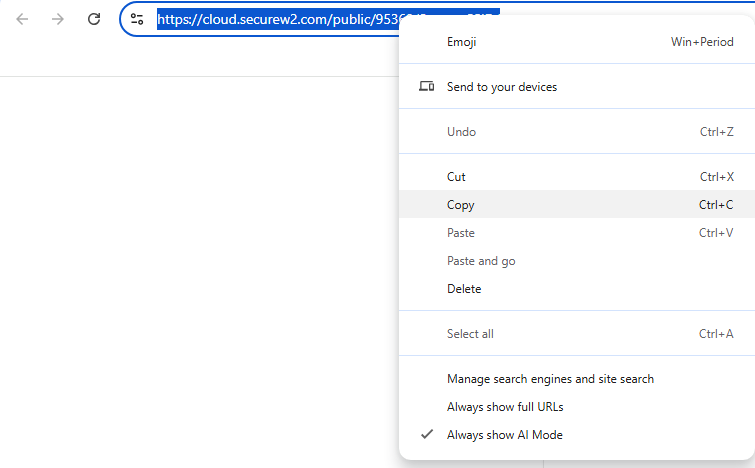
- Copy the page URL to use in the IAP configuration.
- Navigate to the Aruba Management Portal.
- Under the Networks section, click New.
- In Step 1, enter the same SSID name as you have configured in your Network Profile, set Primary usage to Guest, and click Next.
- Leave Step 2 as Default and click Next.
- In Step 3, set Splash page type to External and create a New Captive Portal Profile and enter the following information:
- In the Name Section, enter any name.
- Set Type as RADIUS Authenticator.
- The IP or hostname should be securew2.com.
- In the URL section, paste the path of the URL that was copied earlier (the path is everything that comes after .com in the URL.)
- Enter 443 in the Port Section.
- Leave everything else default, click Ok, and click Next.
- Set the Access Rules to Role-based.
- Create a new role by clicking New in the Roles section.
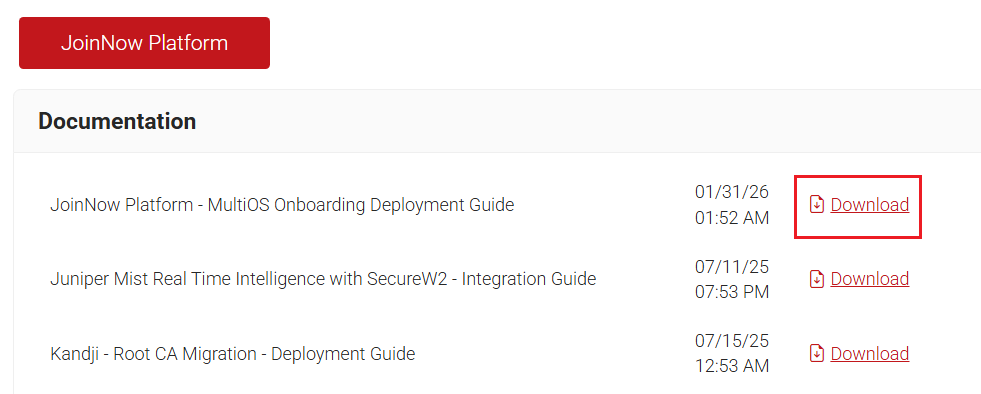
- To get the necessary information to populate the role, go back to the SecureW2 JoinNow Management Portal and click Documentation in the General section.
- Select the JoinNow Platform – MultiOS Onboarding Deployment Guide.
- Scroll to the Firewall Rules section and you can find the IPs that need to be entered into the Role Policy
There are other resources in Section 2.3 Adding the DNS List that should be added to ensure that the onboarding process operates smoothly. This section in the Deployment Guide will walk you through which sections to add:
- Once you have added the IPs to your Role Policy, go to the Assign pre-authentication role dropdown menu and select the new Role Policy, and click Finish.
- The network should appear in the Networks section after a few seconds, and you have set up the Onboarding SSID for testing purposes.
Set Up Aruba IAP Secure SSID (RADIUS)
Now that we’ve configured the Onboarding SSID for certificate enrollment, we need to set up the Secure SSID. This SSID needs to be configured for EAP-TLS WPA2-Enterprise Authentication. It also needs to be integrated with a RADIUS server, which in this case will be the SecureW2 Cloud RADIUS.
- Under AAA Management, click AAA Configuration:
- Here you will see your RADIUS information
- Navigate to the Aruba Homepage and click New under Networks.
- Enter a name for the SSID and keep the primary usage set to Employee, then click Next.
- Keep VLAN settings as default and click Next.
- Adjust the Security Level to Enterprise.
- Select New in the dialog box for Authentication Server 1.
- Enter a Name for the SSID.
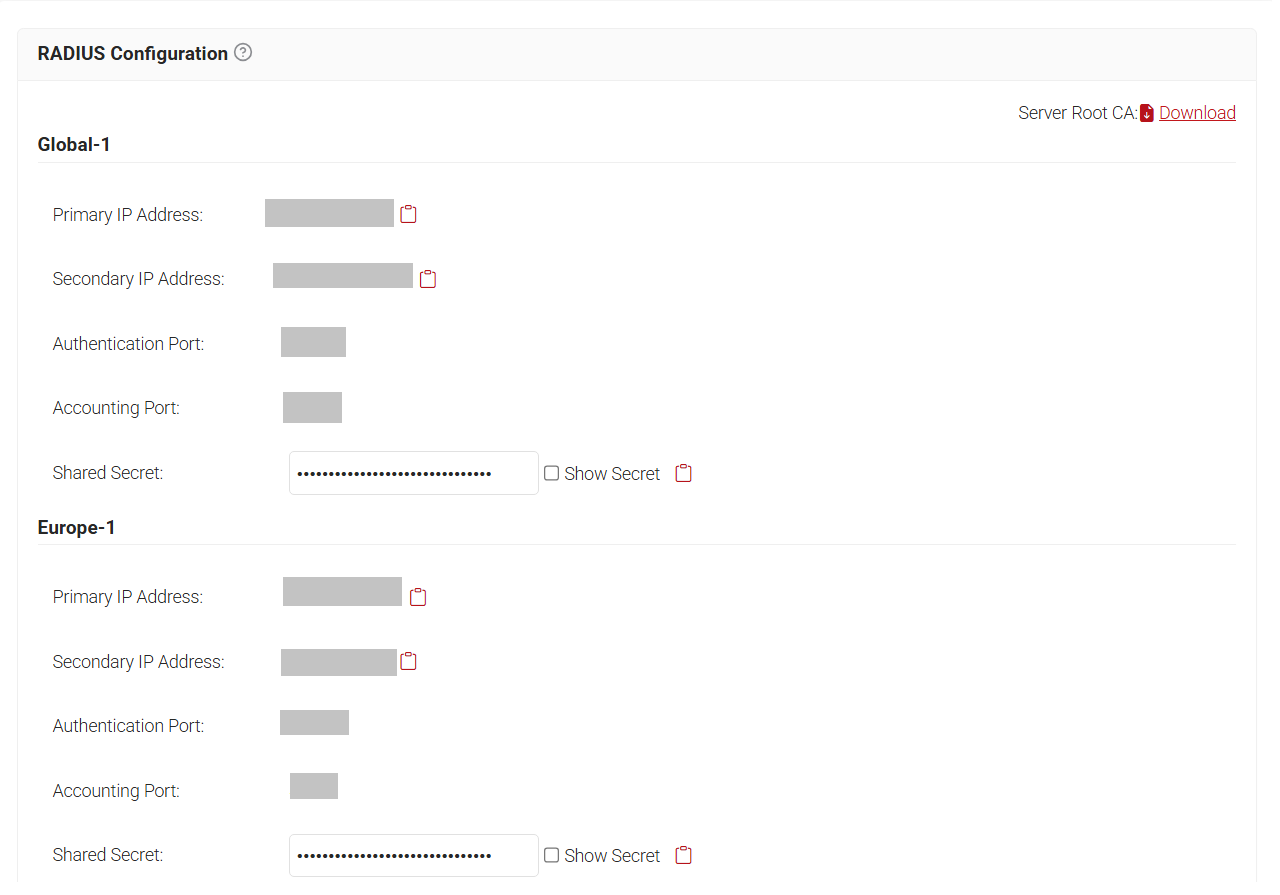
- Copy the Primary IP Address from the JoinNow Management Portal and paste it in the IP Address box. Navigate to RADIUS > RADIUS Configuration in JoinNow to copy the required IP address and Port numbers:
- Copy the Port number from the JoinNow Management Portal and paste it in the Auth port box.
- Copy the Shared Secret from the JoinNow Management Portal, then paste it into the Shared key and Retype key boxes.
- Click OK.
- Repeat the above steps for Authentication Server 2, but copy the Secondary IP Address from the SecureW2 Management Portal and paste it in the IP Address box
- Enter the same Port and Shared Secret for Authentication Server 2 and click OK.
- Click Next, set the Access Rules as Unrestricted, and click Finish.
- The new SSID will appear in the Networks section in the Aruba Homepage.
It’s that easy. Are you ready to get started? SecureW2 has affordable solutions for organizations of any size and shape. Check out our pricing form here.
Aruba is either a registered trademark or trademarks of Aruba Networks in the United States and/or other countries. Other trademarks, logos, and service marks used in this site are the property of SecureW2 or other third parties.


