A core provider is the system that proves the identity of a user/device. Adding a core provider in the JoinNow Management Portal instructs the Cloud Connector system on how to connect to Okta to verify user credentials for certificate issuance.
To add a core provider in SecureW2:
- Log in to the JoinNow Management Portal.
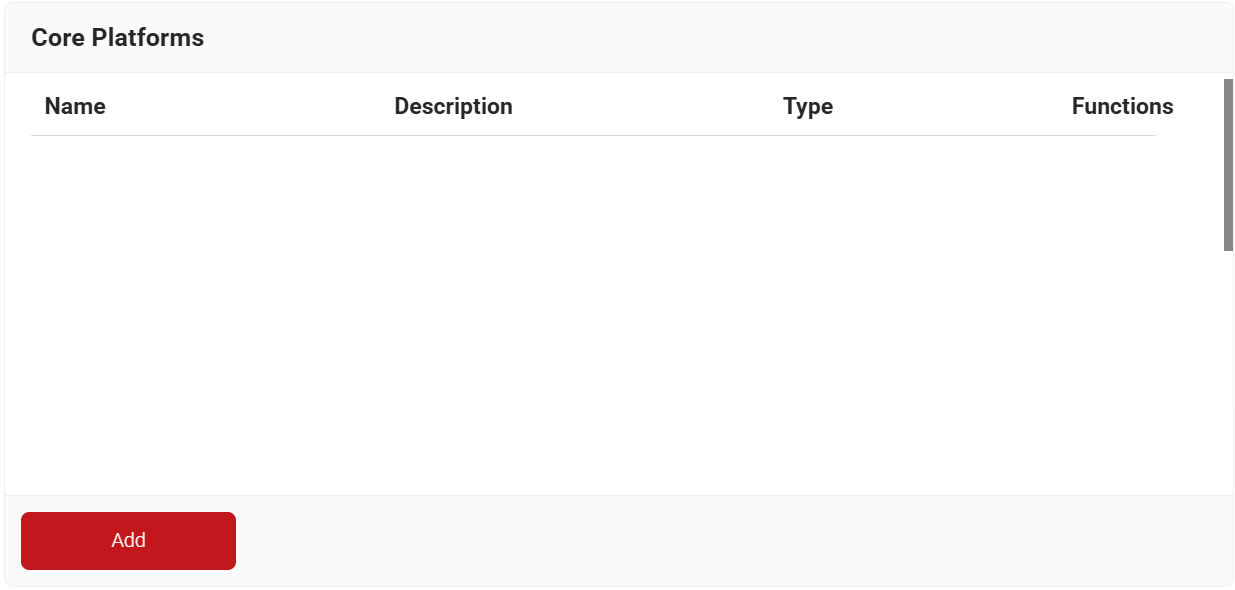
- Navigate to Integration Hub > Core Platforms.
- Click Add.

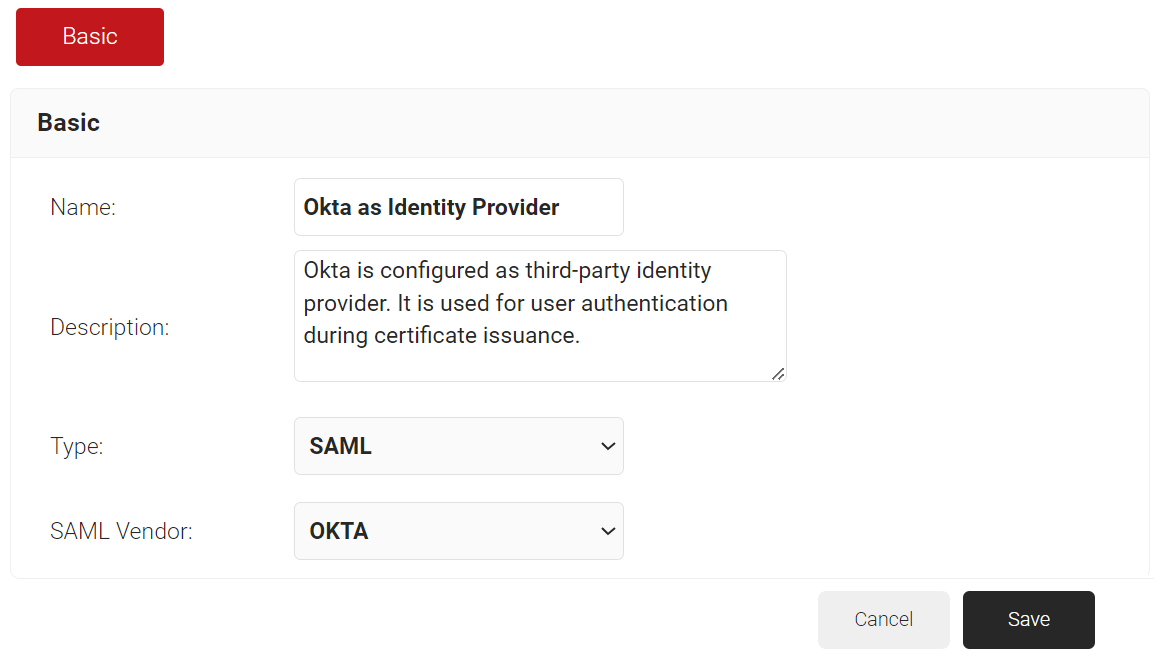
- In the Basic section, enter the name of the core provider in the Name field.
- In the Description field, enter a suitable description for the core provider.
- From the Type drop-down list, select SAML.
- From the SAML Vendor drop-down list, select OKTA.

- Click Save.

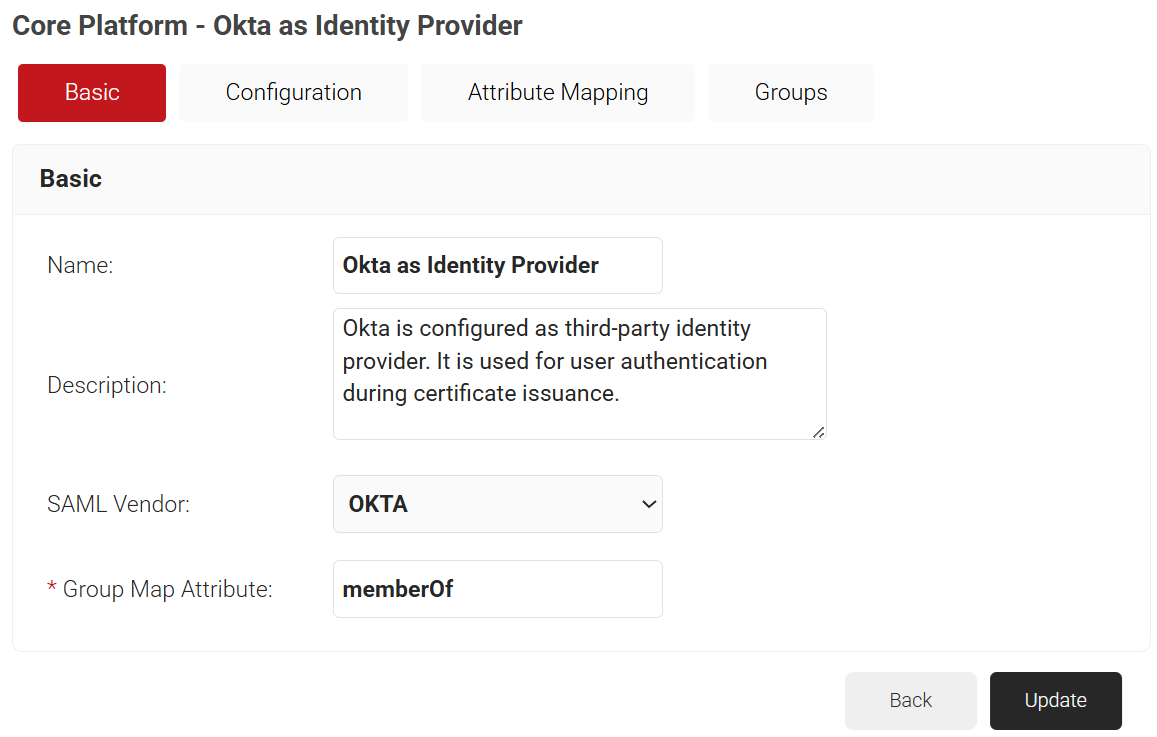
- The page refreshes and displays the Configuration, Attribute Mapping, and Groups tabs.
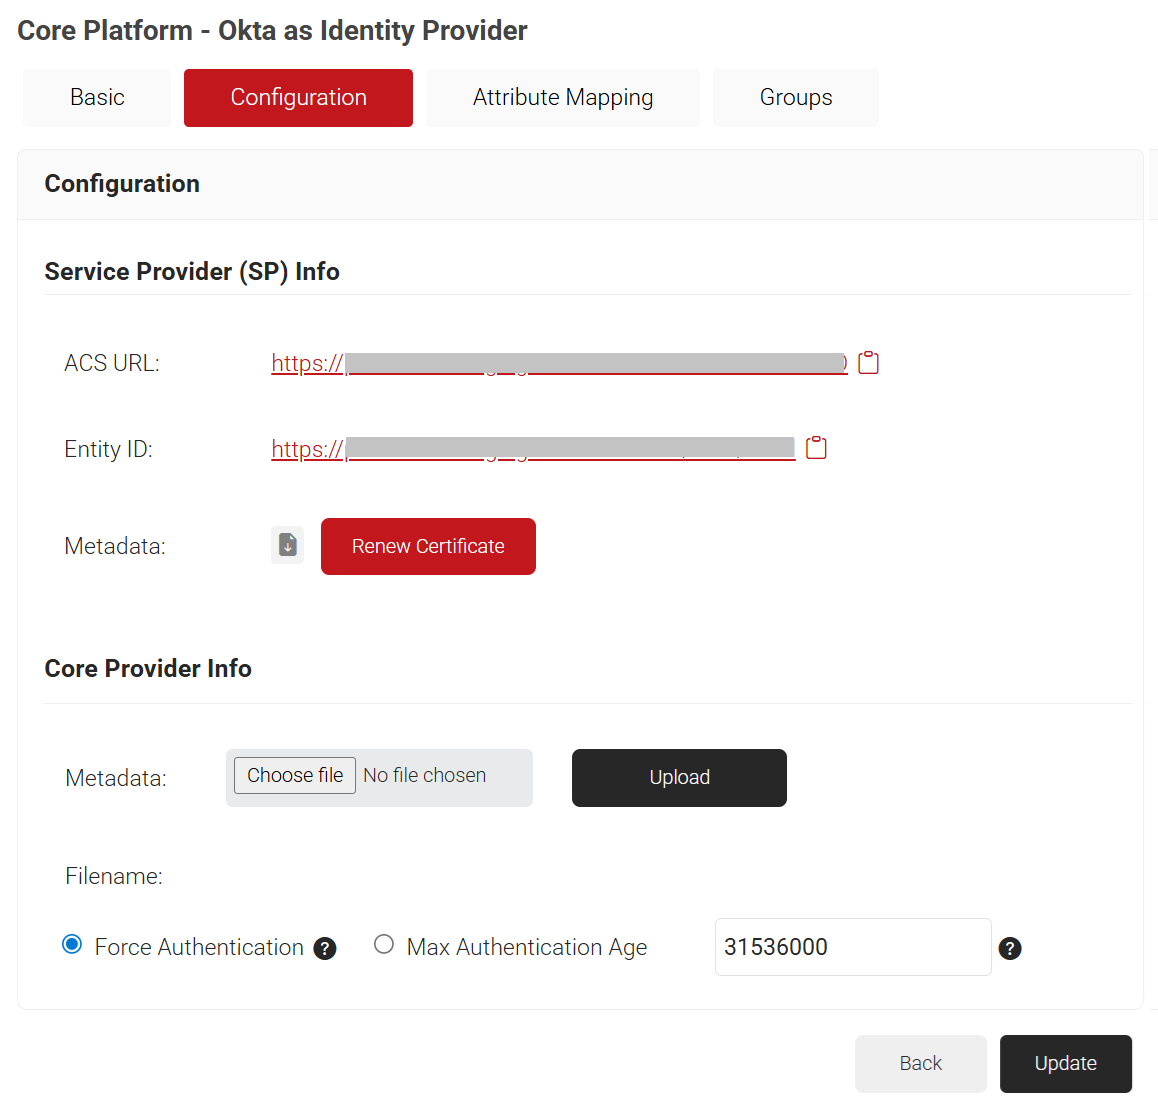
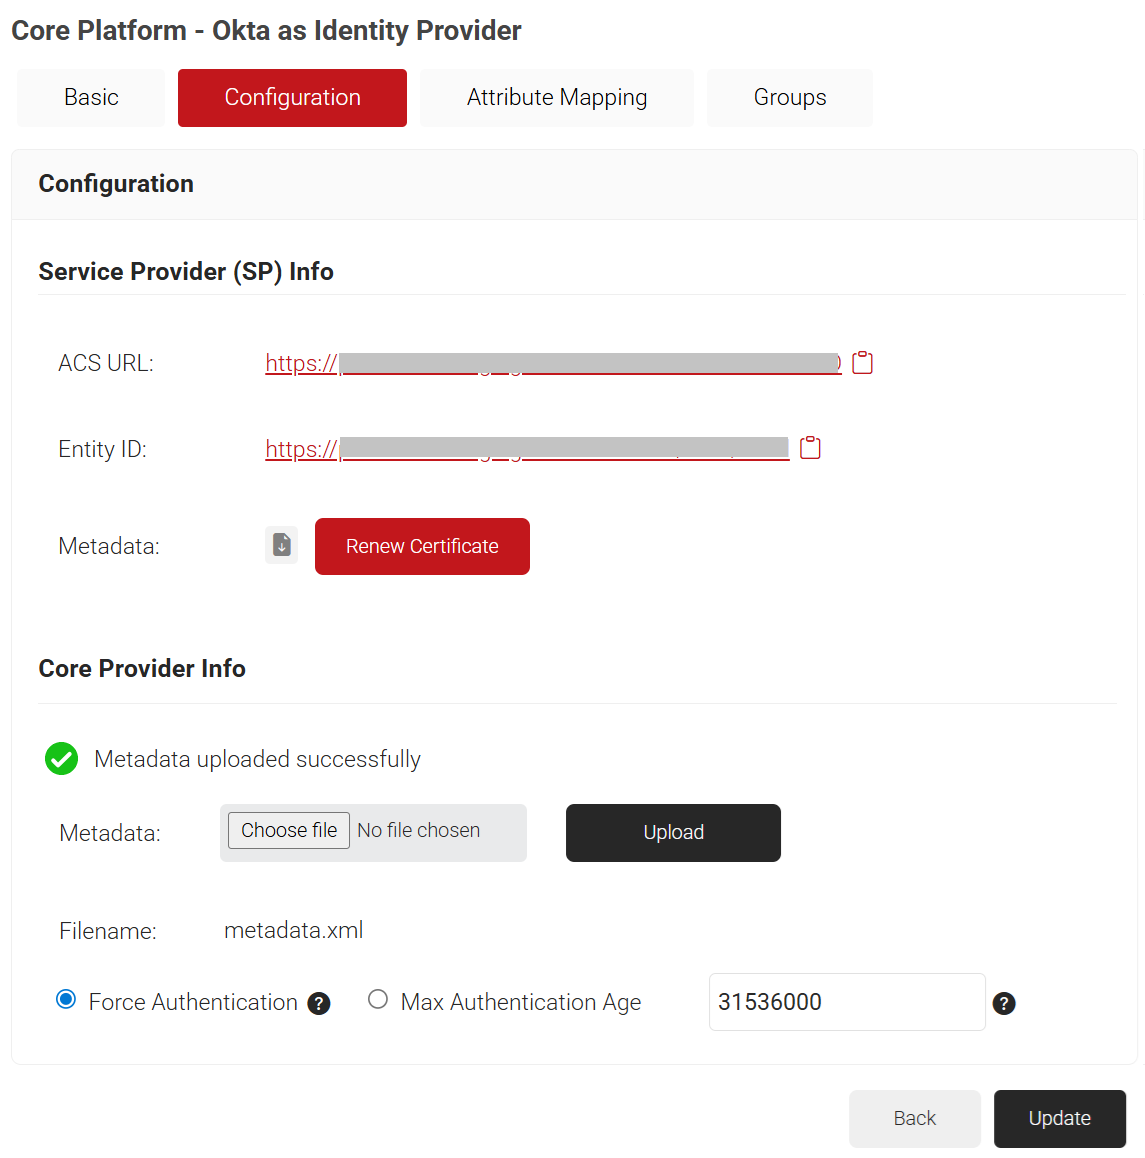
- Select the Configuration tab.
- Under the Service Provider (SP) Info section, copy the Entity ID and ACS URL values to your clipboard.

To create a SAML application in Okta:
- Log in to the Okta portal.
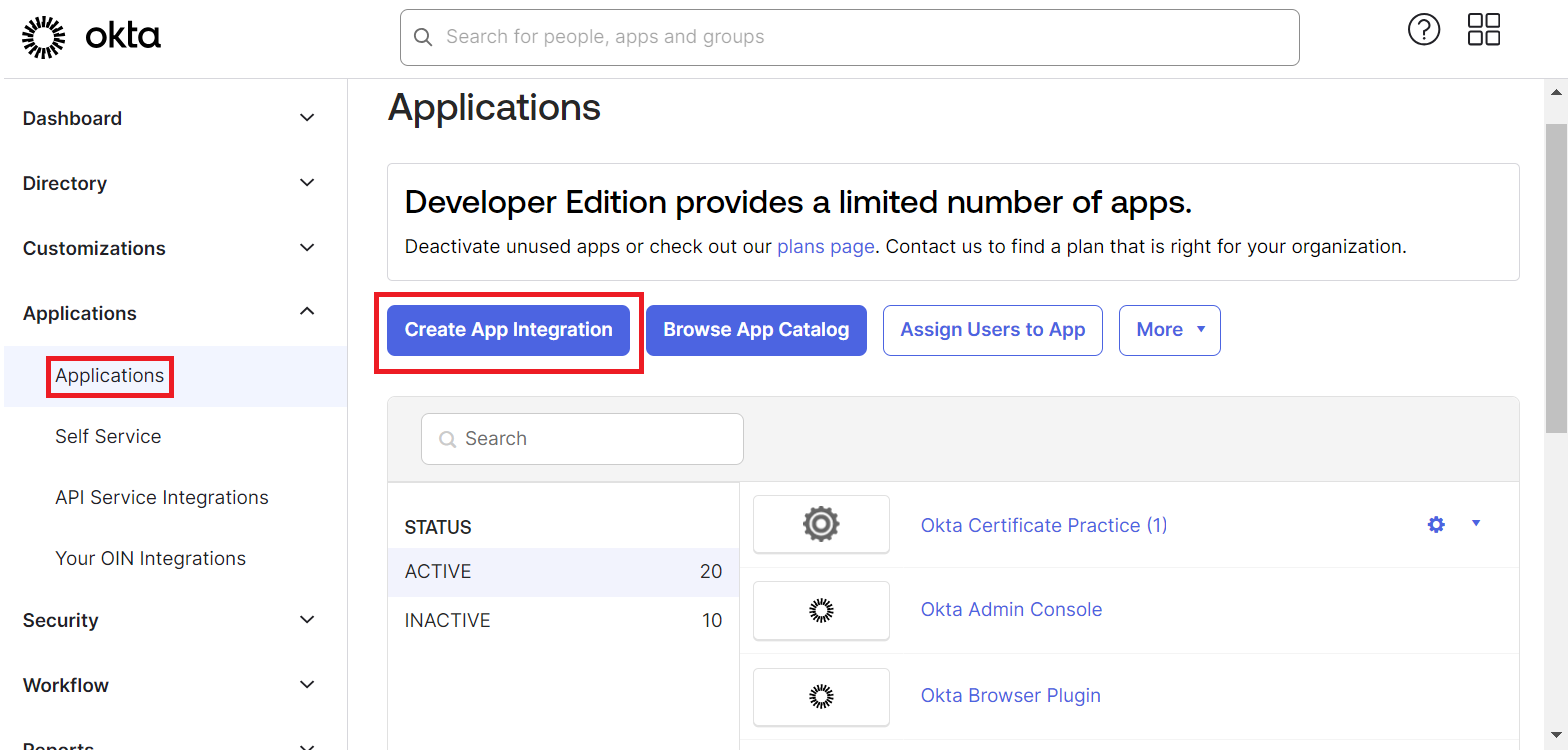
- Navigate to Applications > Applications.
- Click Create App Integration.

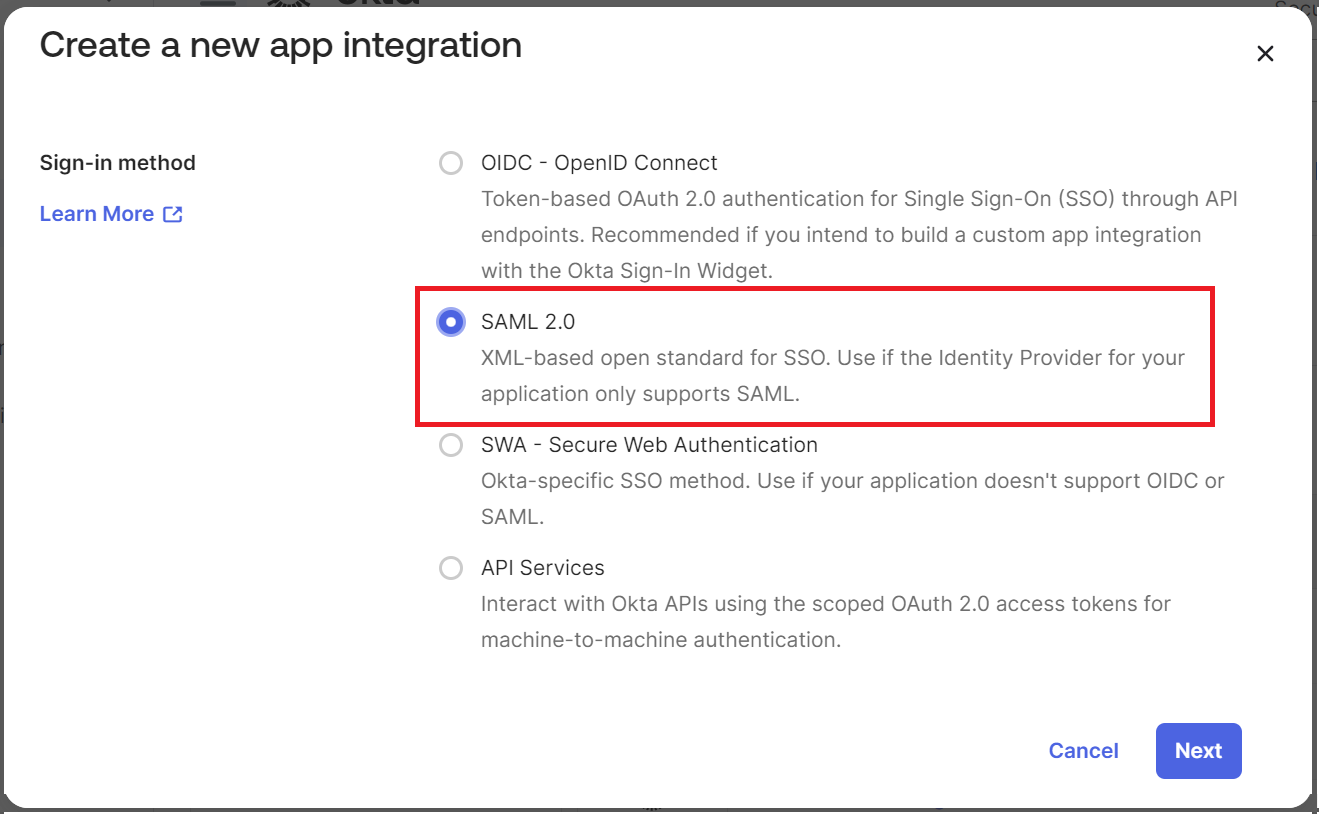
- In the Create a new app integration pop-up window, select SAML 2.0 as the sign in method.

- Click Next.
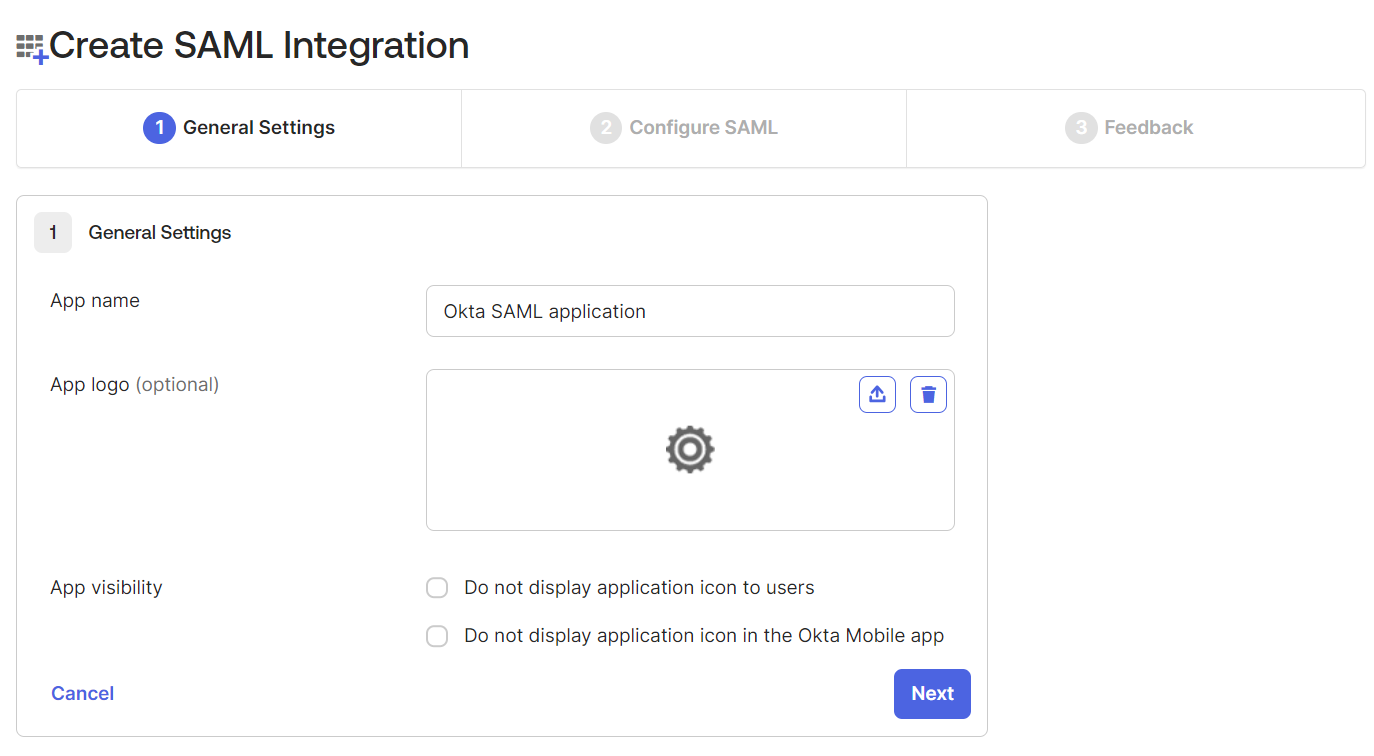
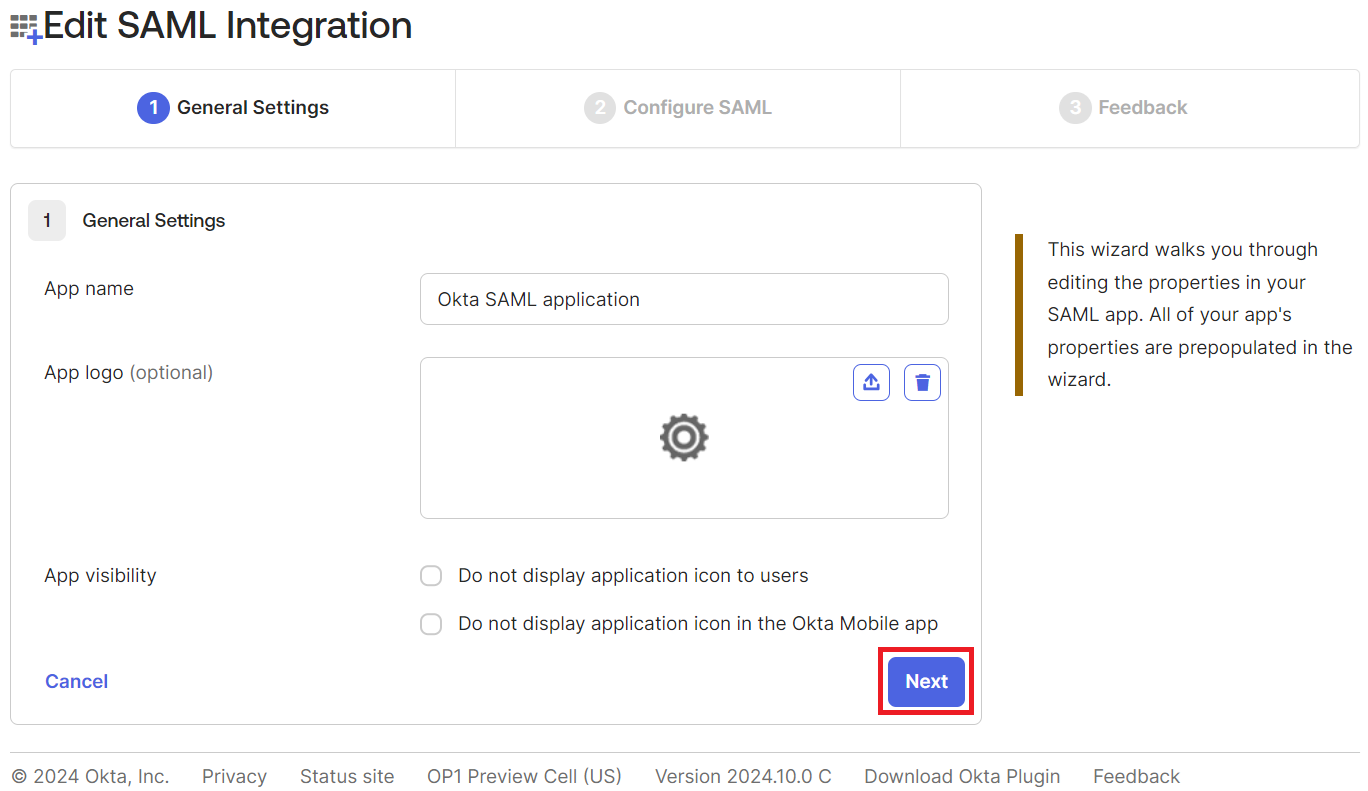
- Under the General Settings tab, in the App name field, enter a unique name for the application.

- Click Next.
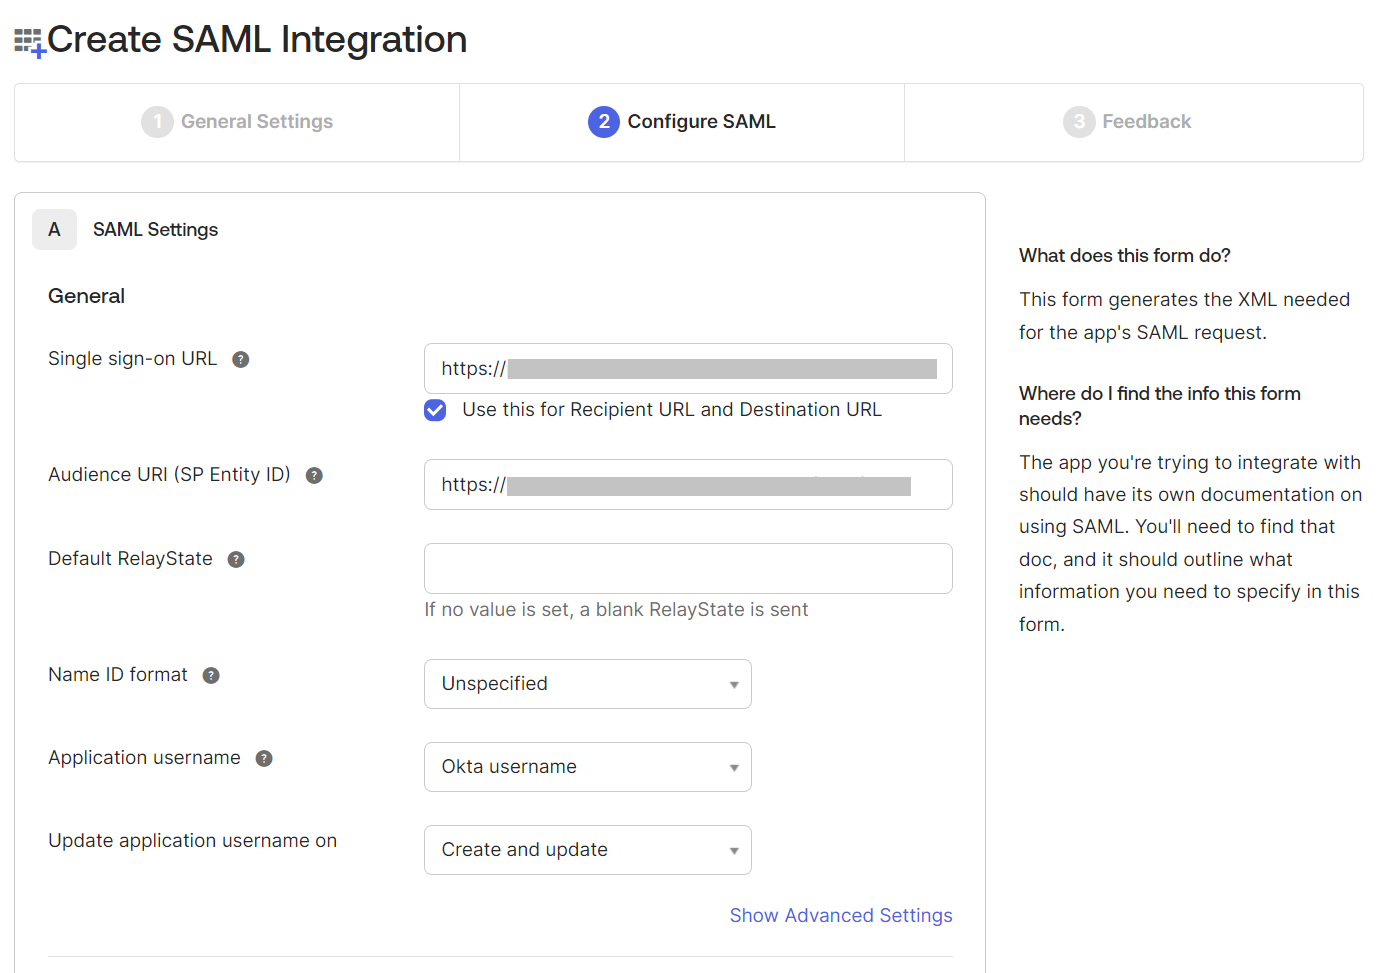
- Under the Configure SAML tab, in the SAML Settings section, copy the ACS URL value from the JoinNow Management Portal and paste the value in the Single sign-on URL field (refer to the Creating a Core Provider in the JoinNow Management Portal section, step 11).
- Copy the Entity ID value from the JoinNow Management Portal and paste the value in the Audience URI (SP Entity ID) field (refer to the Creating a Core Provider in the JoinNow Management Portal section, step 11).

- Scroll down to the bottom of the page and click Next.
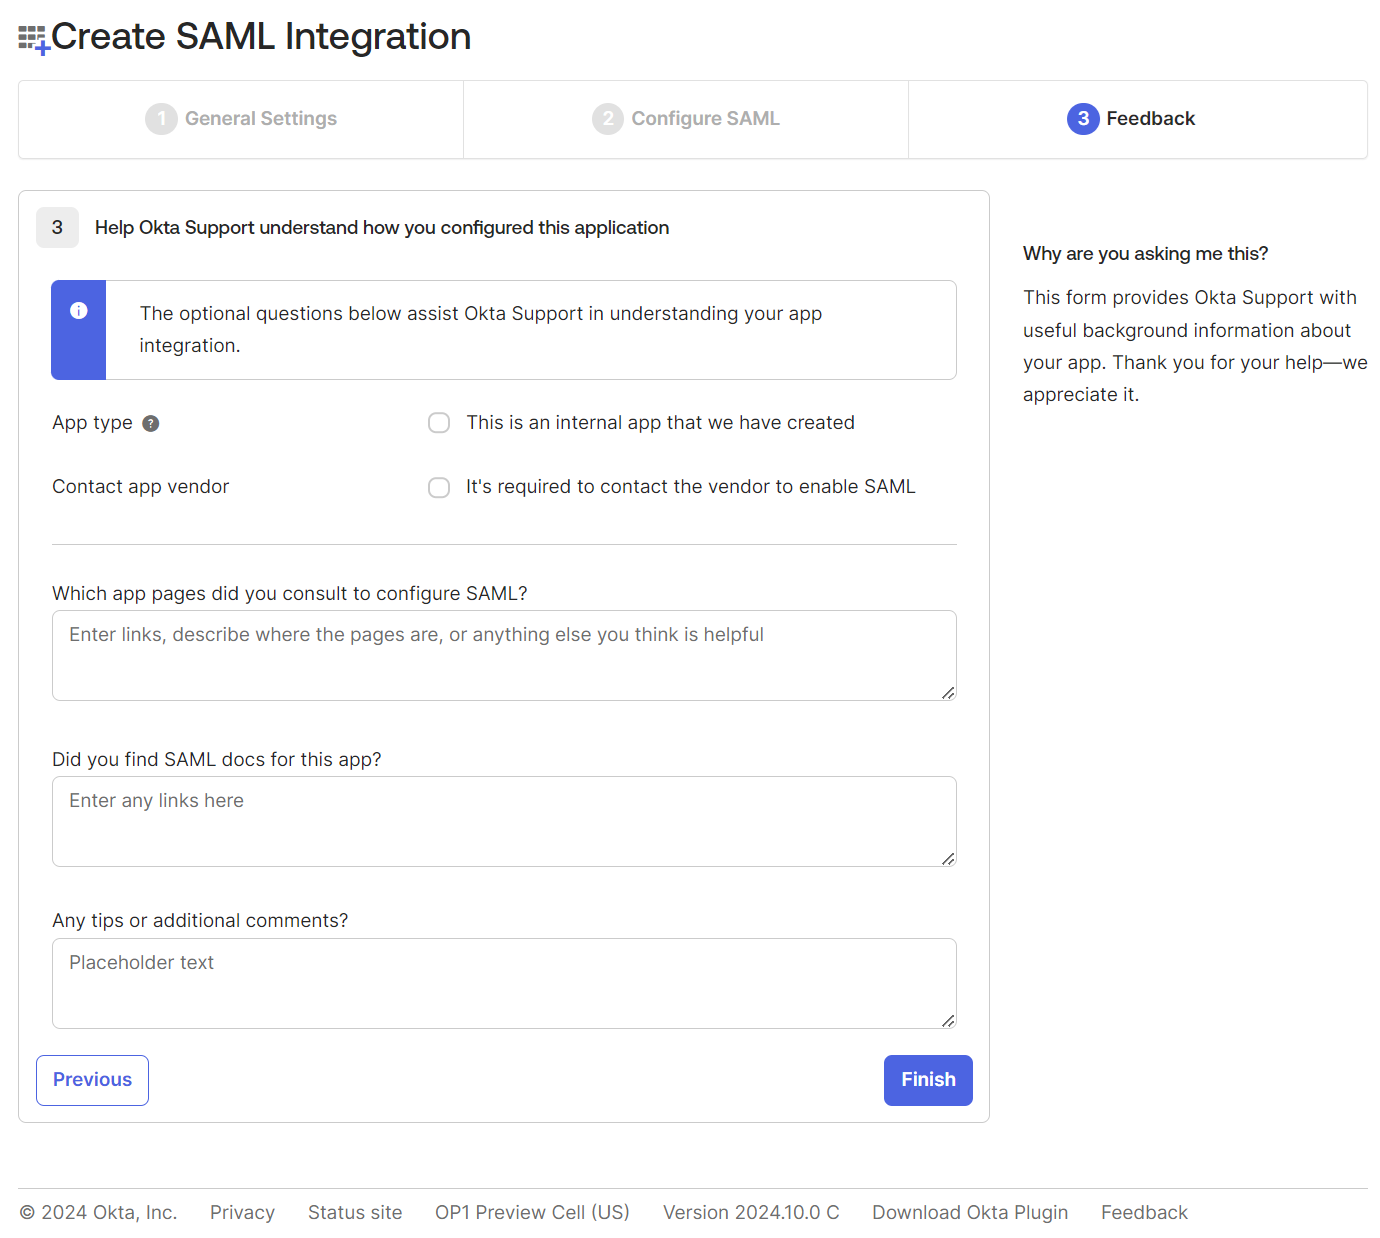
- Enter the optional details on the Feedback page and click Finish.

To map attributes in the SAML provider, perform the following steps:
- Log in to the Okta portal.
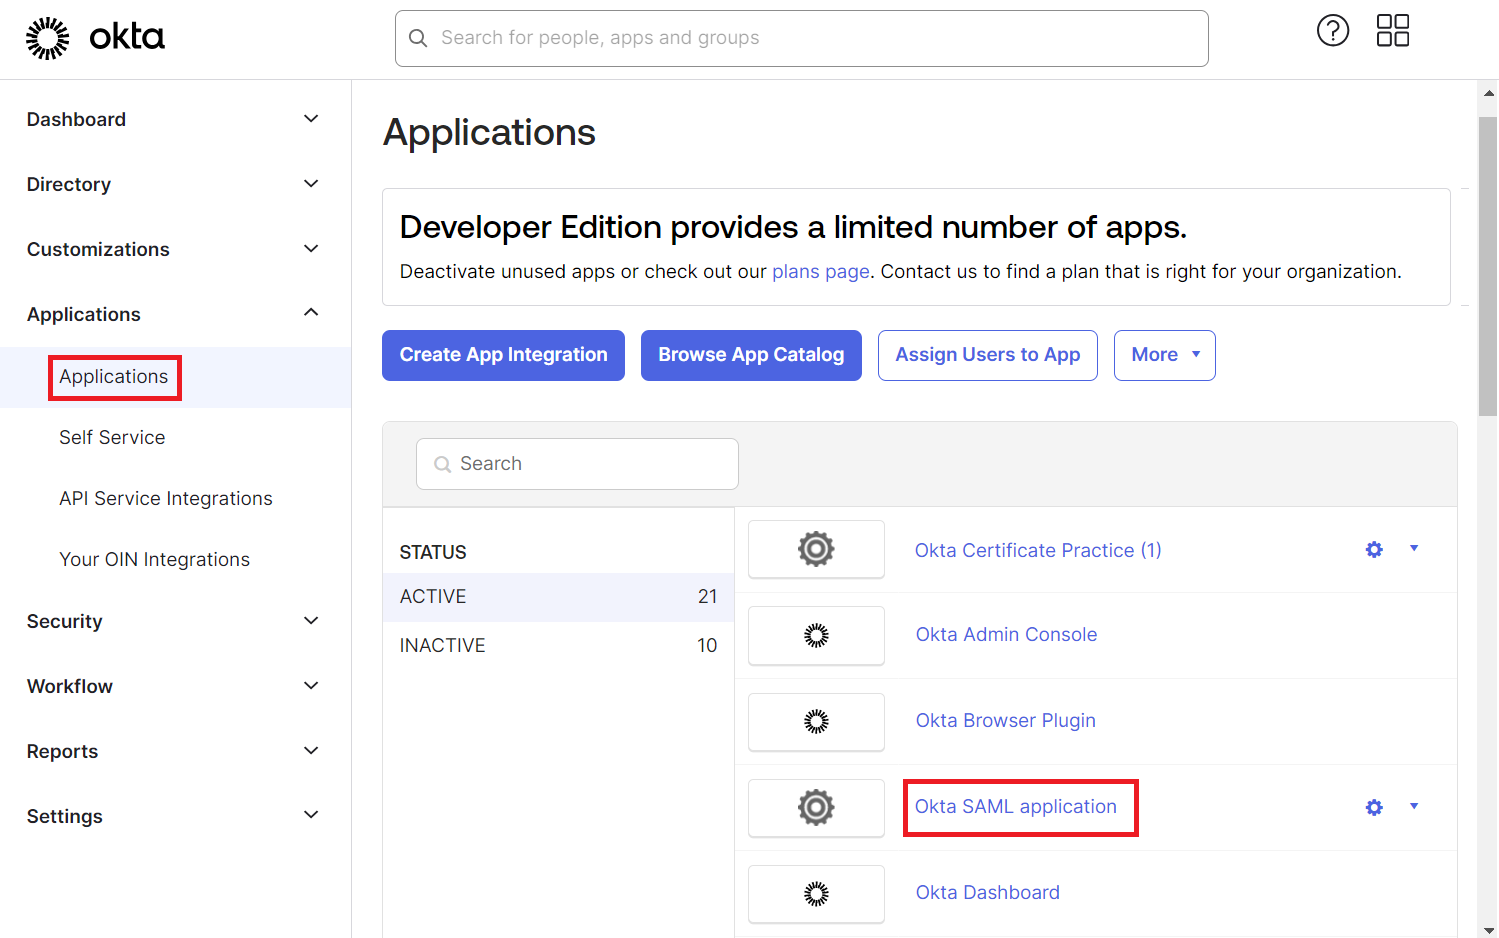
- Navigate to Applications > Applications.
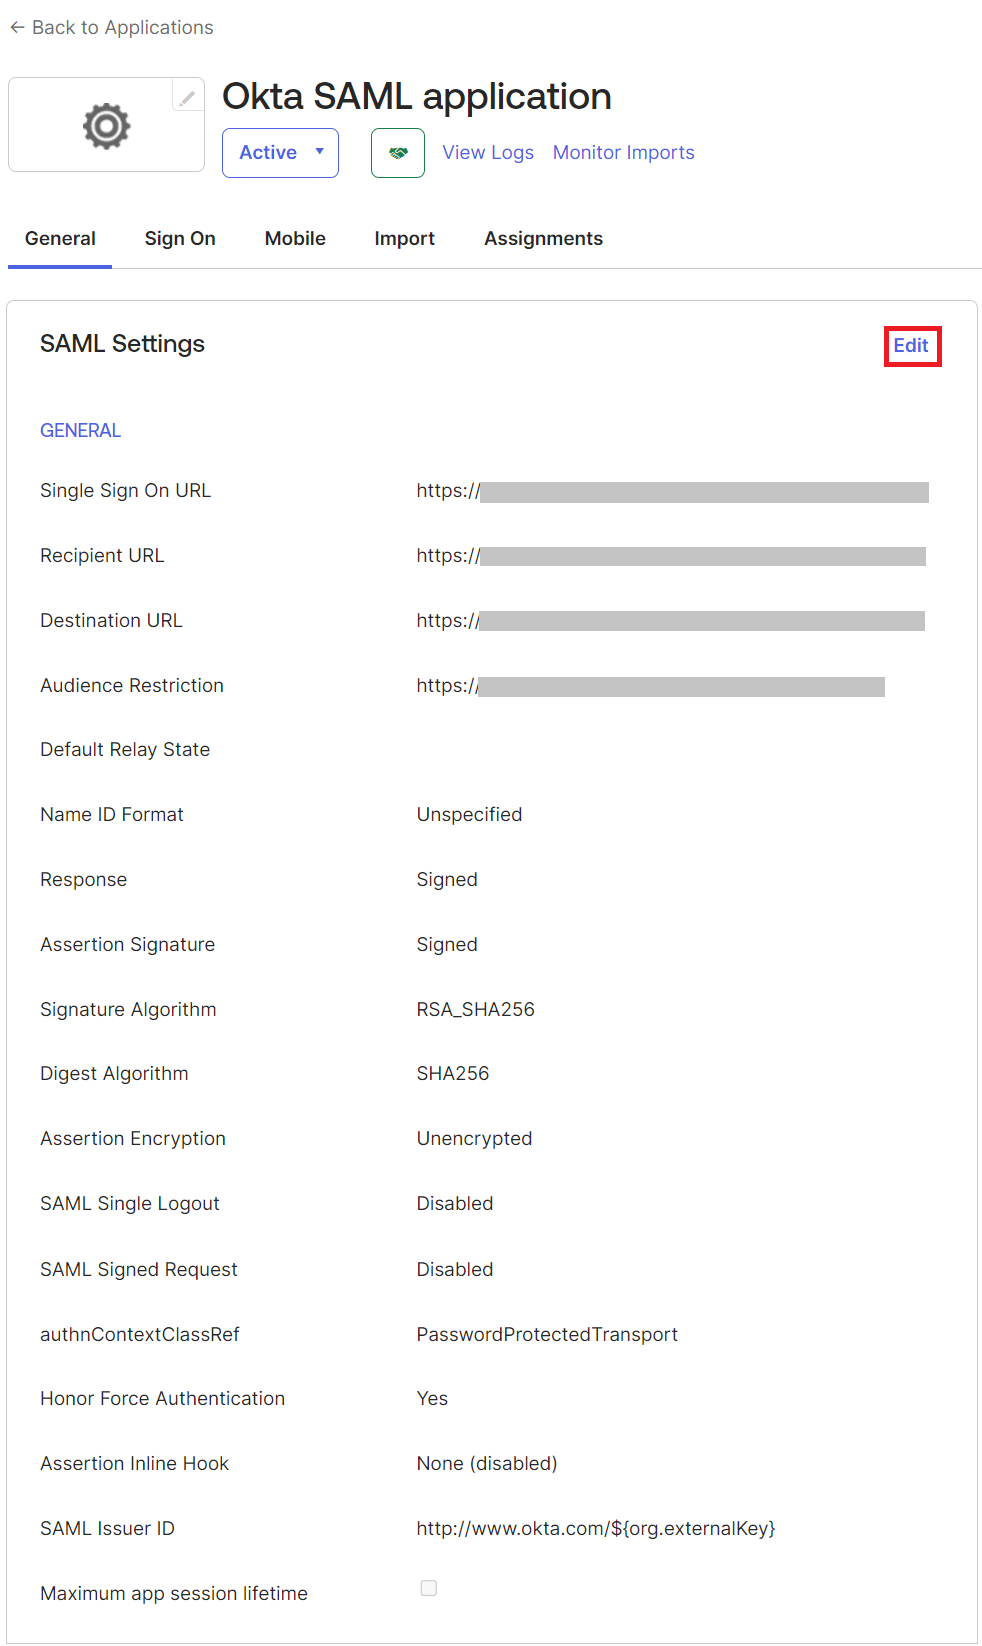
- On the Applications page, open the newly created app integration and then click the General tab.

- Under the General tab, scroll down to the SAML Settings section and click the Edit link.

- Click Next.

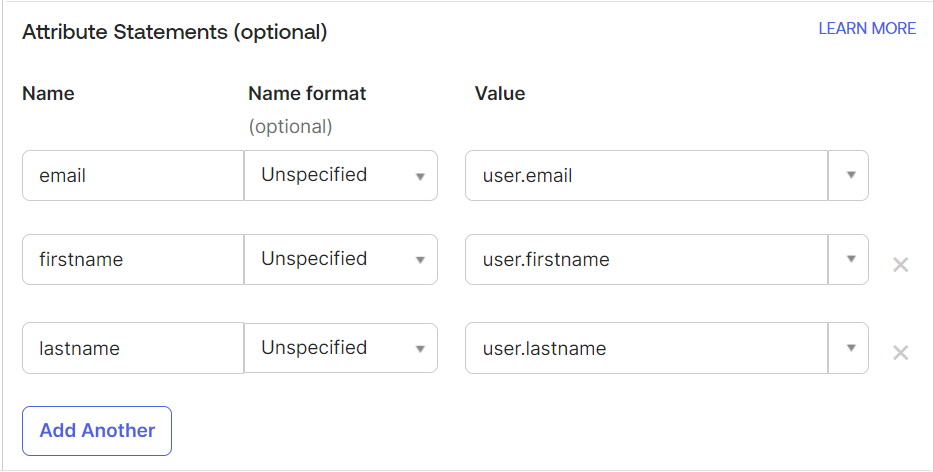
- Under the Configure SAML tab, scroll down to the Attribute Statements (optional) section and enter the following attributes in the fields:

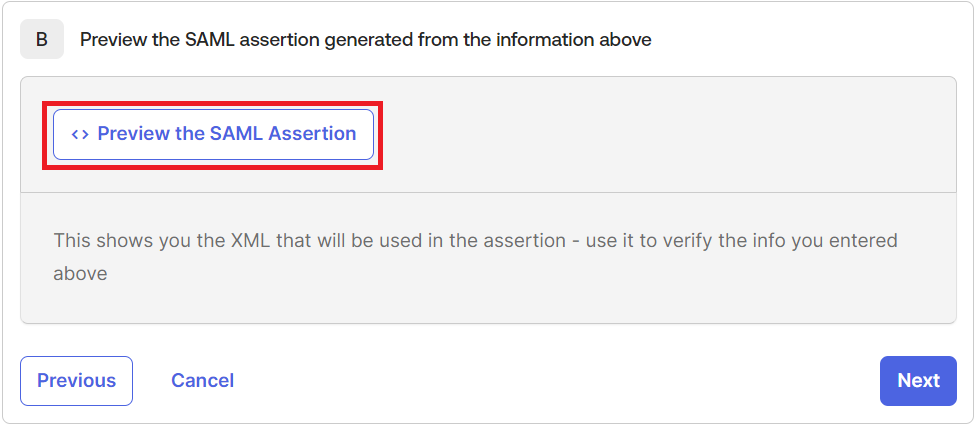
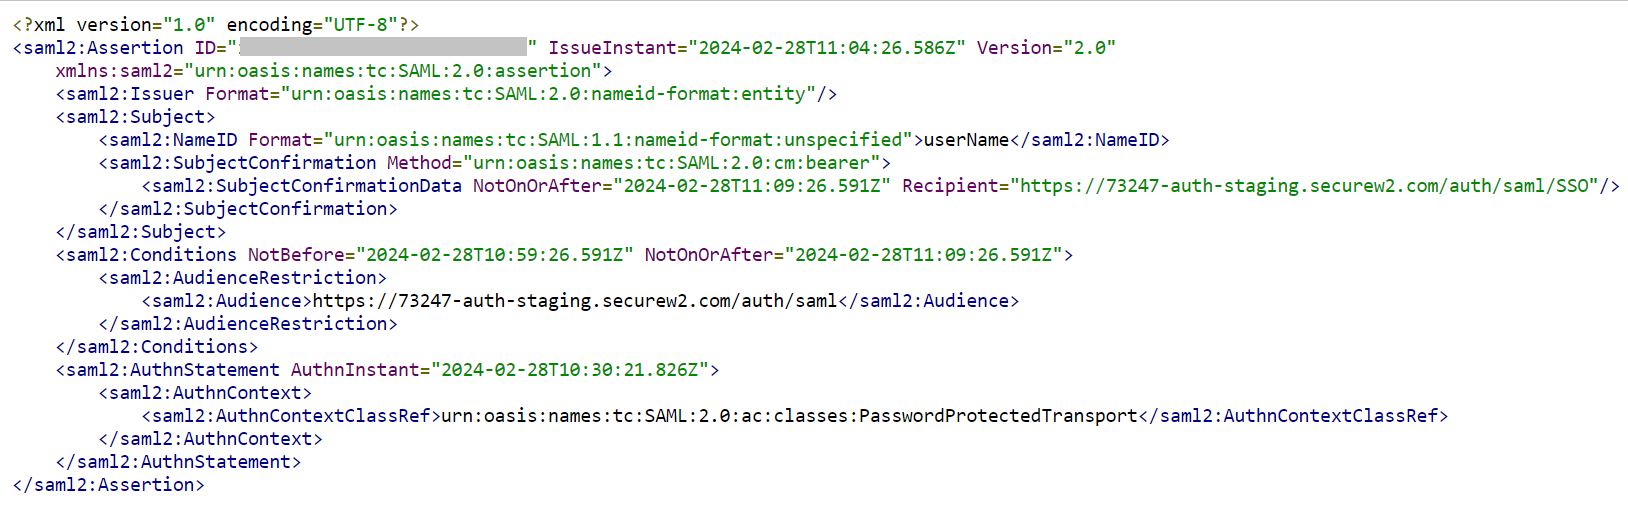
- Scroll down to the Preview the SAML assertion generated from the information above section and click the Preview the SAML Assertion button. The Core Provider metadata is displayed in a new tab.

- Copy the entire content, paste it into a text editor, and then save the metadata as an .xml file on your computer. You can use this metadata to integrate the JoinNow Management Portal with Okta.

- To configure the JoinNow Management Portal for attribute mapping:
- Navigate to Integration Hub > Core Platforms and click the Edit link of the Core Provider you created earlier (refer to the Creating a Core Provider in the JoinNow Management Portal section).

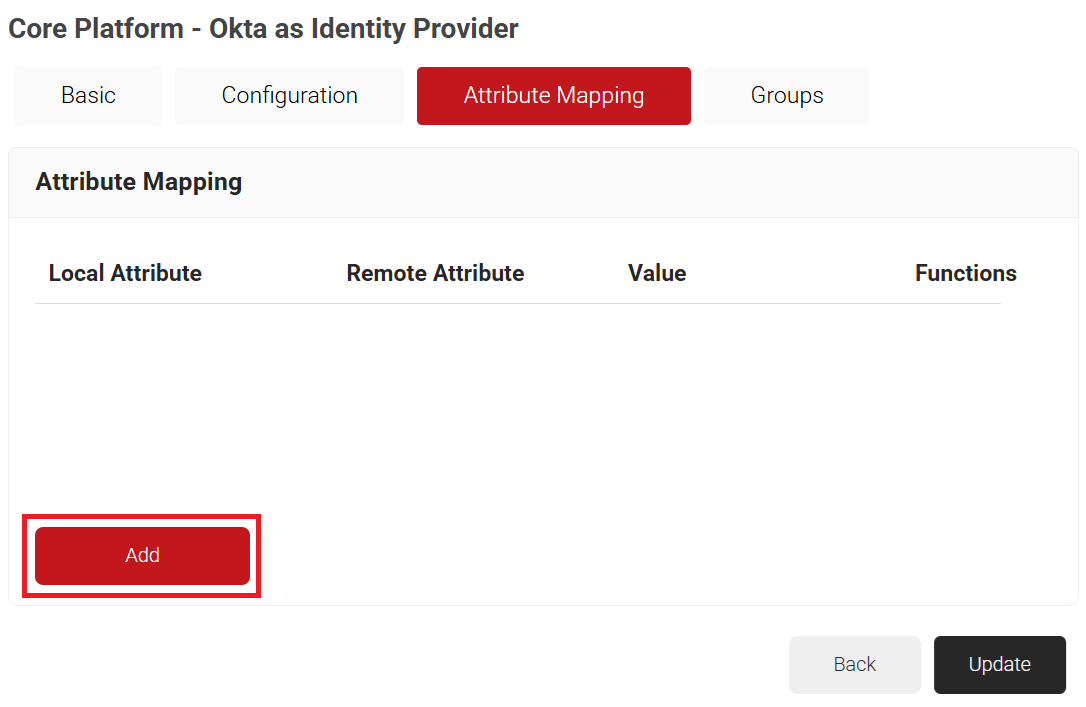
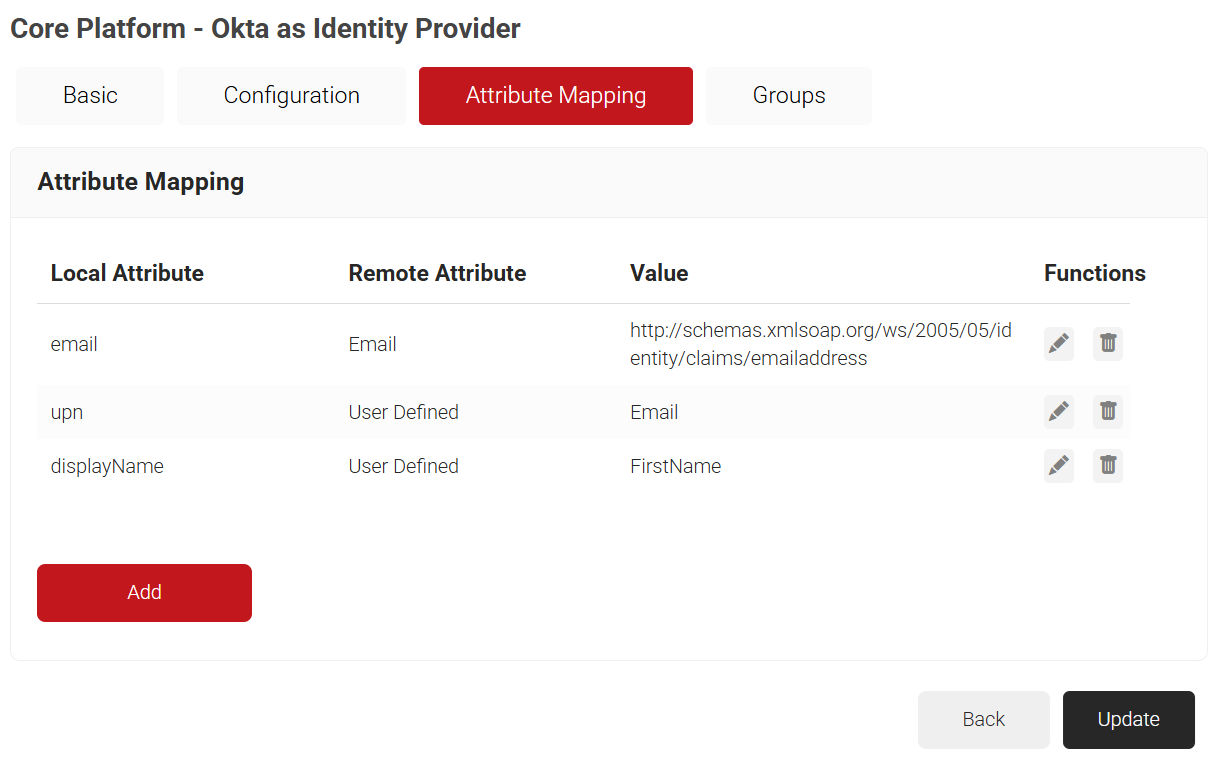
- Select the Attribute Mapping tab and then click Add.

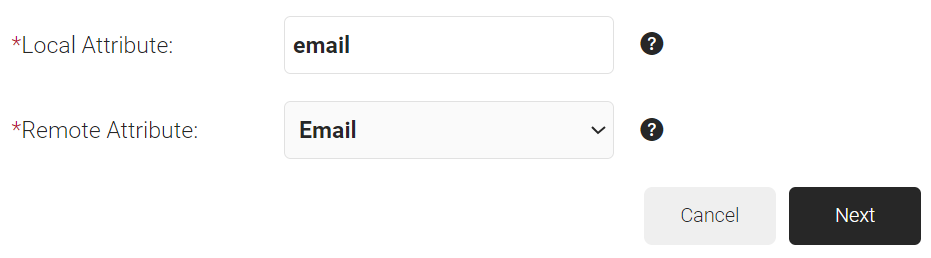
- In the Local Attribute field, enter email as the name of the variable.
- From the Remote Attribute drop-down list, select Email.

- Click Next.
- Click Add.
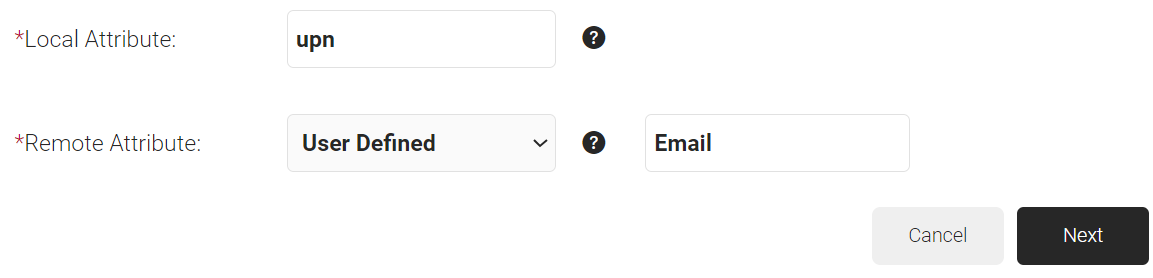
- In the Local Attribute field, enter upn as the name of the variable.
NOTE: User Principal Name (upn) is the first thing that is authenticated against in the RADIUS server. This is useful when a user connects to your network and wants to use the eduroam because then it can find the name of the university in the email address.
- From the Remote Attribute drop-down list, select User Defined. Enter Email in the field that appears next to the Remote Attribute field.

- Click Next.
- Click Add.
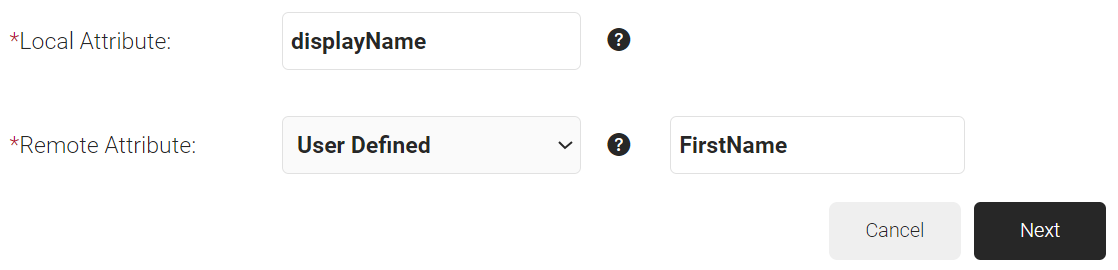
- In the Local Attribute field, enter displayName as the variable’s name.
- From the Remote Attribute drop-down list, select User Defined. Enter FirstName in the field that appears next to the Remote Attribute field.

- Click Next.

- Click Update.
- Navigate to Integration Hub > Core Platforms and click the Edit link of the Core Provider you created earlier (refer to the Creating a Core Provider in the JoinNow Management Portal section).

To upload the Okta metadata to the JoinNow Management Portal:
- Log in to the JoinNow Management Portal.
- Navigate to Integration Hub > Core Platforms.
- On the Identity Providers page, click the Edit link for the Core Provider you created earlier (refer to the Creating a Core Provider in the JoinNow Management Portal section).
- Select the Configuration tab.
- Under the Core Provider Info section, in the Metadata field, click the Choose file button to upload the metadata file obtained from Okta (refer to the Configuring Attribute Mapping in the JoinNow Management Portal section, step 8).

- Click Upload and then click Update.

To assign a user to the application:
- Log in to the Okta portal.
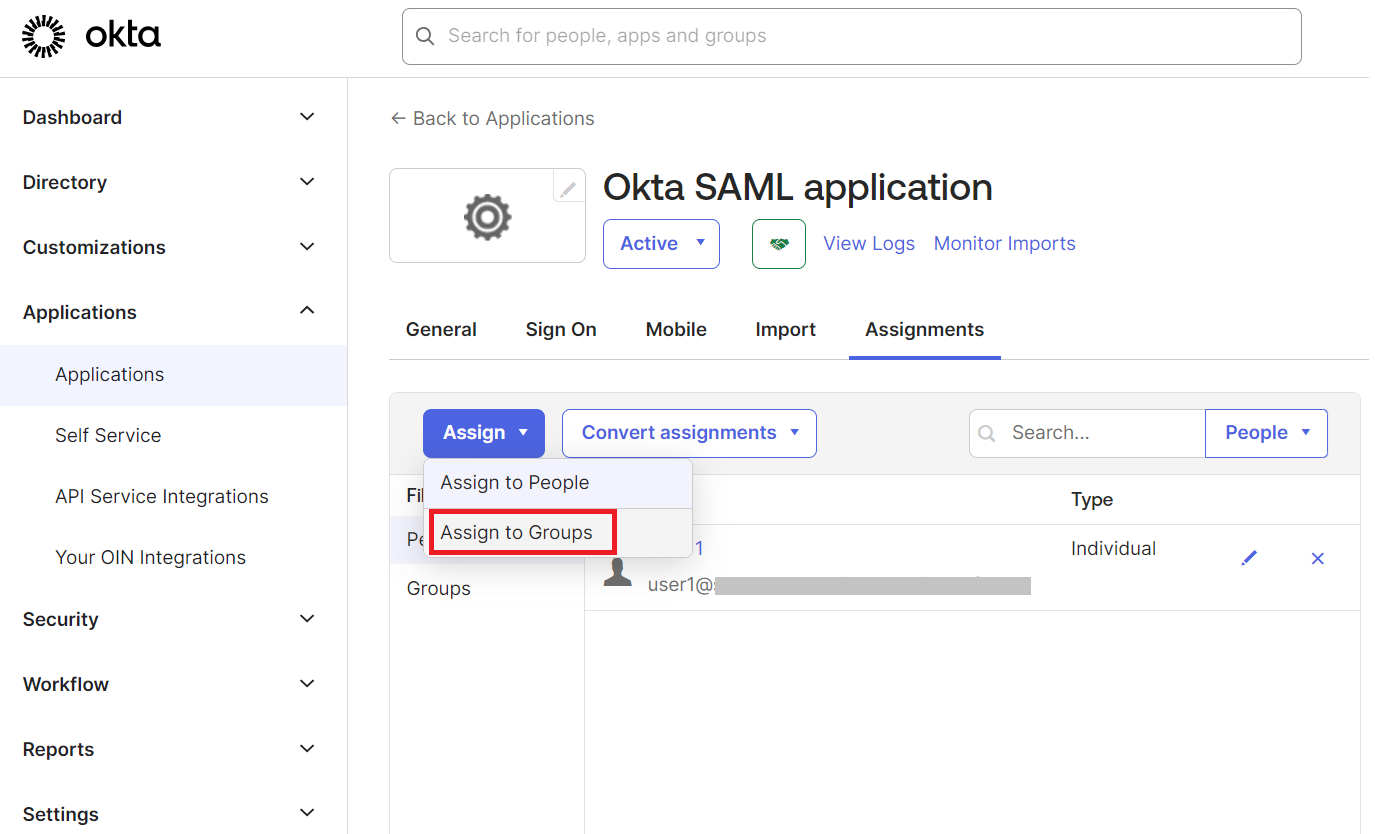
- Navigate to Applications > Applications and then select the newly created app (refer to the Creating a SAML Application in Okta section).
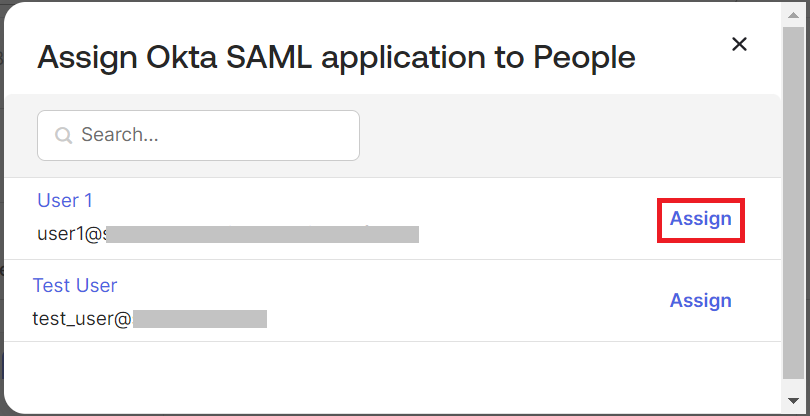
- Under the Assignments tab, from the Assign drop-down menu, click Assign to People.

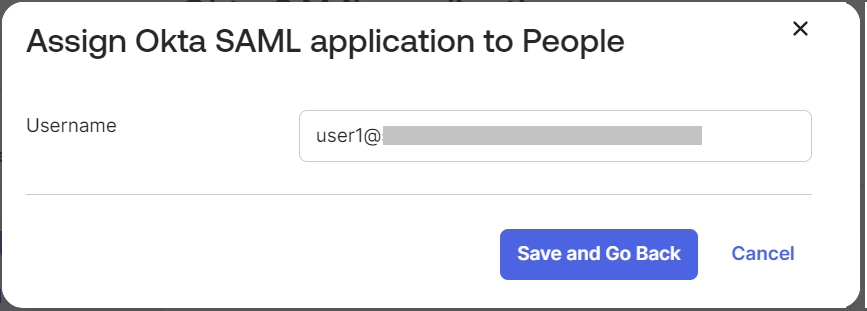
- On the pop-up window, click Assign for the corresponding users.


- Under the Assignments tab, from the Assign drop-down menu, click Assign to People.

- To create a group in the Okta portal:
- Log in to the Okta portal.
- Navigate to Directory > Groups and click Add group to create a group.
- To assign a group to the application:
- Navigate to Applications > Applications and then select the newly created app (refer to the Creating a SAML Application in Okta section).
- Under the Assignments tab, from the Assign drop-down menu, click Assign to Groups.

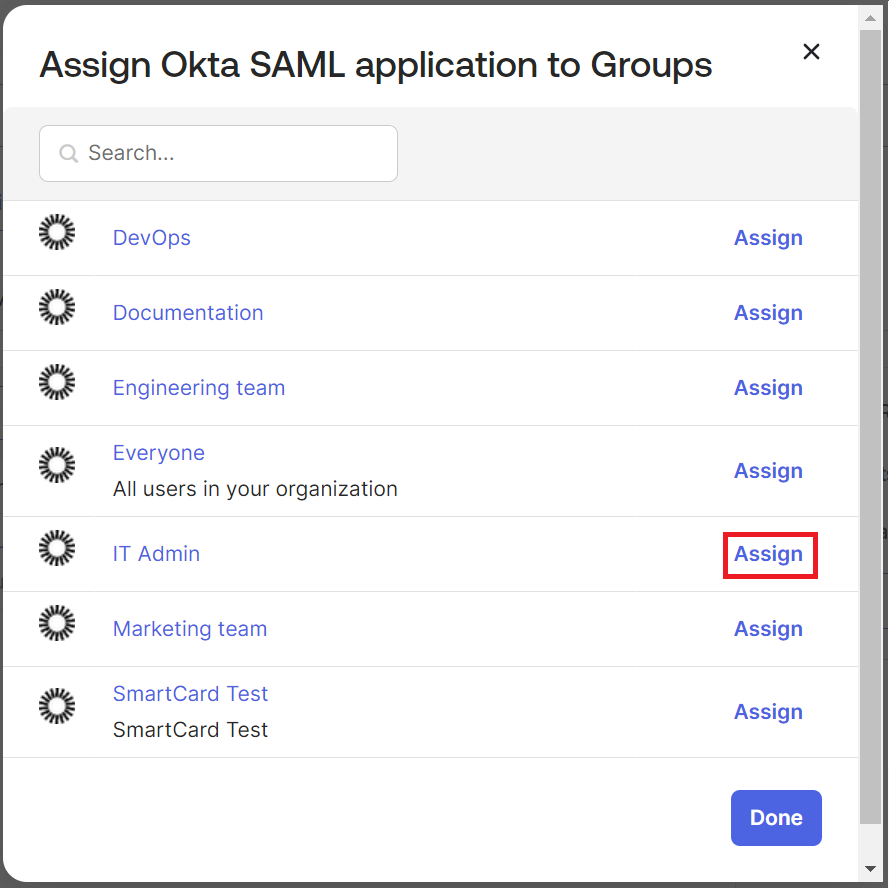
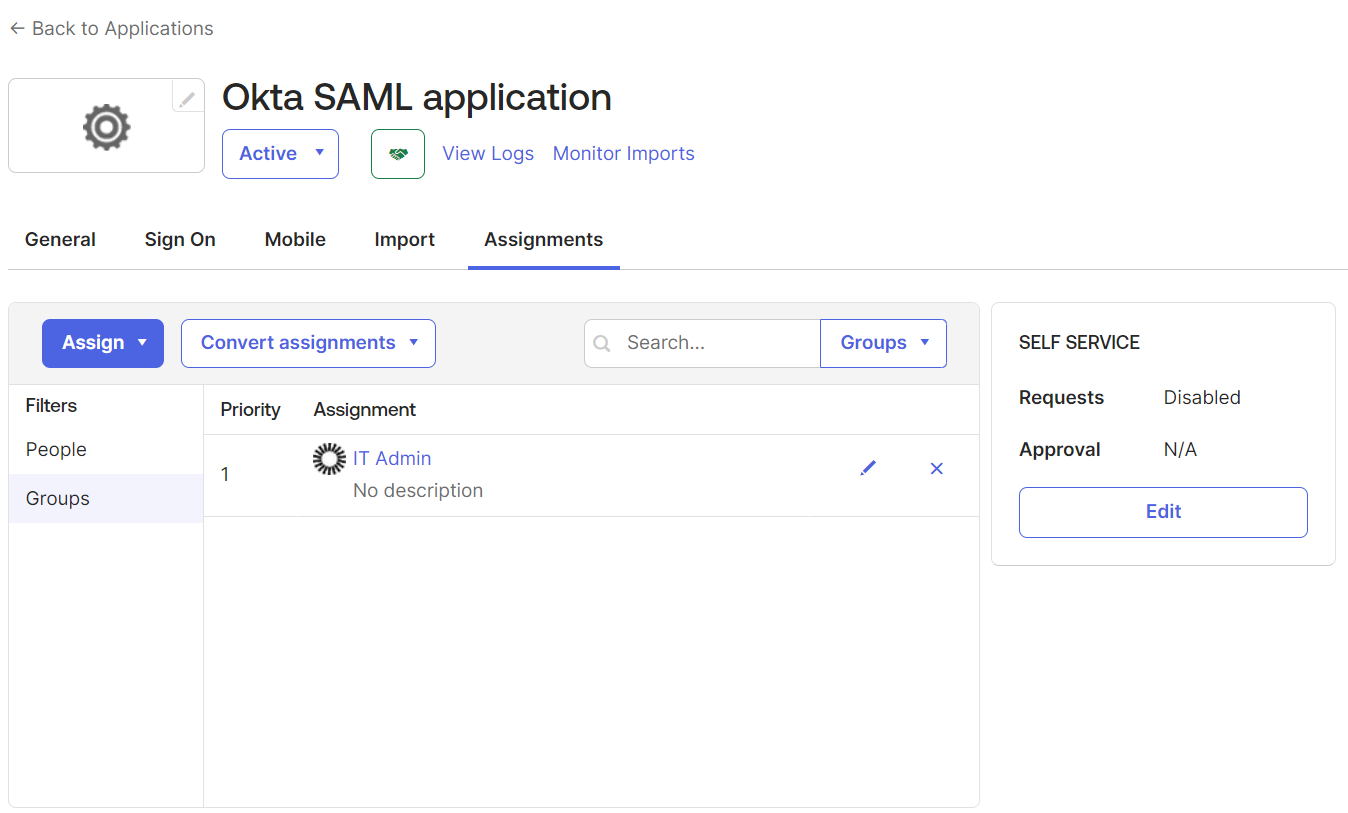
- In the pop-up window, click Assign for the corresponding groups.


- To add and map the available groups, perform the following steps:
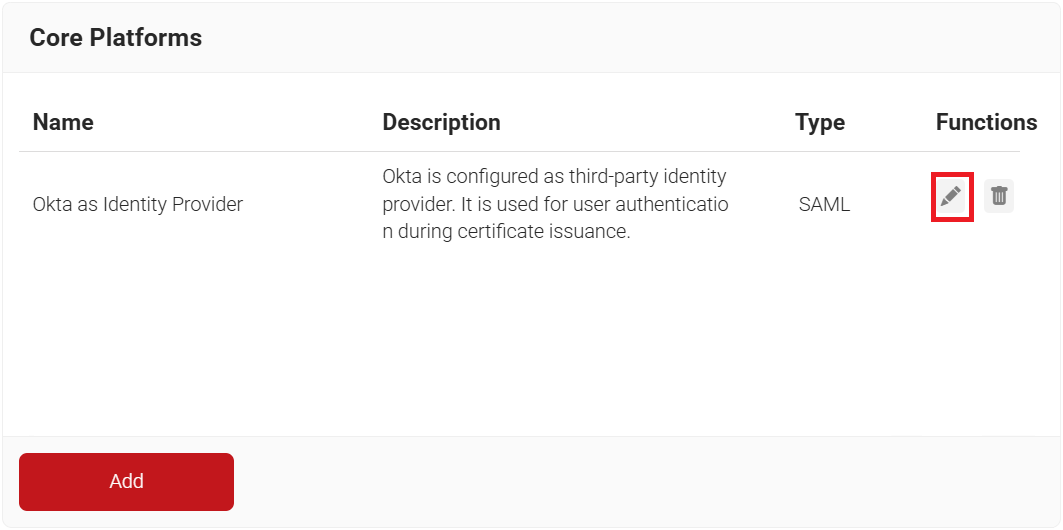
- Navigate to Integration Hub > Core Platforms and click the Edit link of the Core Provider you created earlier (refer to the Creating a Core Provider in the JoinNow Management Portal section).
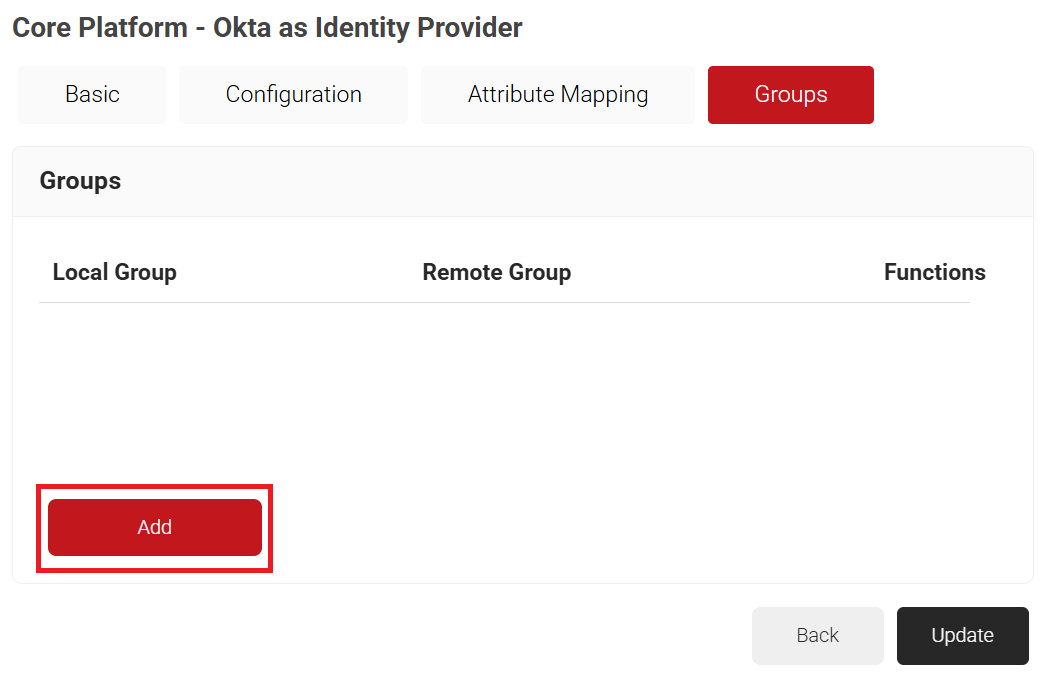
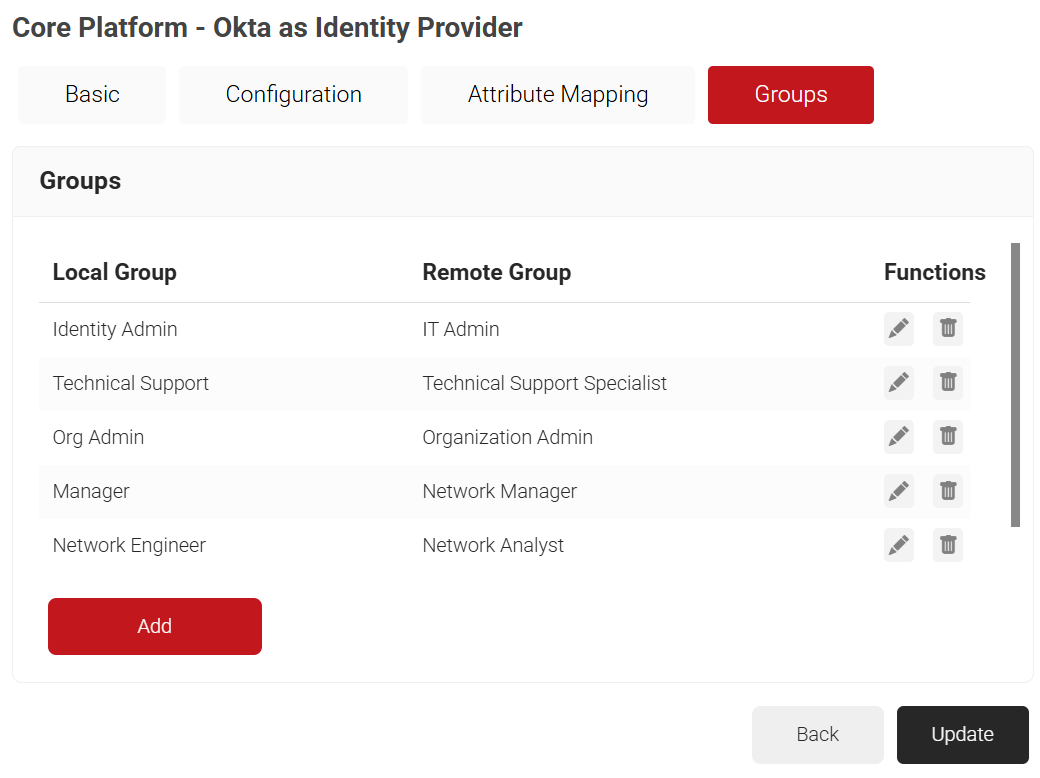
- Select the Groups tab and then click Add.

- In the Local Group field, enter a name for the group. This group name can be used to configure network policies.
- In the Remote Group field, enter the name of your group as it is configured in the Okta portal.

- Click Create.
- Repeat as necessary for any group you wish to create Network Policies around.

- Click Update.
- Navigate to Integration Hub > Core Platforms and click the Edit link of the Core Provider you created earlier (refer to the Creating a Core Provider in the JoinNow Management Portal section).

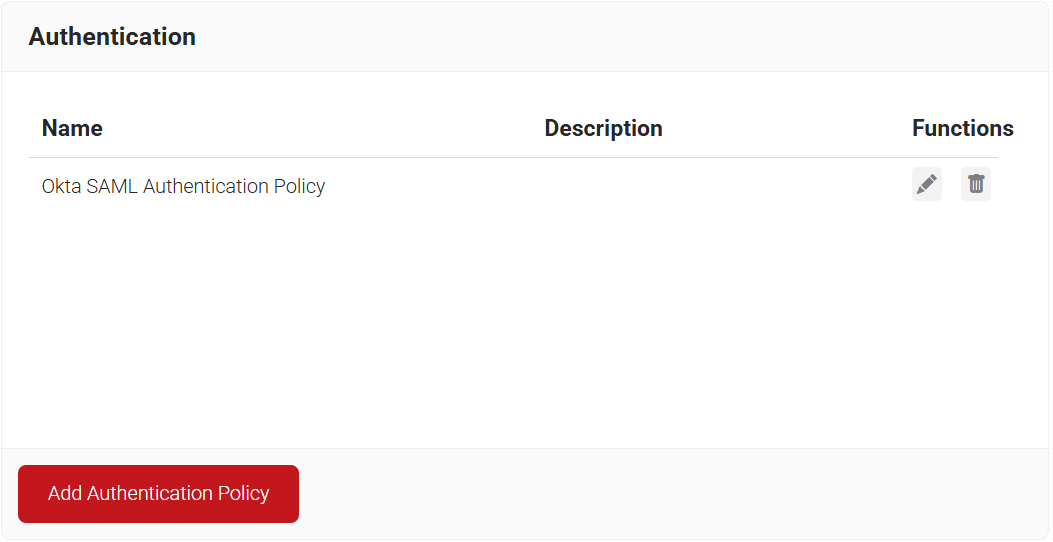
To create a new Authentication Policy, perform the following steps:
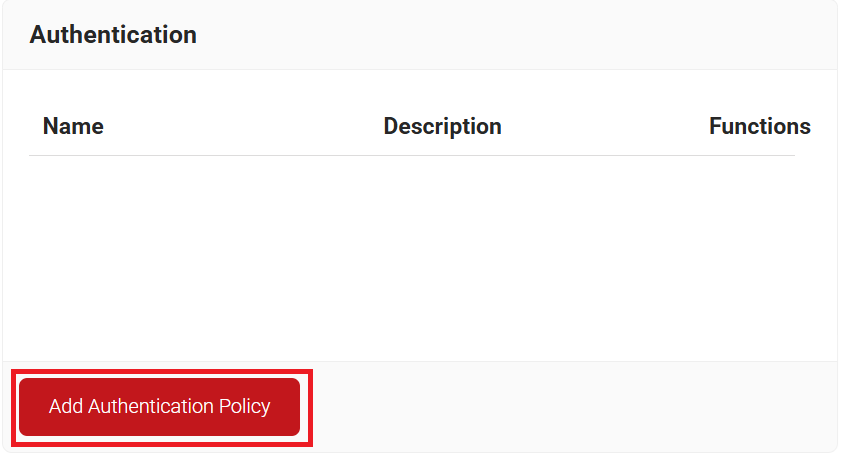
- Navigate to Policy Management > Authentication.
- On the Authentication page, click Add Authentication Policy.

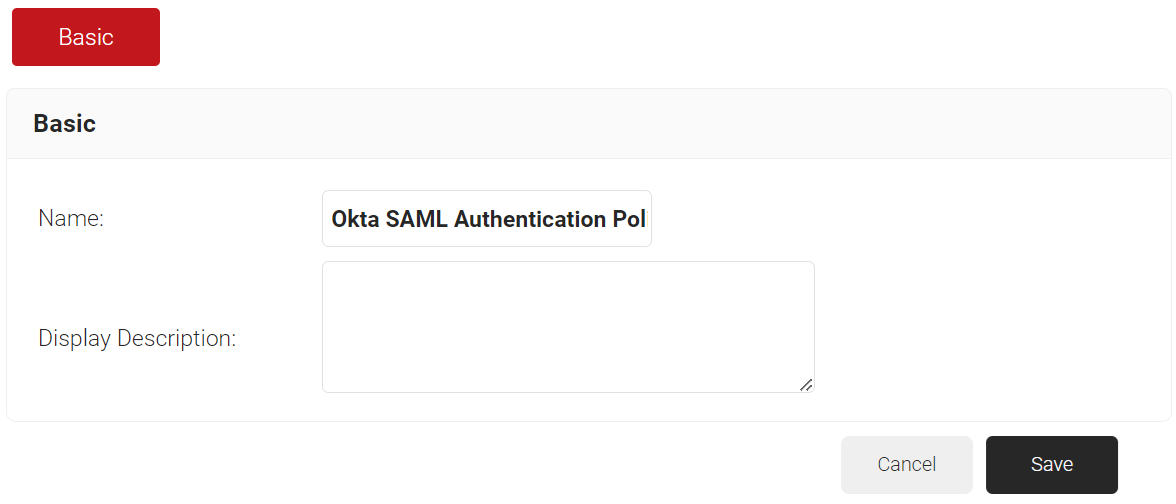
- In the Basic section, enter the name of the Authentication Policy in the Name field.
- In the Display Description field, enter a suitable description for the Authentication Policy.

- Click Save.
- Click the Conditions tab.
- From the Profile drop-down list, ensure that your network profile is selected.

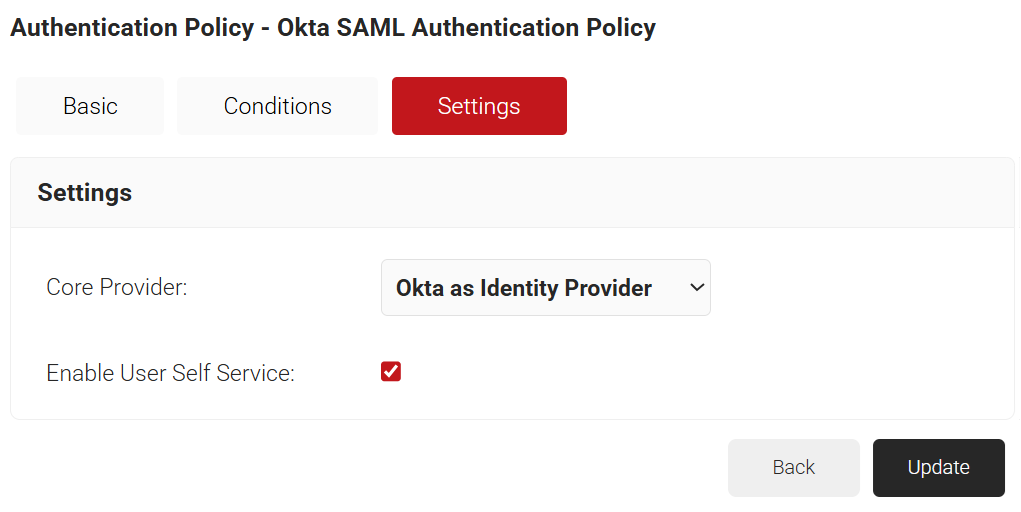
- Select the Settings tab.
- From the Core Provider drop-down list, select the Core Provider you created earlier (refer to the Creating a Core Provider in the JoinNow Management Portal section).
- Select the Enable User Self Service checkbox, if required.

- Click Update.


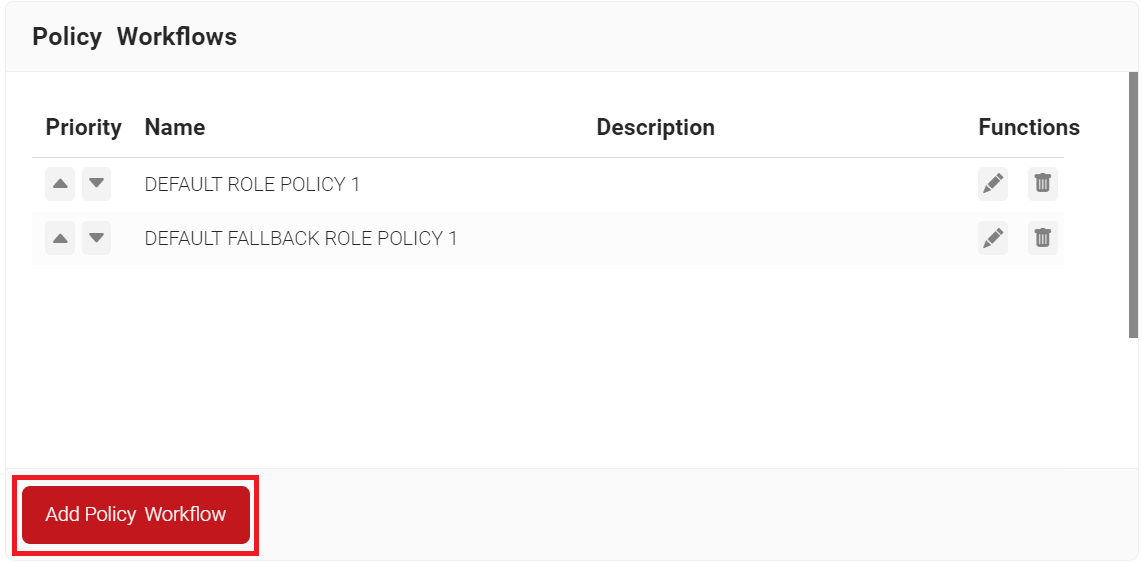
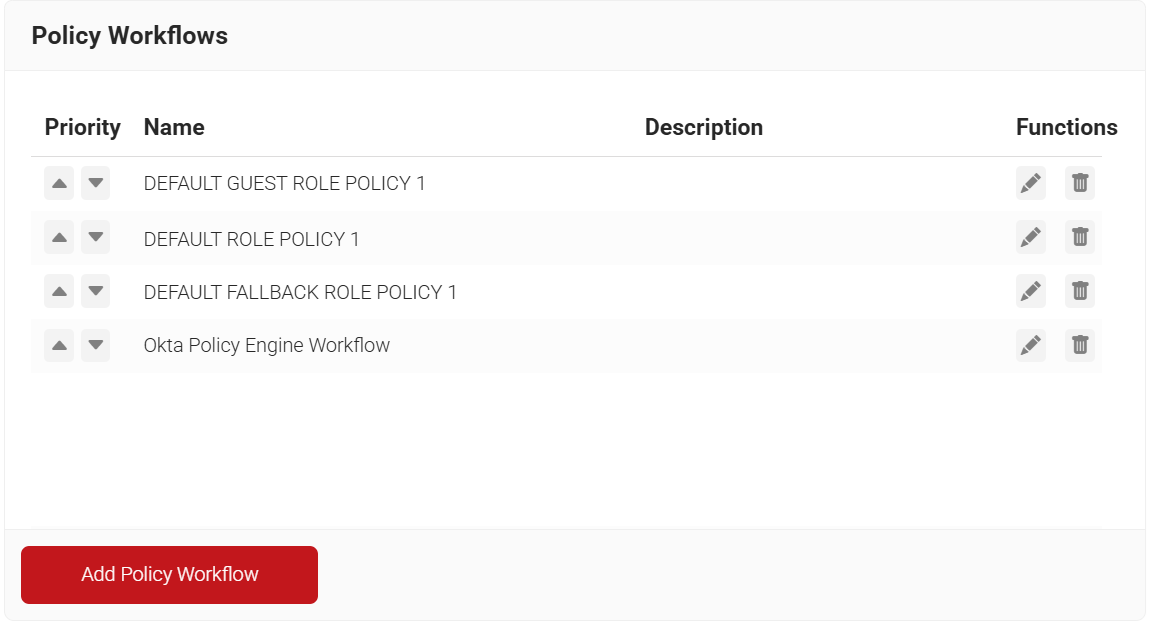
To add a Policy Workflow in the JoinNow Management Portal, perform the following steps:
- Navigate to Policy Management > Policy Workflows.
- Click Add Policy Workflow.

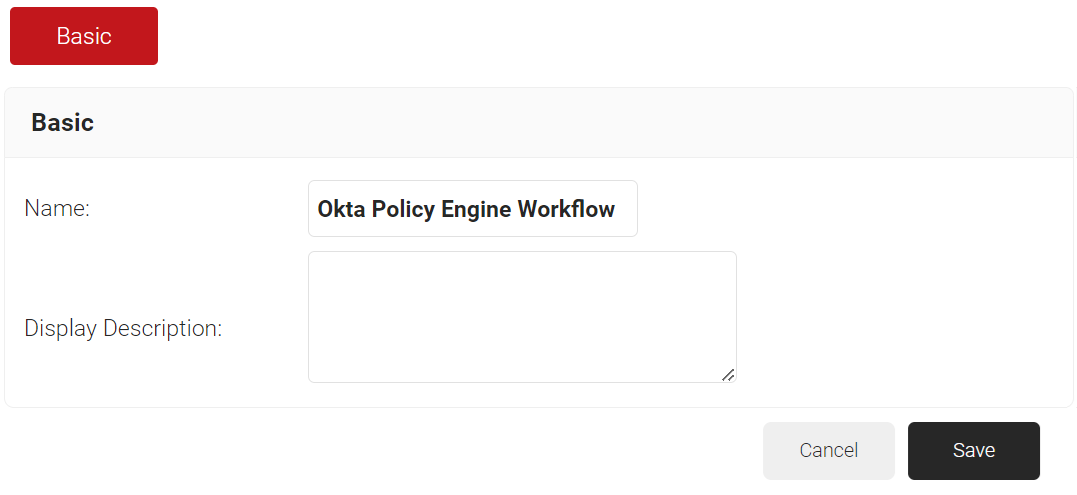
- In the Basic section, enter the name of the policy workflow in the Name field.
- In the Display Description field, enter a suitable description for the policy workflow.

- Click Save.
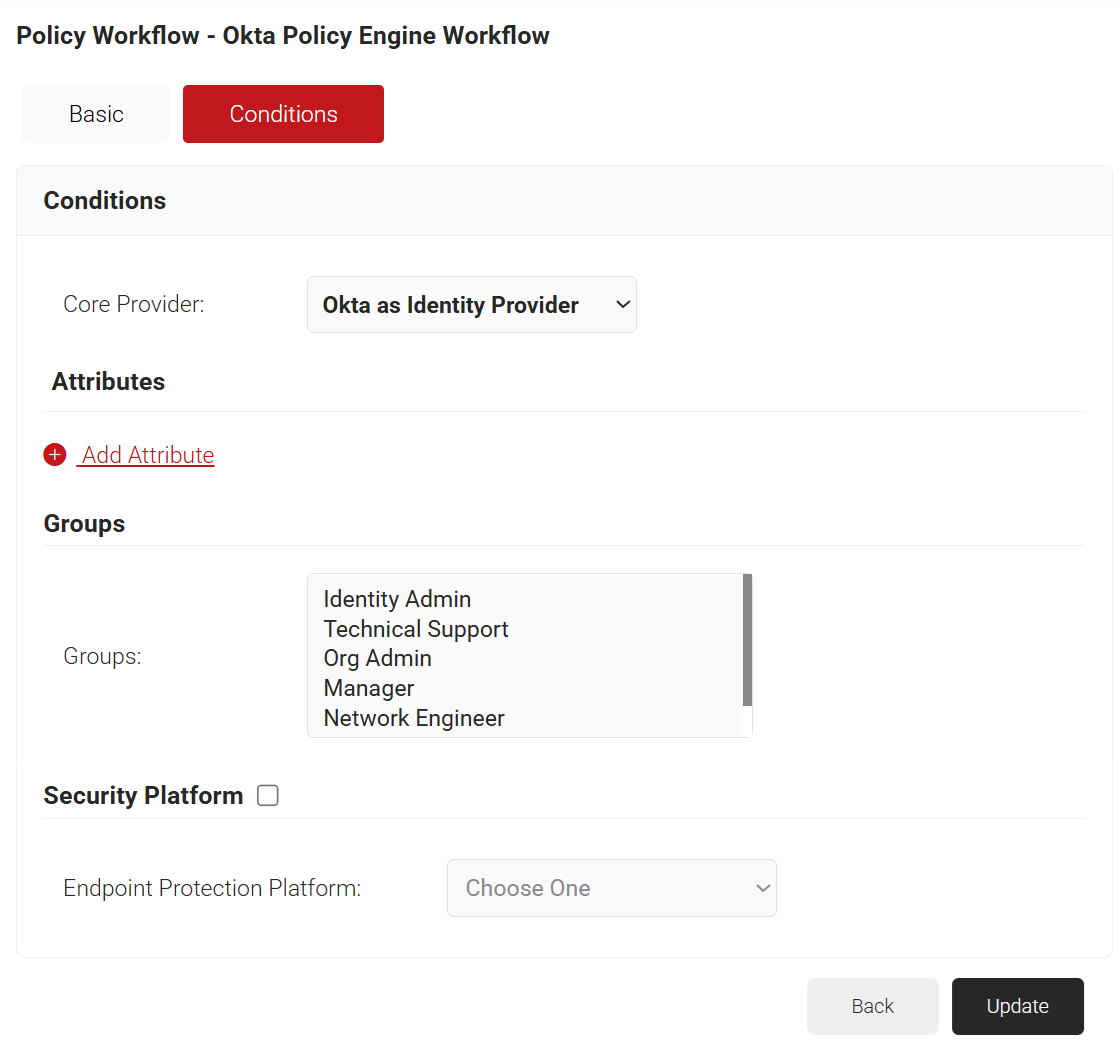
- Select the Conditions tab.
- From the Core Provider drop-down list, select the Core Provider that you created earlier (refer to the Creating a Core Provider in the JoinNow Management Portal section).

- Click Update.

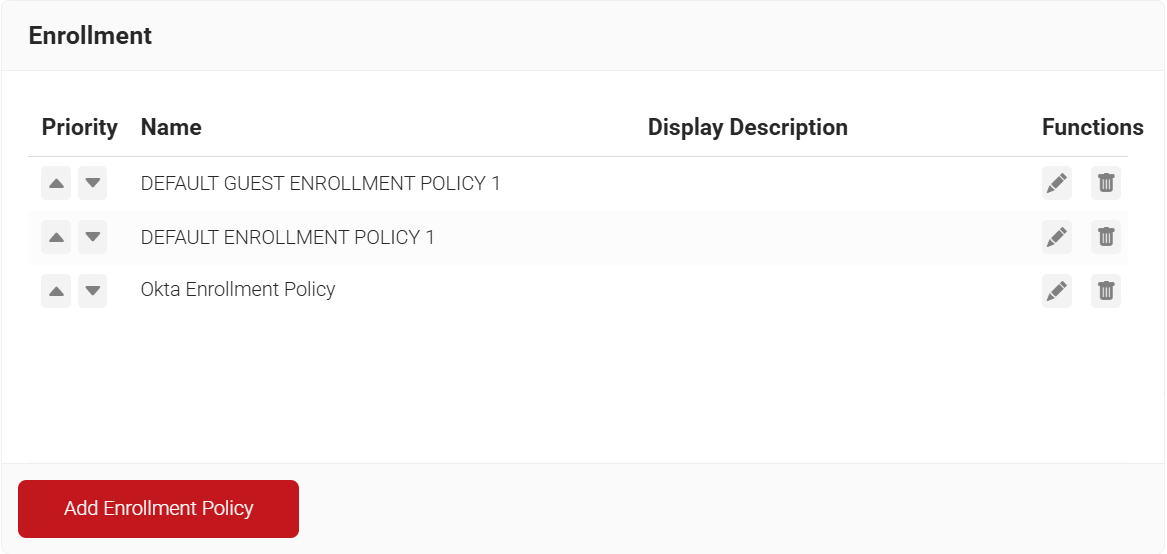
To configure an enrollment policy, perform the following steps:
- Navigate to Policy Management > Enrollment.
- Click Add Enrollment Policy.

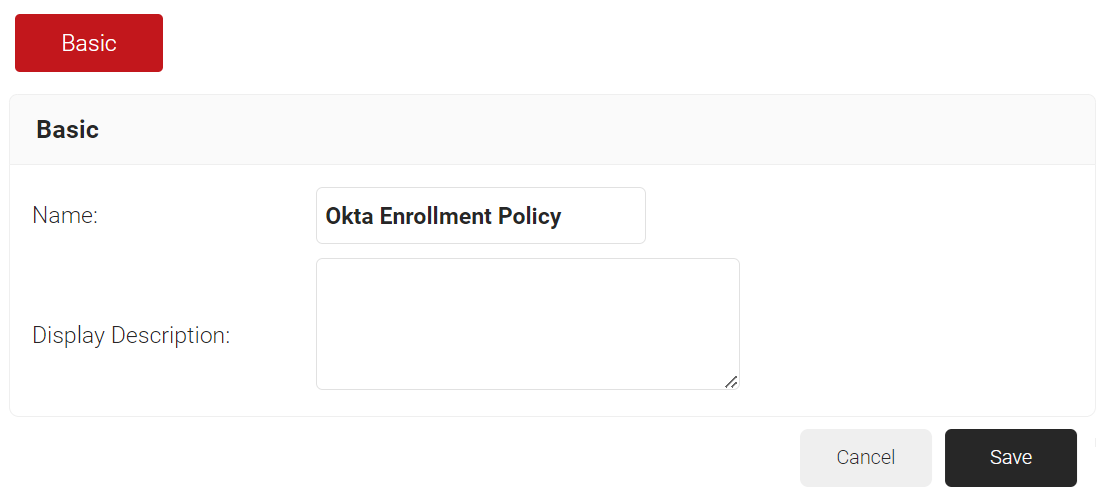
- In the Basic section, enter the name of the enrollment policy in the Name field.
- In the Display Description field, enter a suitable description for the enrollment policy.

- Click Save.
- The page refreshes, and the Conditions and Settings tabs are displayed.
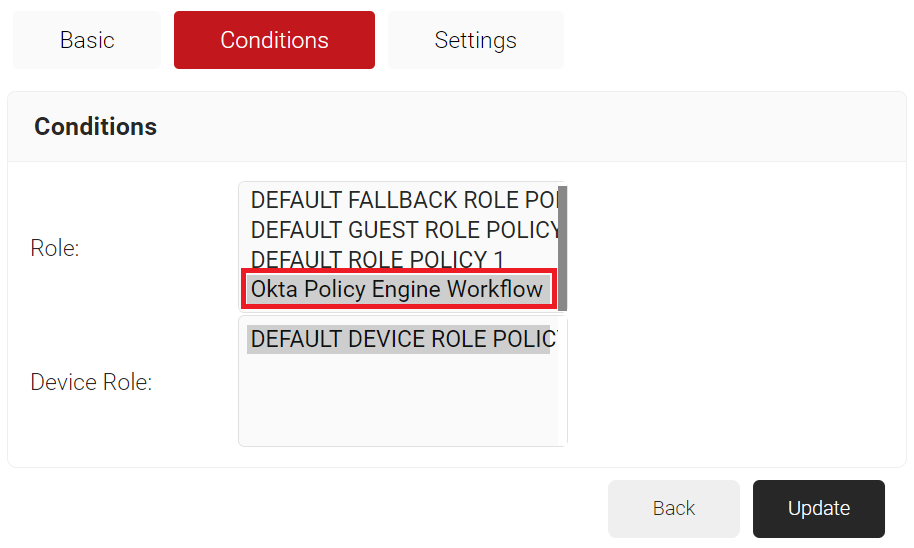
- Select the Conditions tab.
- In the Conditions section, from the Role list, select the role policy you created earlier (see the Configuring a Policy Workflow section).
- From the Device Role list, select DEFAULT DEVICE ROLE POLICY.

- Click Update.

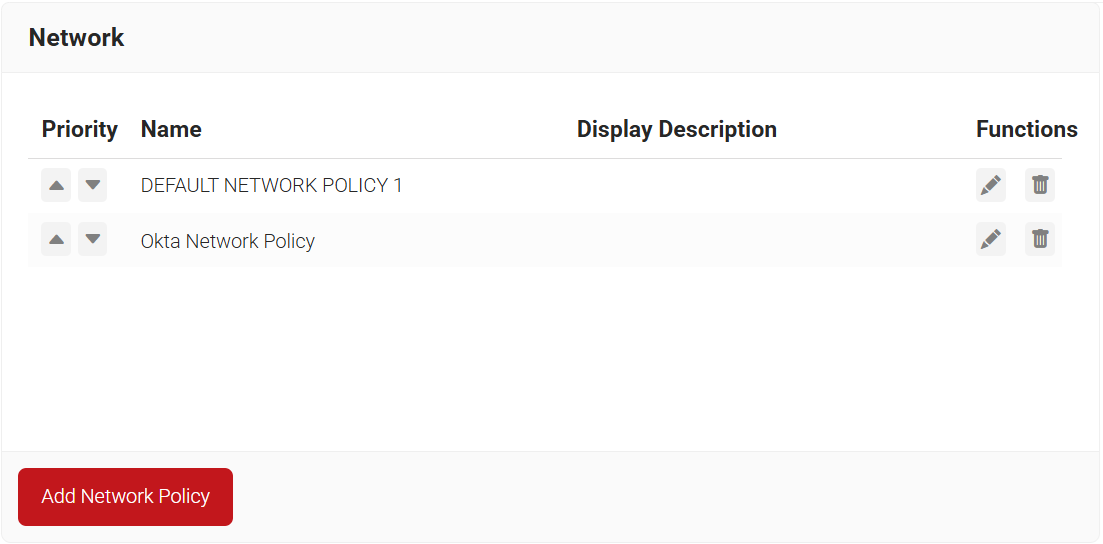
To configure the Network Policy, perform the following steps:
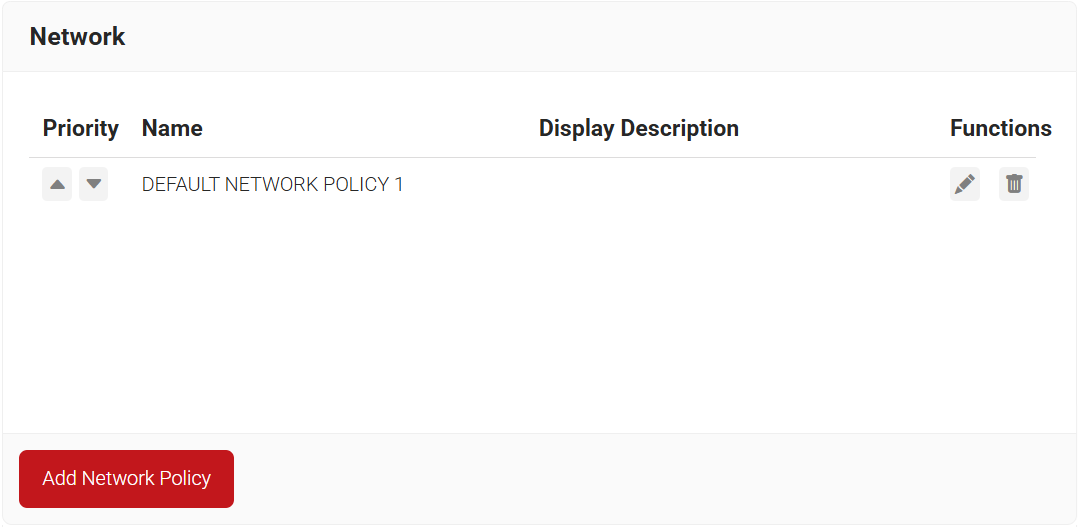
- Navigate to Policy Management > Network.
- Click Add Network Policy.

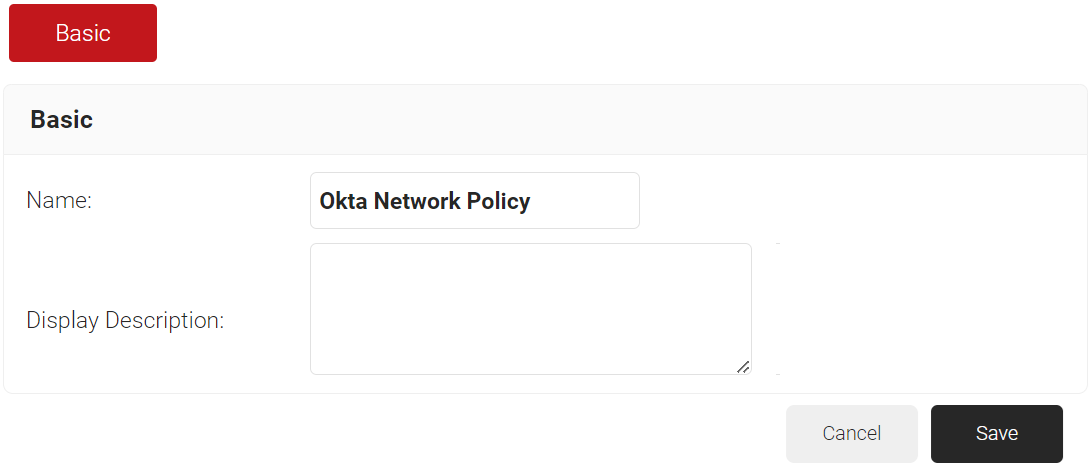
- In the Basic field, enter the name of the network policy in the Name field.
- In the Display Description field, enter a suitable description for the network policy.

- Click Save.
- The page refreshes and displays the Conditions and Settings tabs.
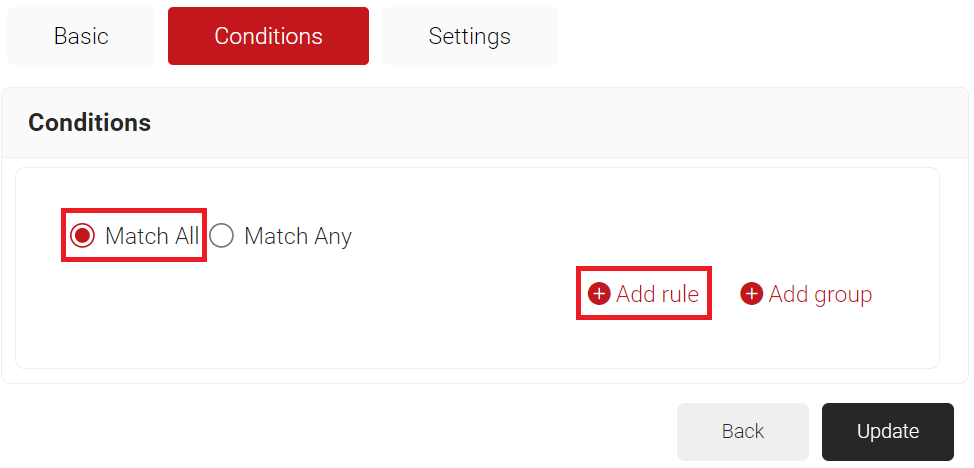
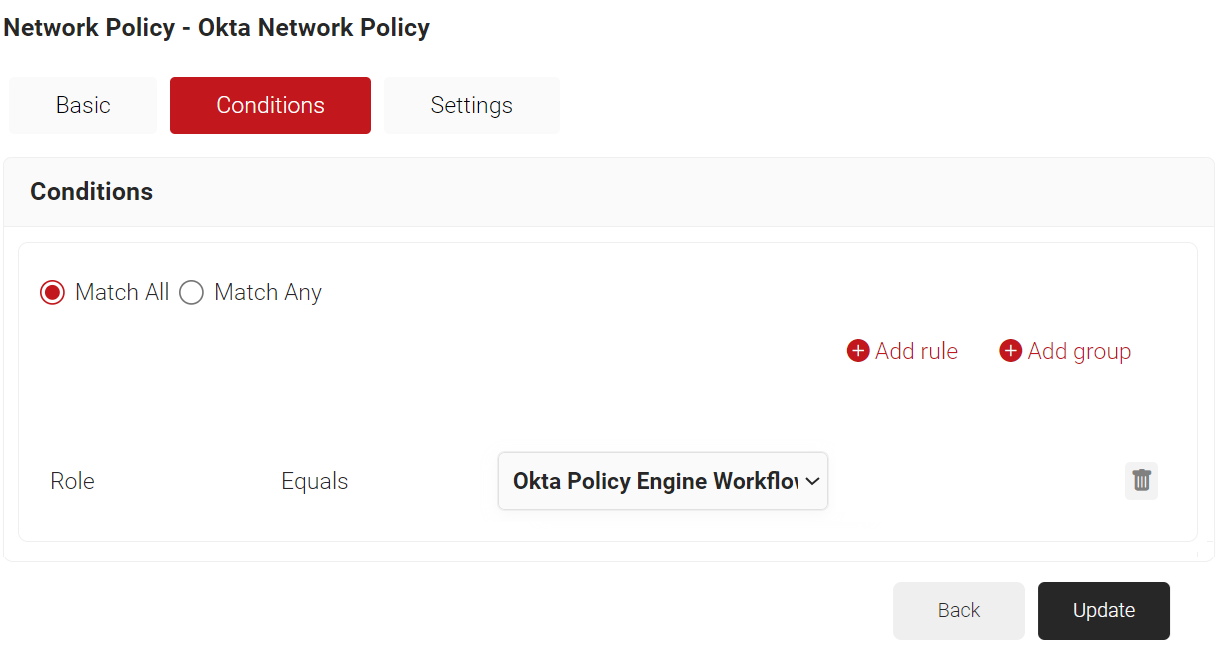
- Select the Conditions tab.
- Select Match All or Match Any based on your requirement to set authentication criteria. In the case explained here, we are selecting Match All.
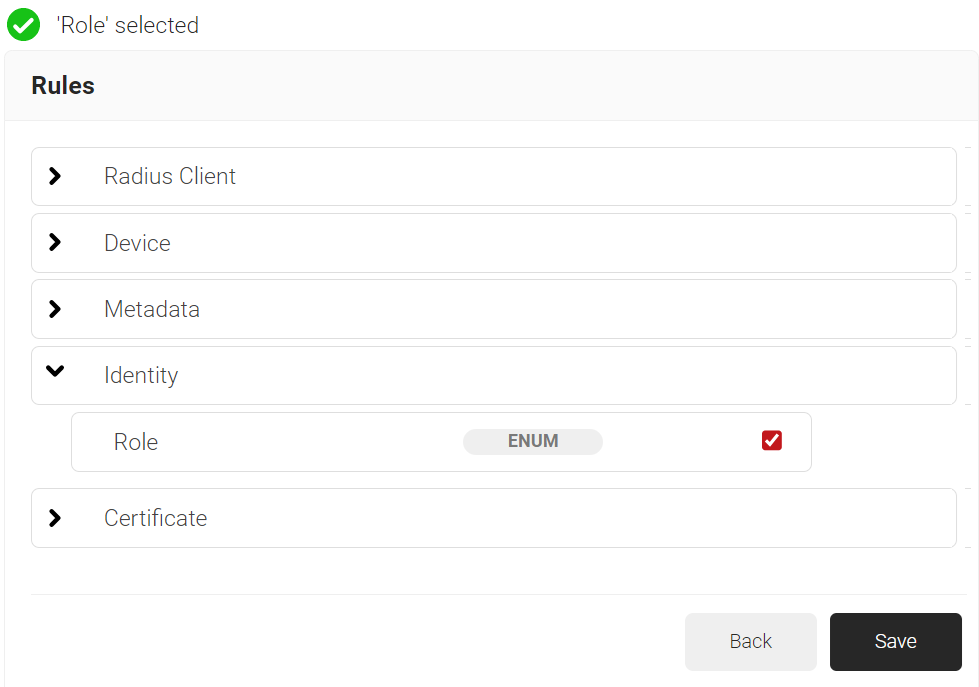
- Click Add rule.

- Expand Identity and select the Role option.

- Click Save.
- The Role option appears under the Conditions tab.
- From the Role Equals drop-down list, select the Policy Workflow you created earlier (refer to the Configuring a Policy Workflow section). You can select multiple Policy Workflows to assign to a Network Policy.

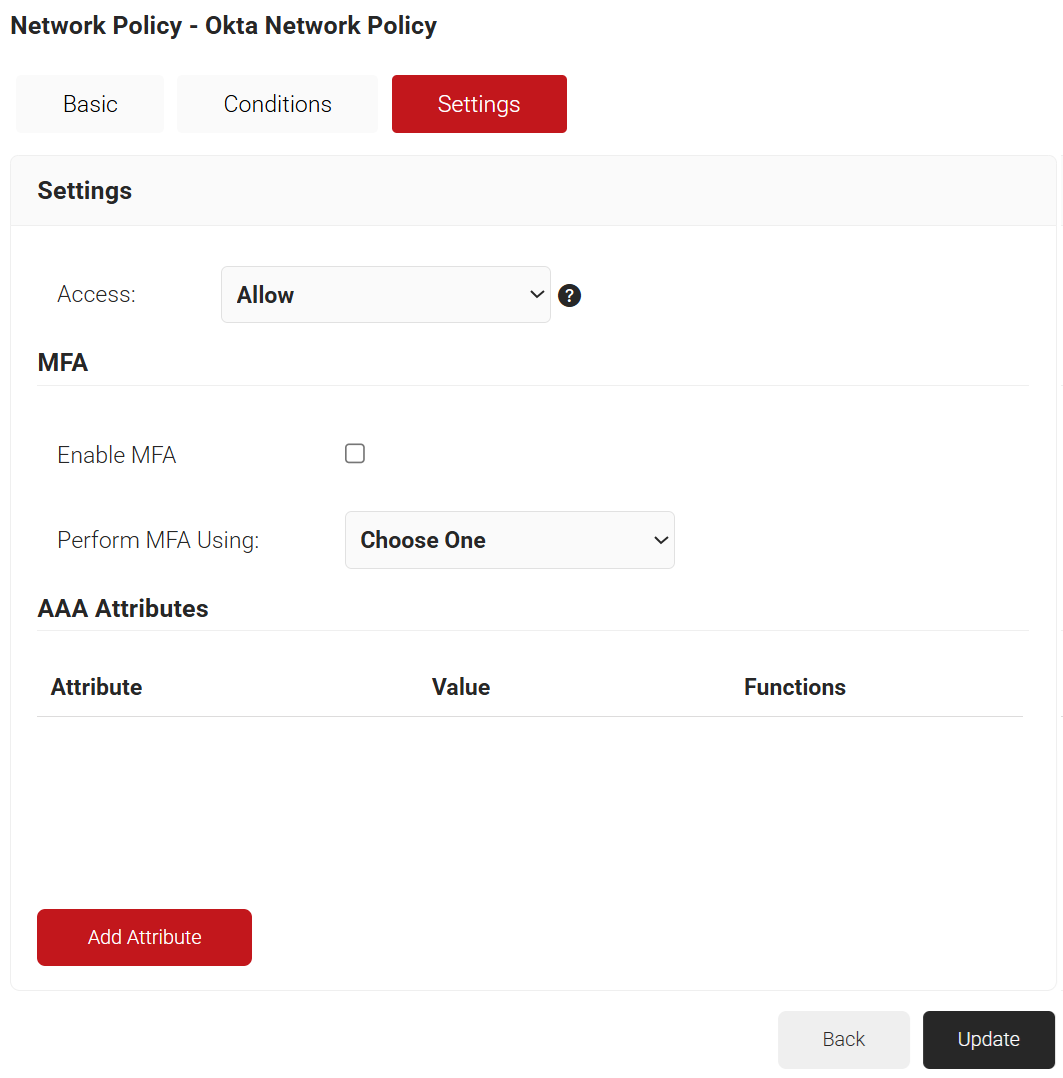
- Select the Settings tab.

- From the Access drop-down list, select any one of the options to allow or deny authentication requests. The default value is “Allow”.
- To configure MFA, select the checkbox to enable MFA.
- From the Perform MFA Using drop-down list, select a Core Provider for MFA.
- Click Add Attribute.
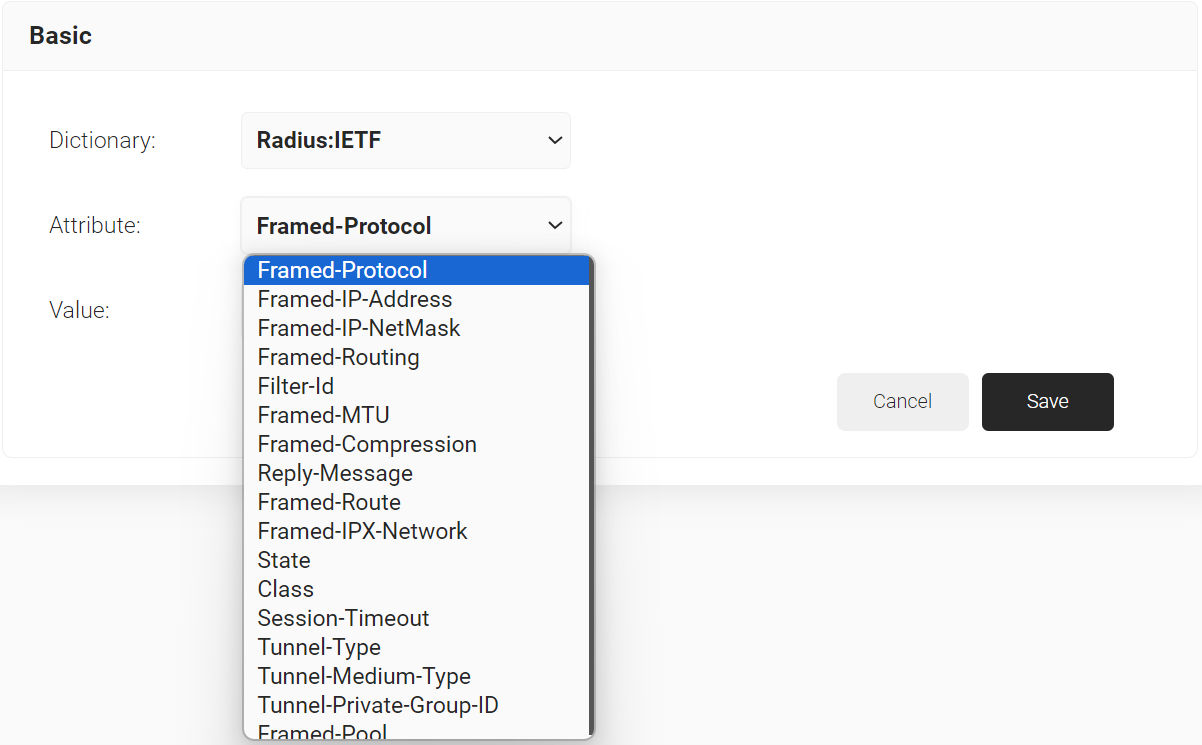
- From the Dictionary drop-down list, select an option: Radius:IETF or Custom.
- From the Attribute drop-down list, select any of the following options:
- Framed-Protocol
- Framed-IP-Address
- Framed-IP-NetMask
- Framed-Routing
- Filter-Id
- Framed-MTU
- Framed-Compression
- Reply-Message
- Framed-Route
- Framed-IPX-Network
- State
- Class
- Session-Timeout
- Tunnel-Type
- Tunnel-Medium-Type
- Tunnel-Private-Group-ID
- Framed-Pool
- In the Value field, enter the appropriate value for the attribute.

- Click Save.
NOTE: Repeat the process for all the attributes you want to send to the Policy Workflow.
- Click Update.


To set up RADIUS servers:
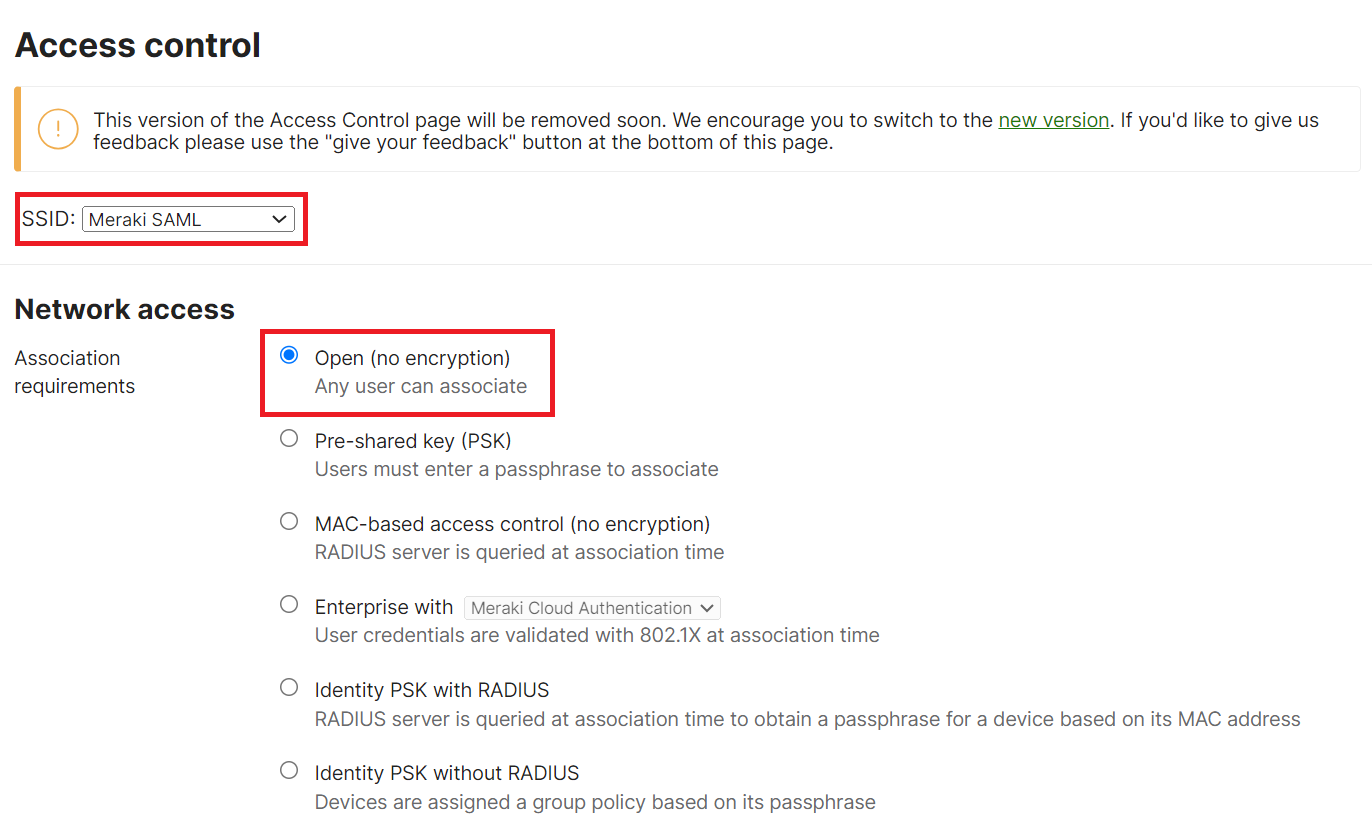
- Navigate to Wireless > Access Control.
- From the SSID drop-down list, select the required SSID.
- In the Network access section, select the Open (no encryption) radio button.

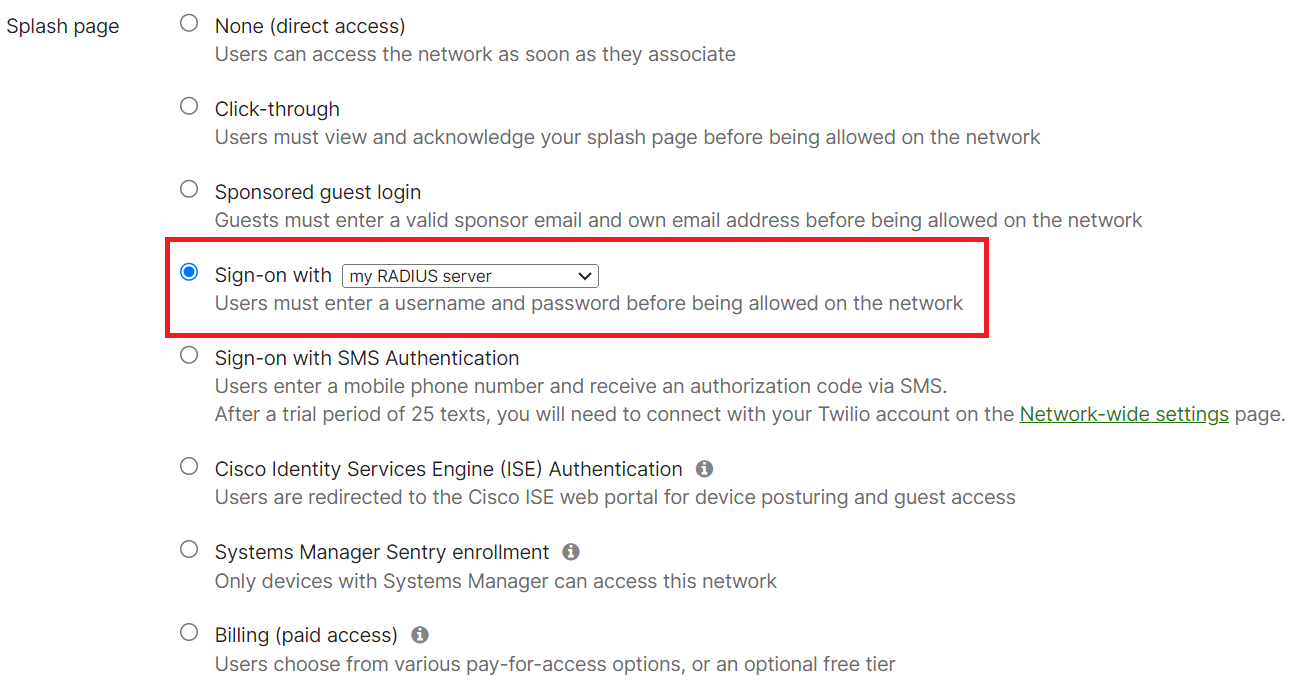
- Scroll down to the Splash page section and select the Sign-on with radio button.
- From Sign-on with drop-down list, select my RADIUS server.

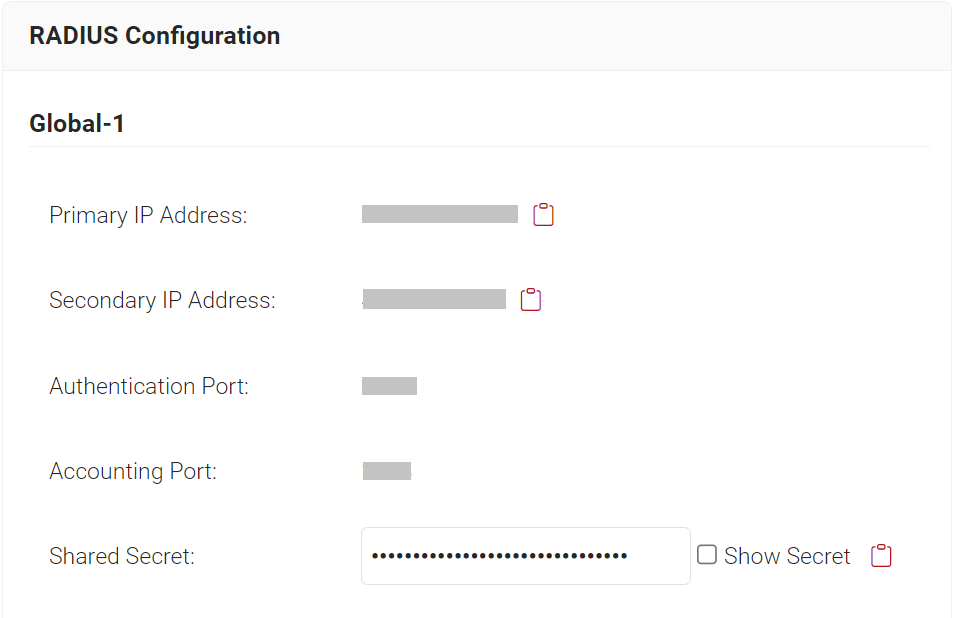
- In the RADIUS for splash page section, click Add a server.

- Navigate to RADIUS > RADIUS Configuration in the JoinNow Management Portal. Copy the values from the Primary IP Address, Authentication Port, and Shared Secret fields.

- Paste the Host (IP Address), Port (Authentication Port), and Secret values in the Meraki Portal.

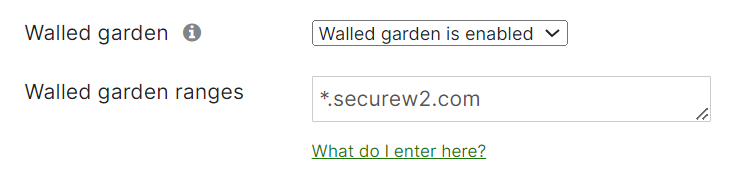
- From the Walled garden drop-down list, select Walled garden is enabled.
- In the Walled garden ranges field, enter *.securew2.com

- Scroll to the bottom of the page and click Save Changes.
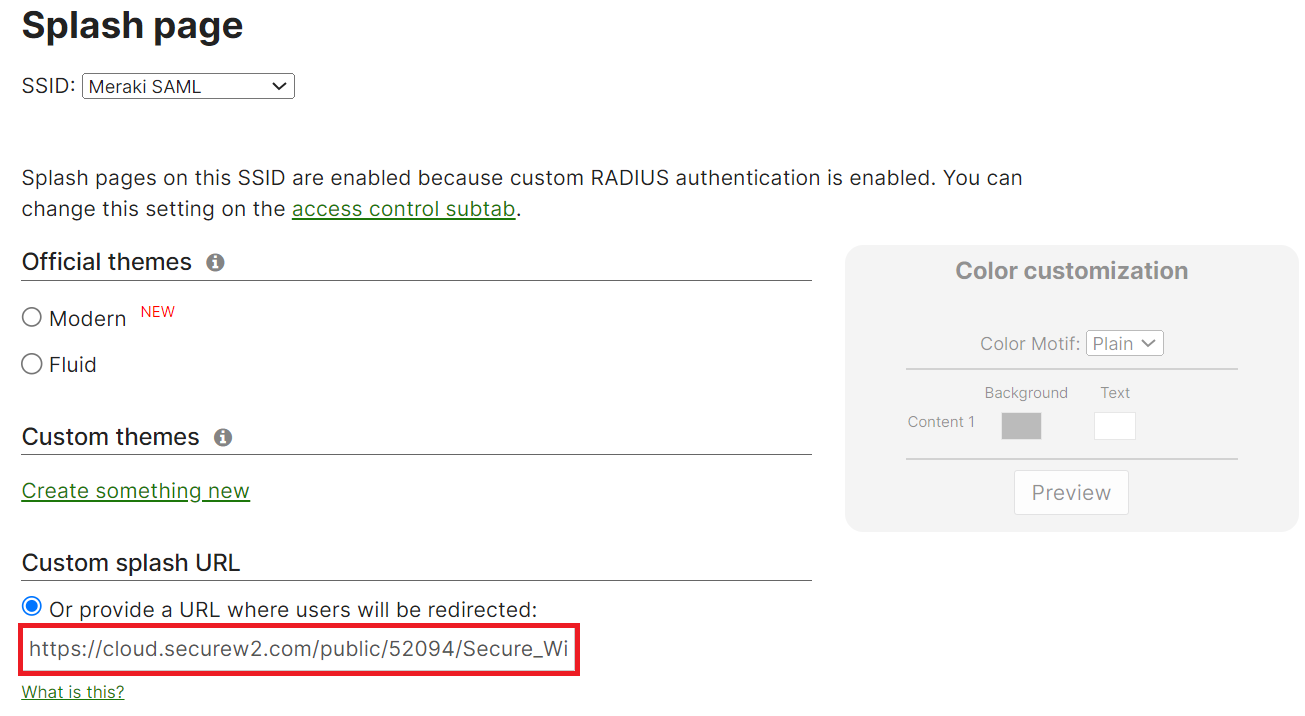
- To configure the redirect URL:
- Navigate to Wireless > Splash Page.
- Under Custom splash URLs, select the Or provide a URL where users will be redirected radio button and enter the Securew2 landing page.

- Scroll to the bottom of the page and click Save Changes.