Follow the steps below to create a Core Provider in the JoinNow Management Portal and configure it for MAC Authentication:
- Log in to the JoinNow Management Portal.
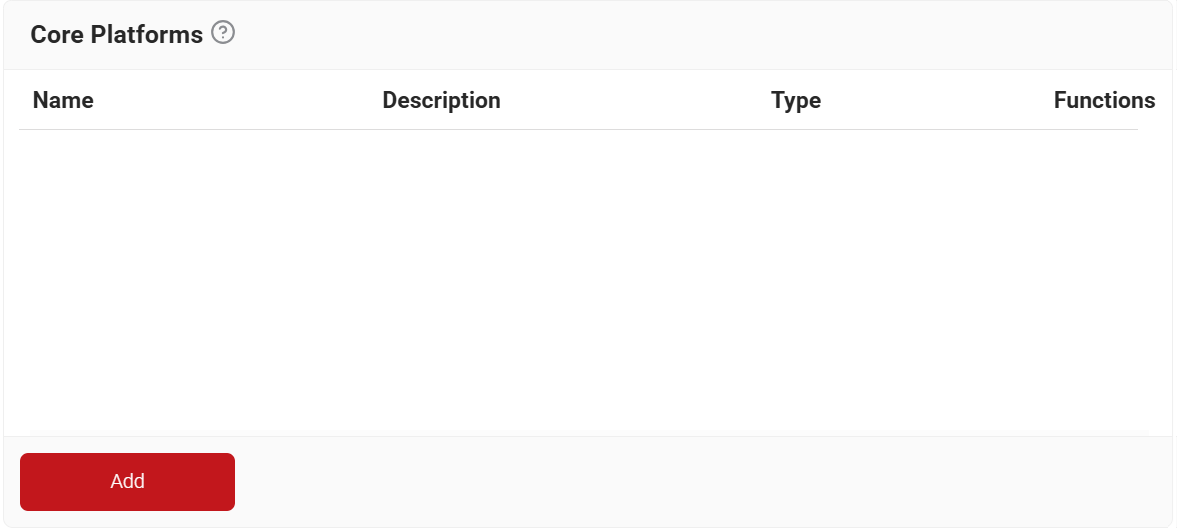
- Navigate to Integration Hub > Core Platforms.
- Click Add.

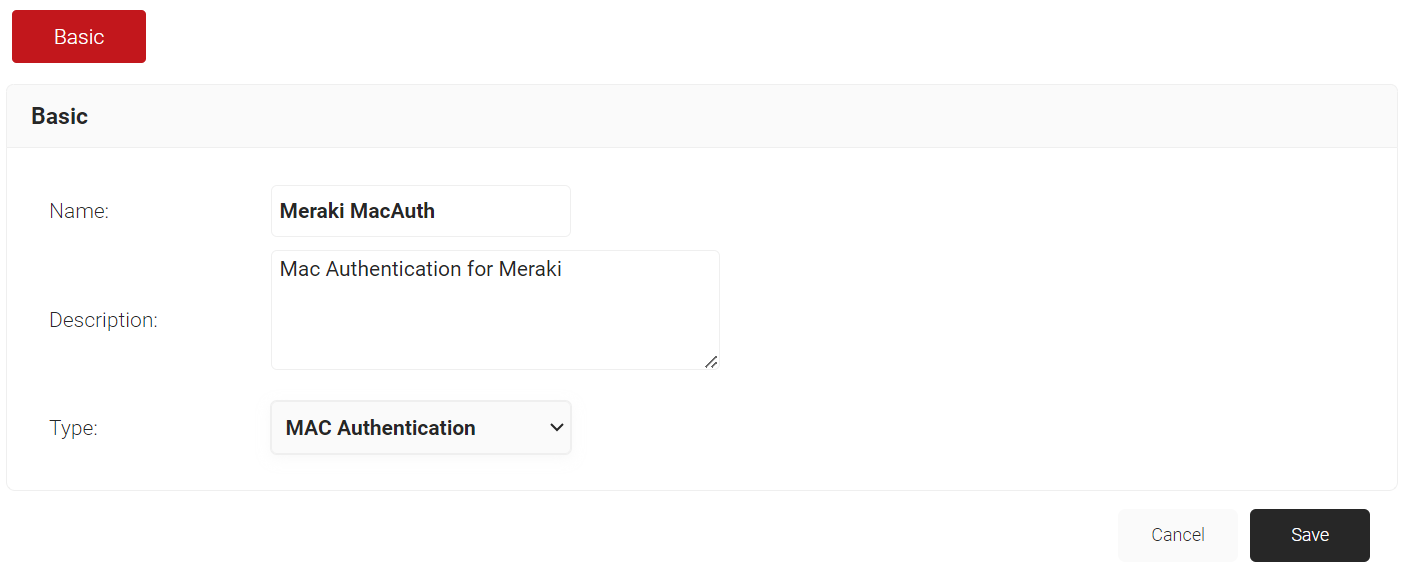
- In the Name field, enter a name for your core provider.
- In the Description field, enter a suitable description for your core provider.
- From the Type drop-down list, select MAC Authentication.

- Click Save.
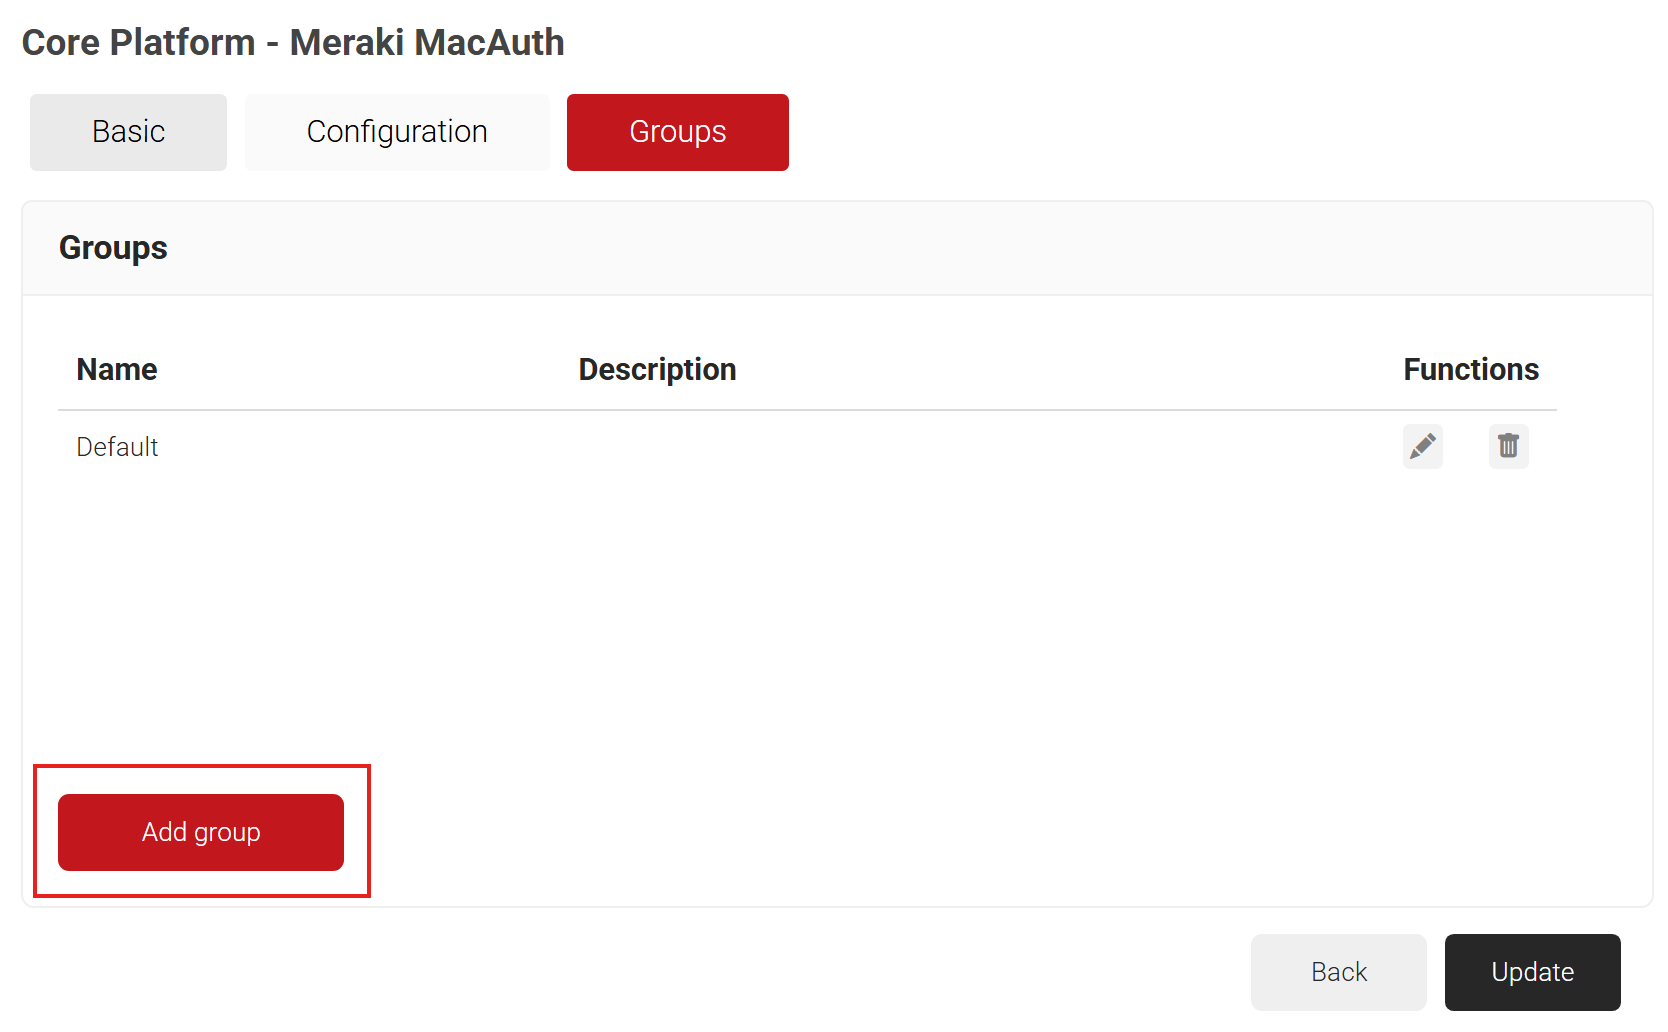
- The page refreshes and displays the Configuration and Groups tabs.
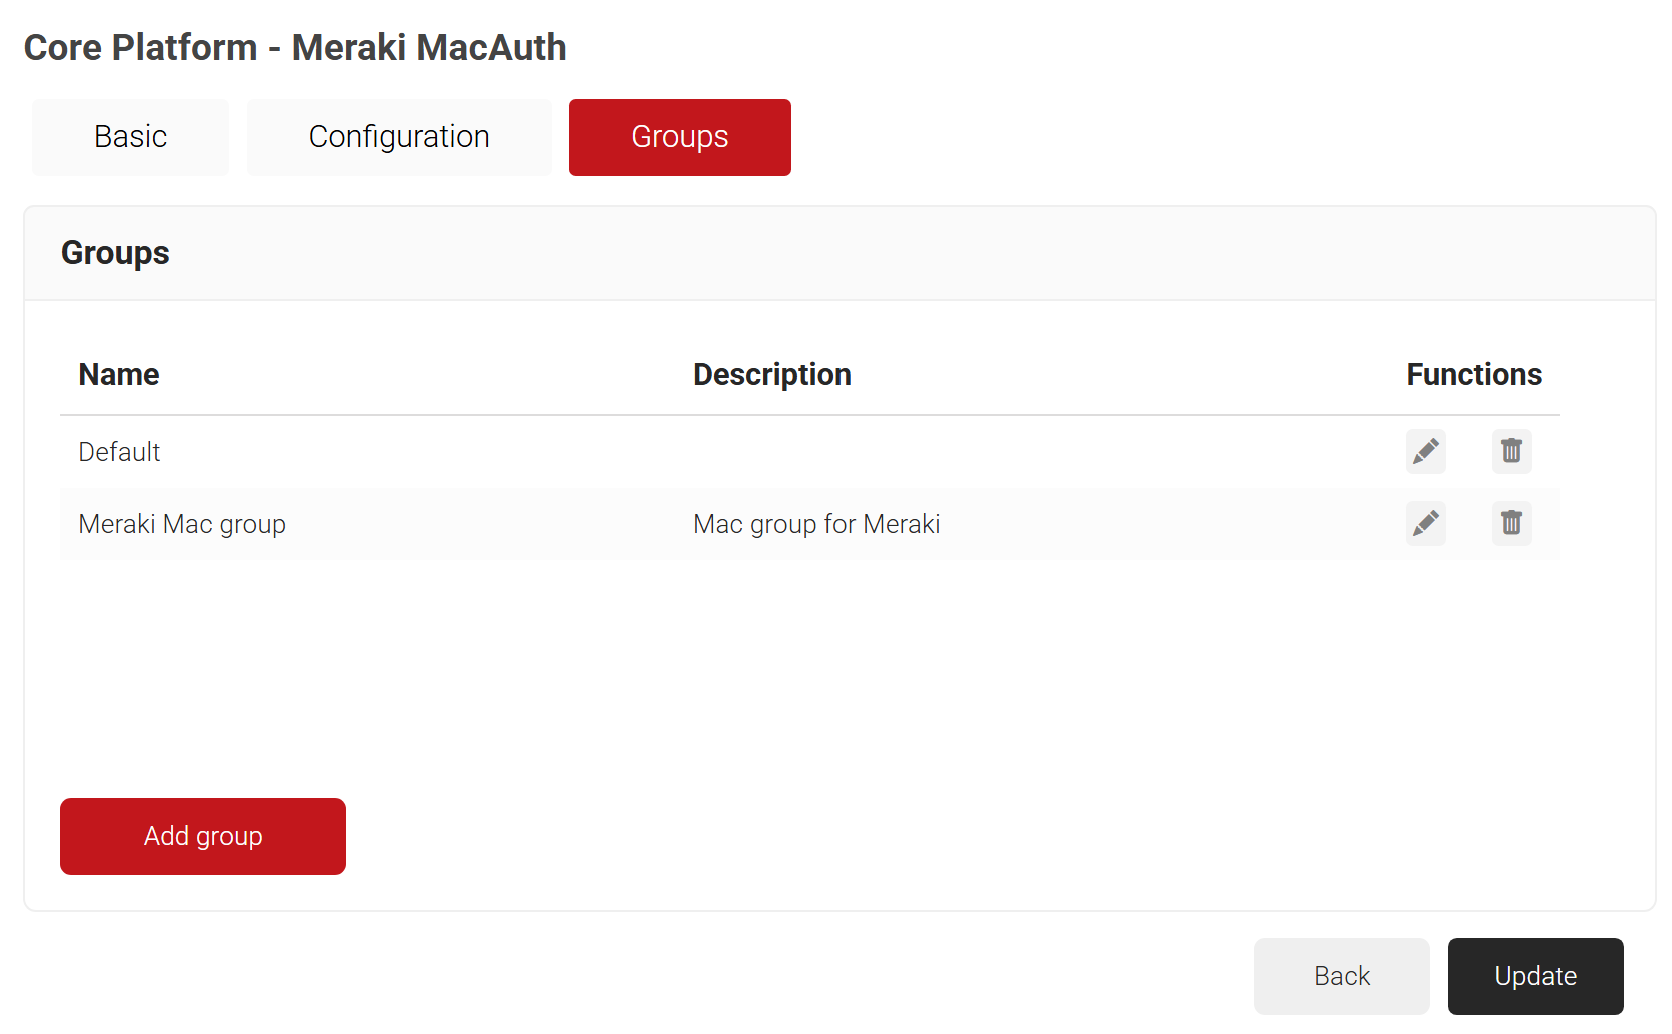
- Select the Groups tab.
- Click Add group.

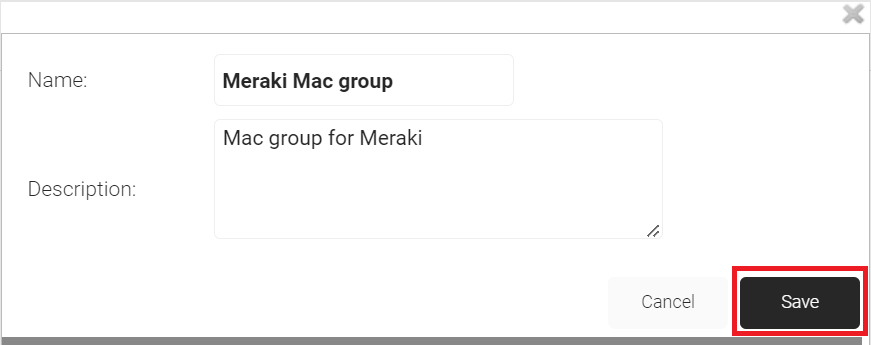
- On the displayed pop-up window, in the Name field, enter a name for your group.
- In the Description field, enter a suitable description for your group.

- Click Save.
- Click Update.

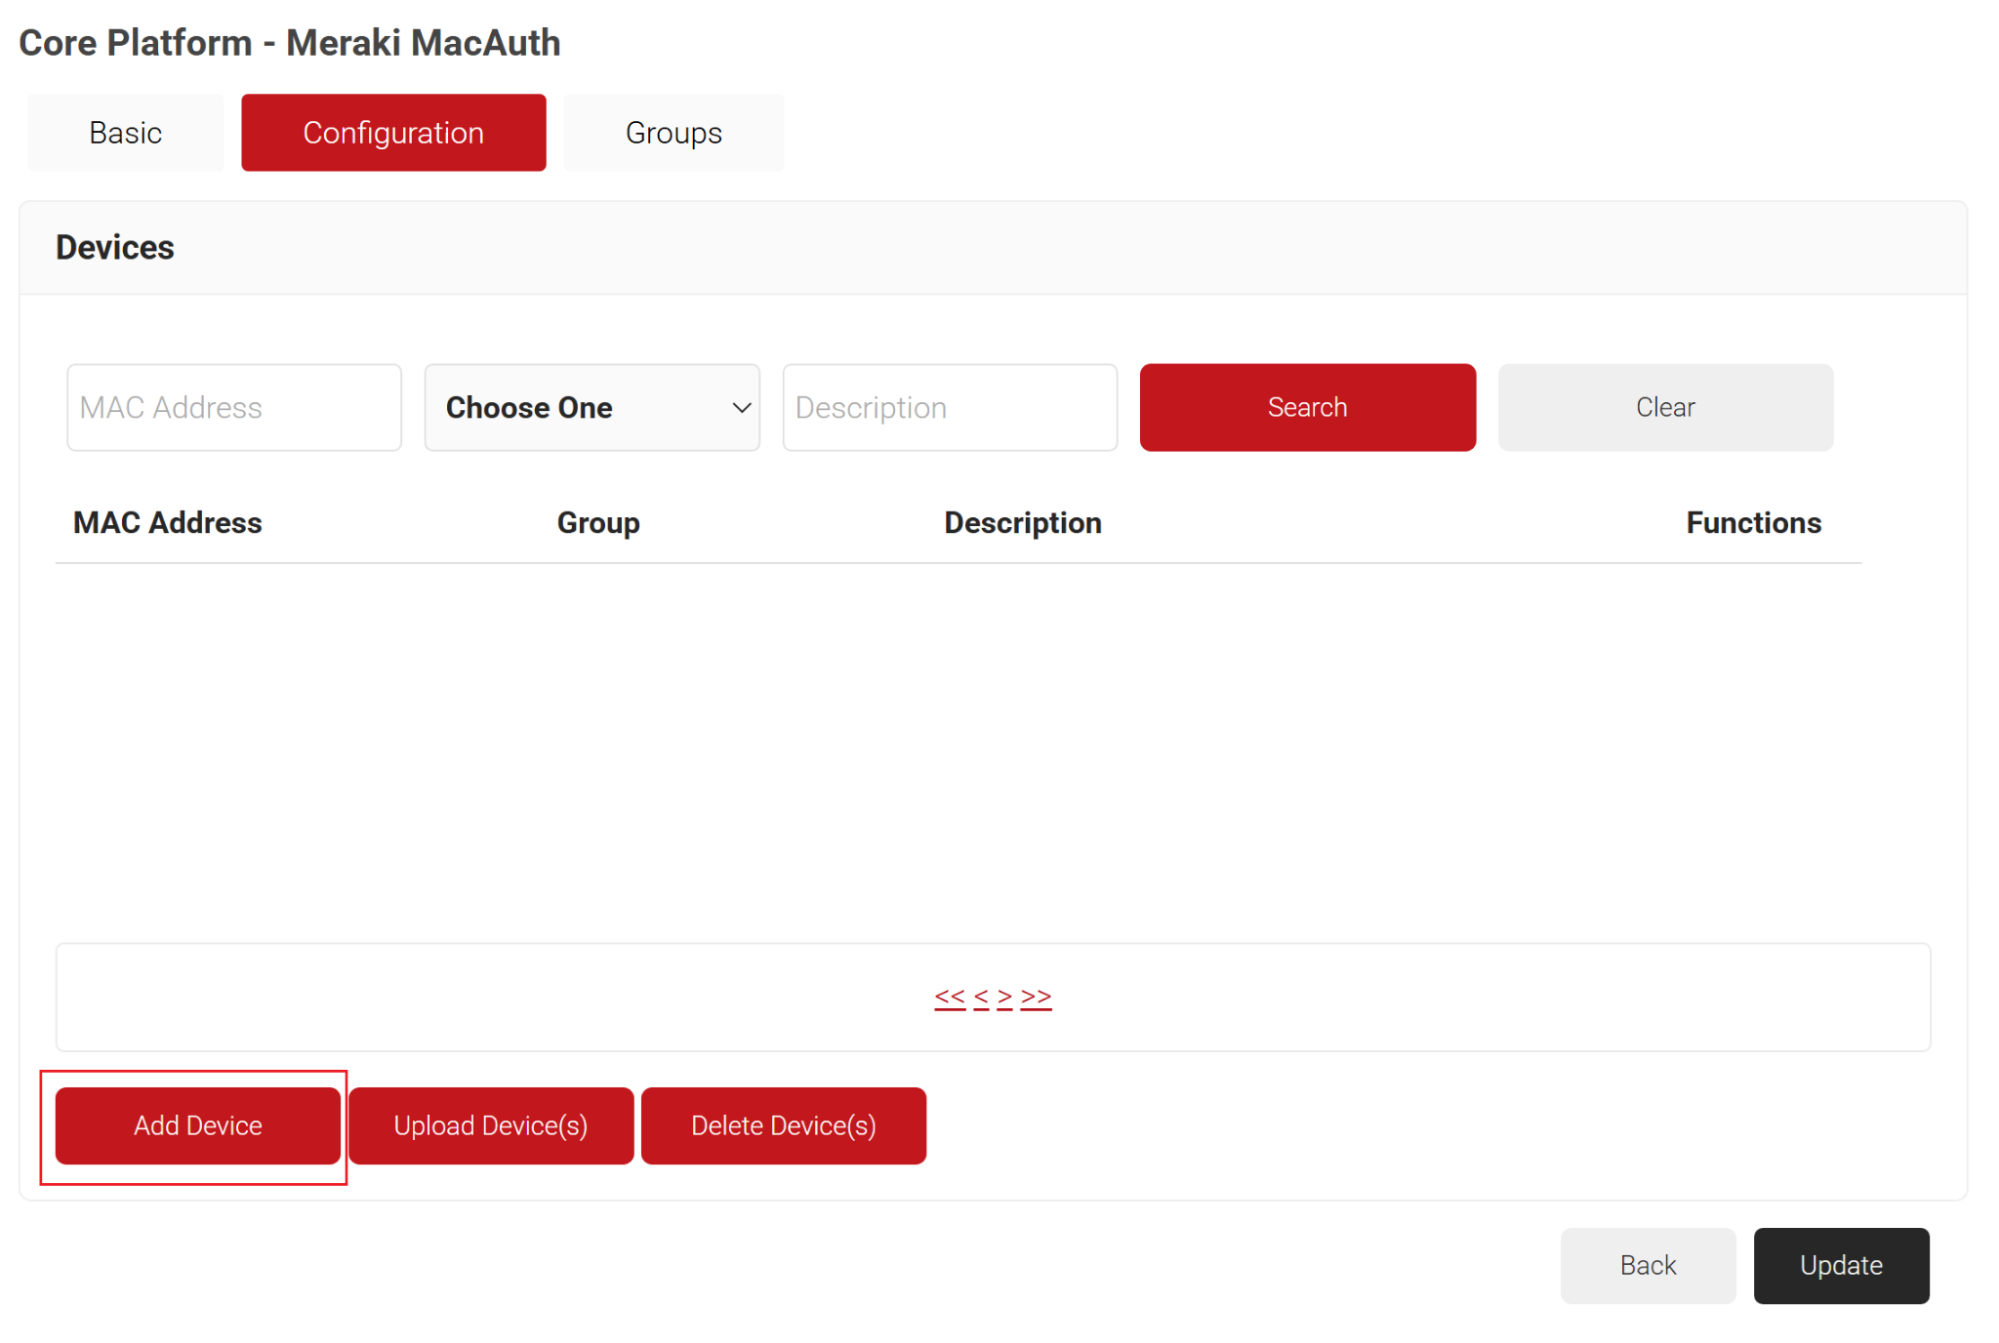
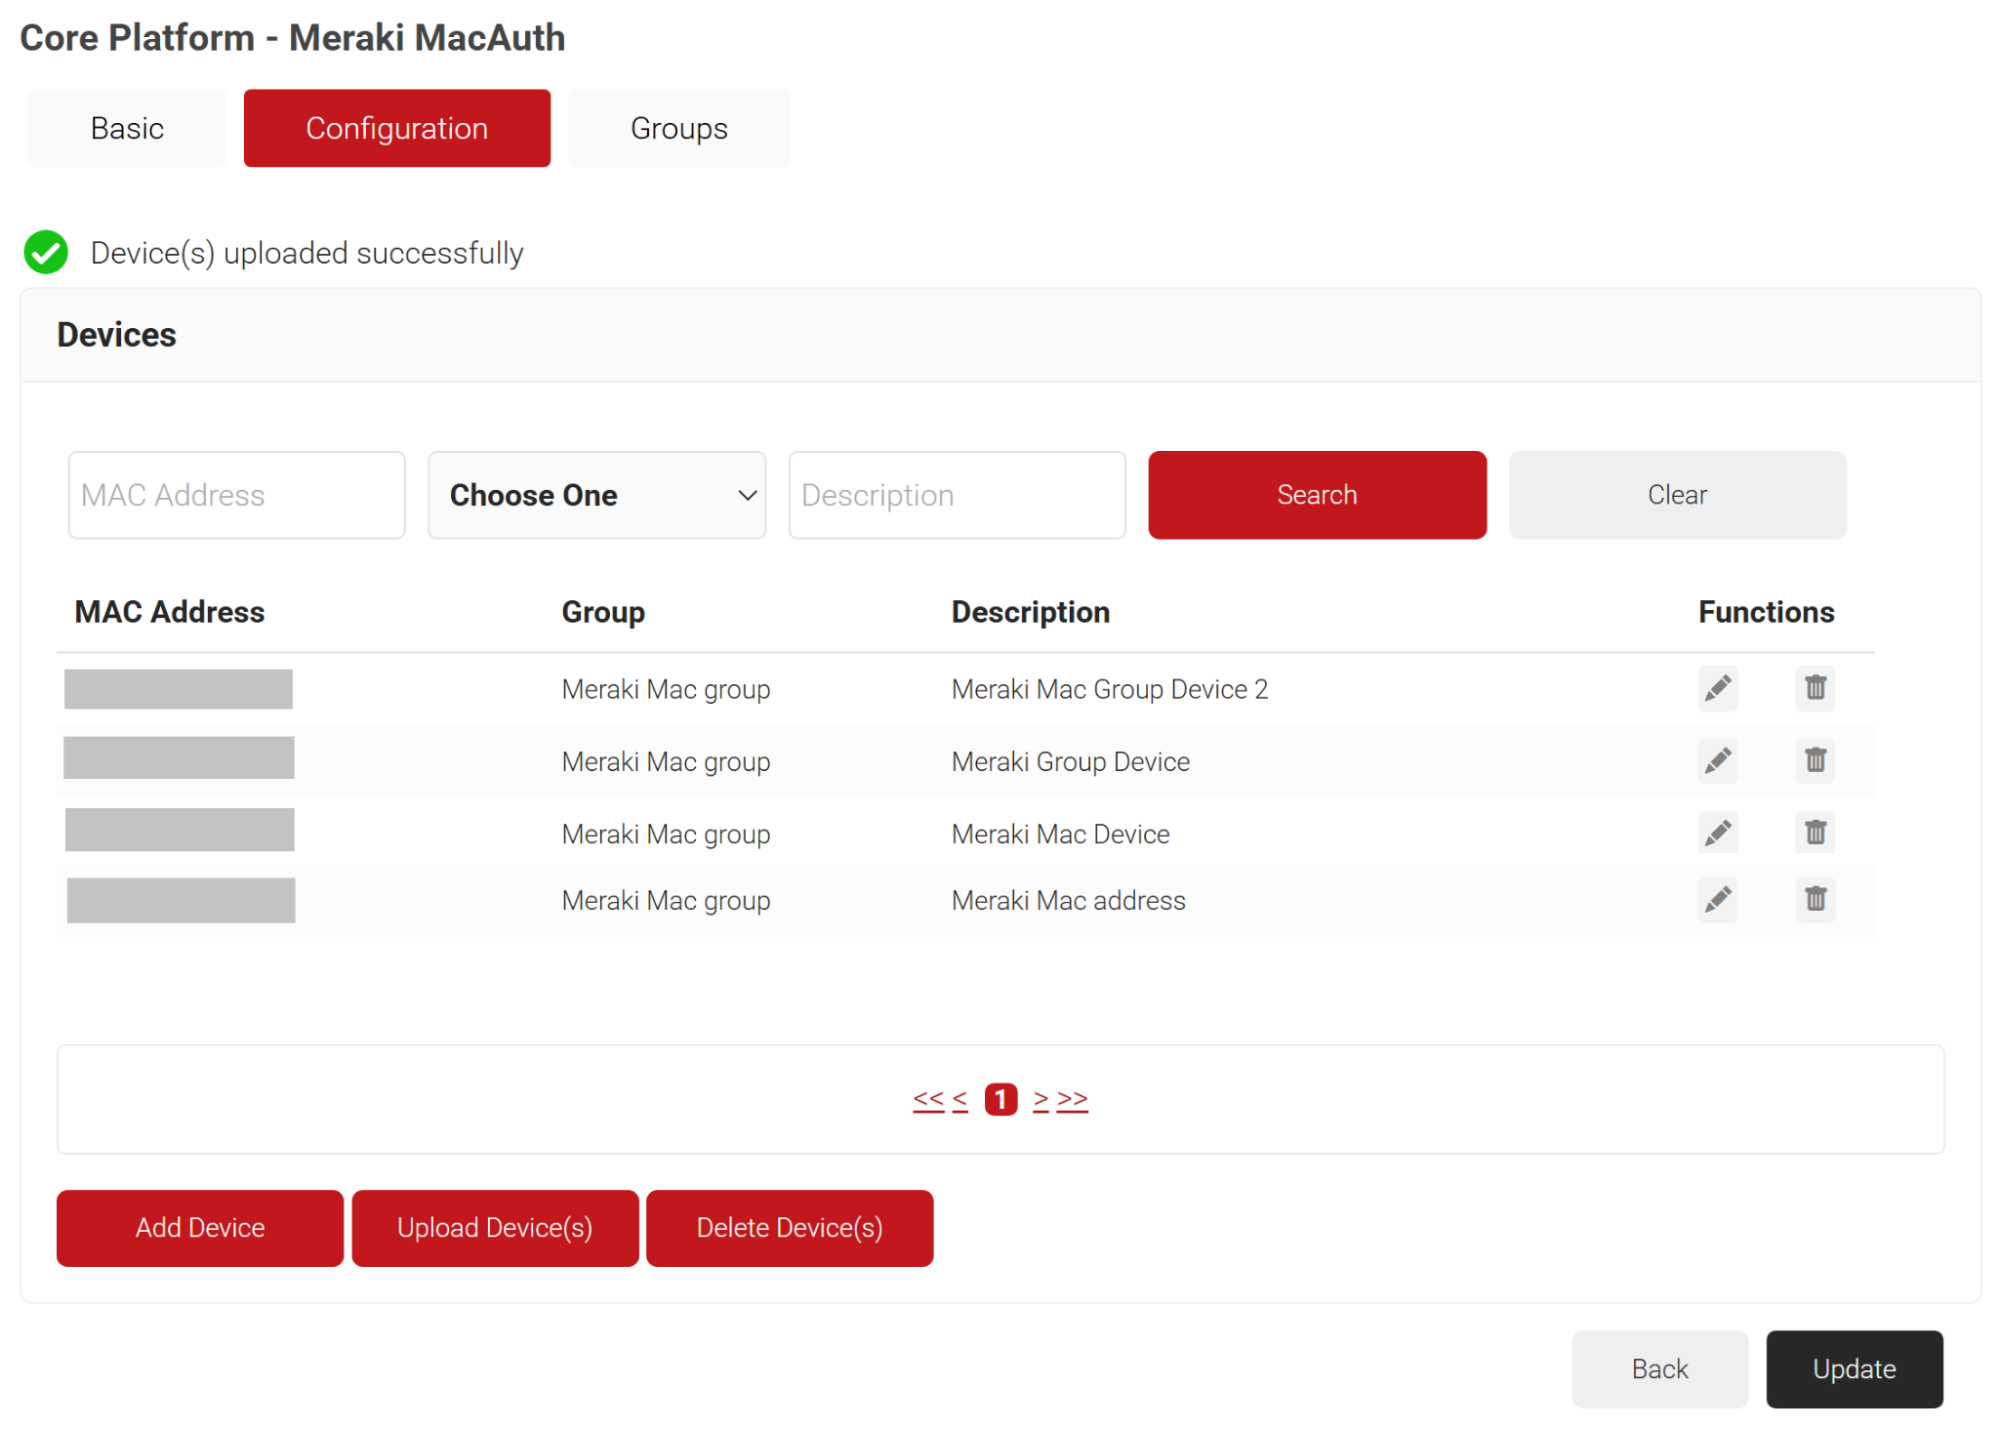
- Select the Configuration tab.
- Click Add Device.

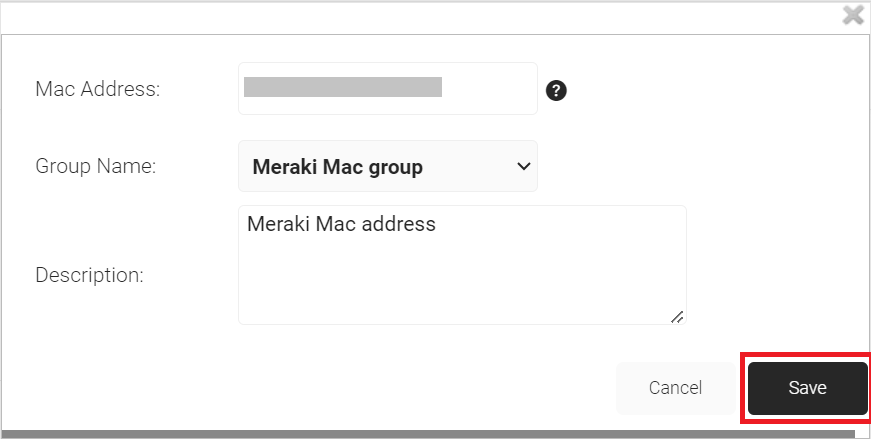
- In the pop-up window, in the MAC Address field, enter the MAC address of the device you want to authenticate.
- From the Group Name drop-down list, select the group name you created earlier.
- In the Description field, enter a suitable description for your device.

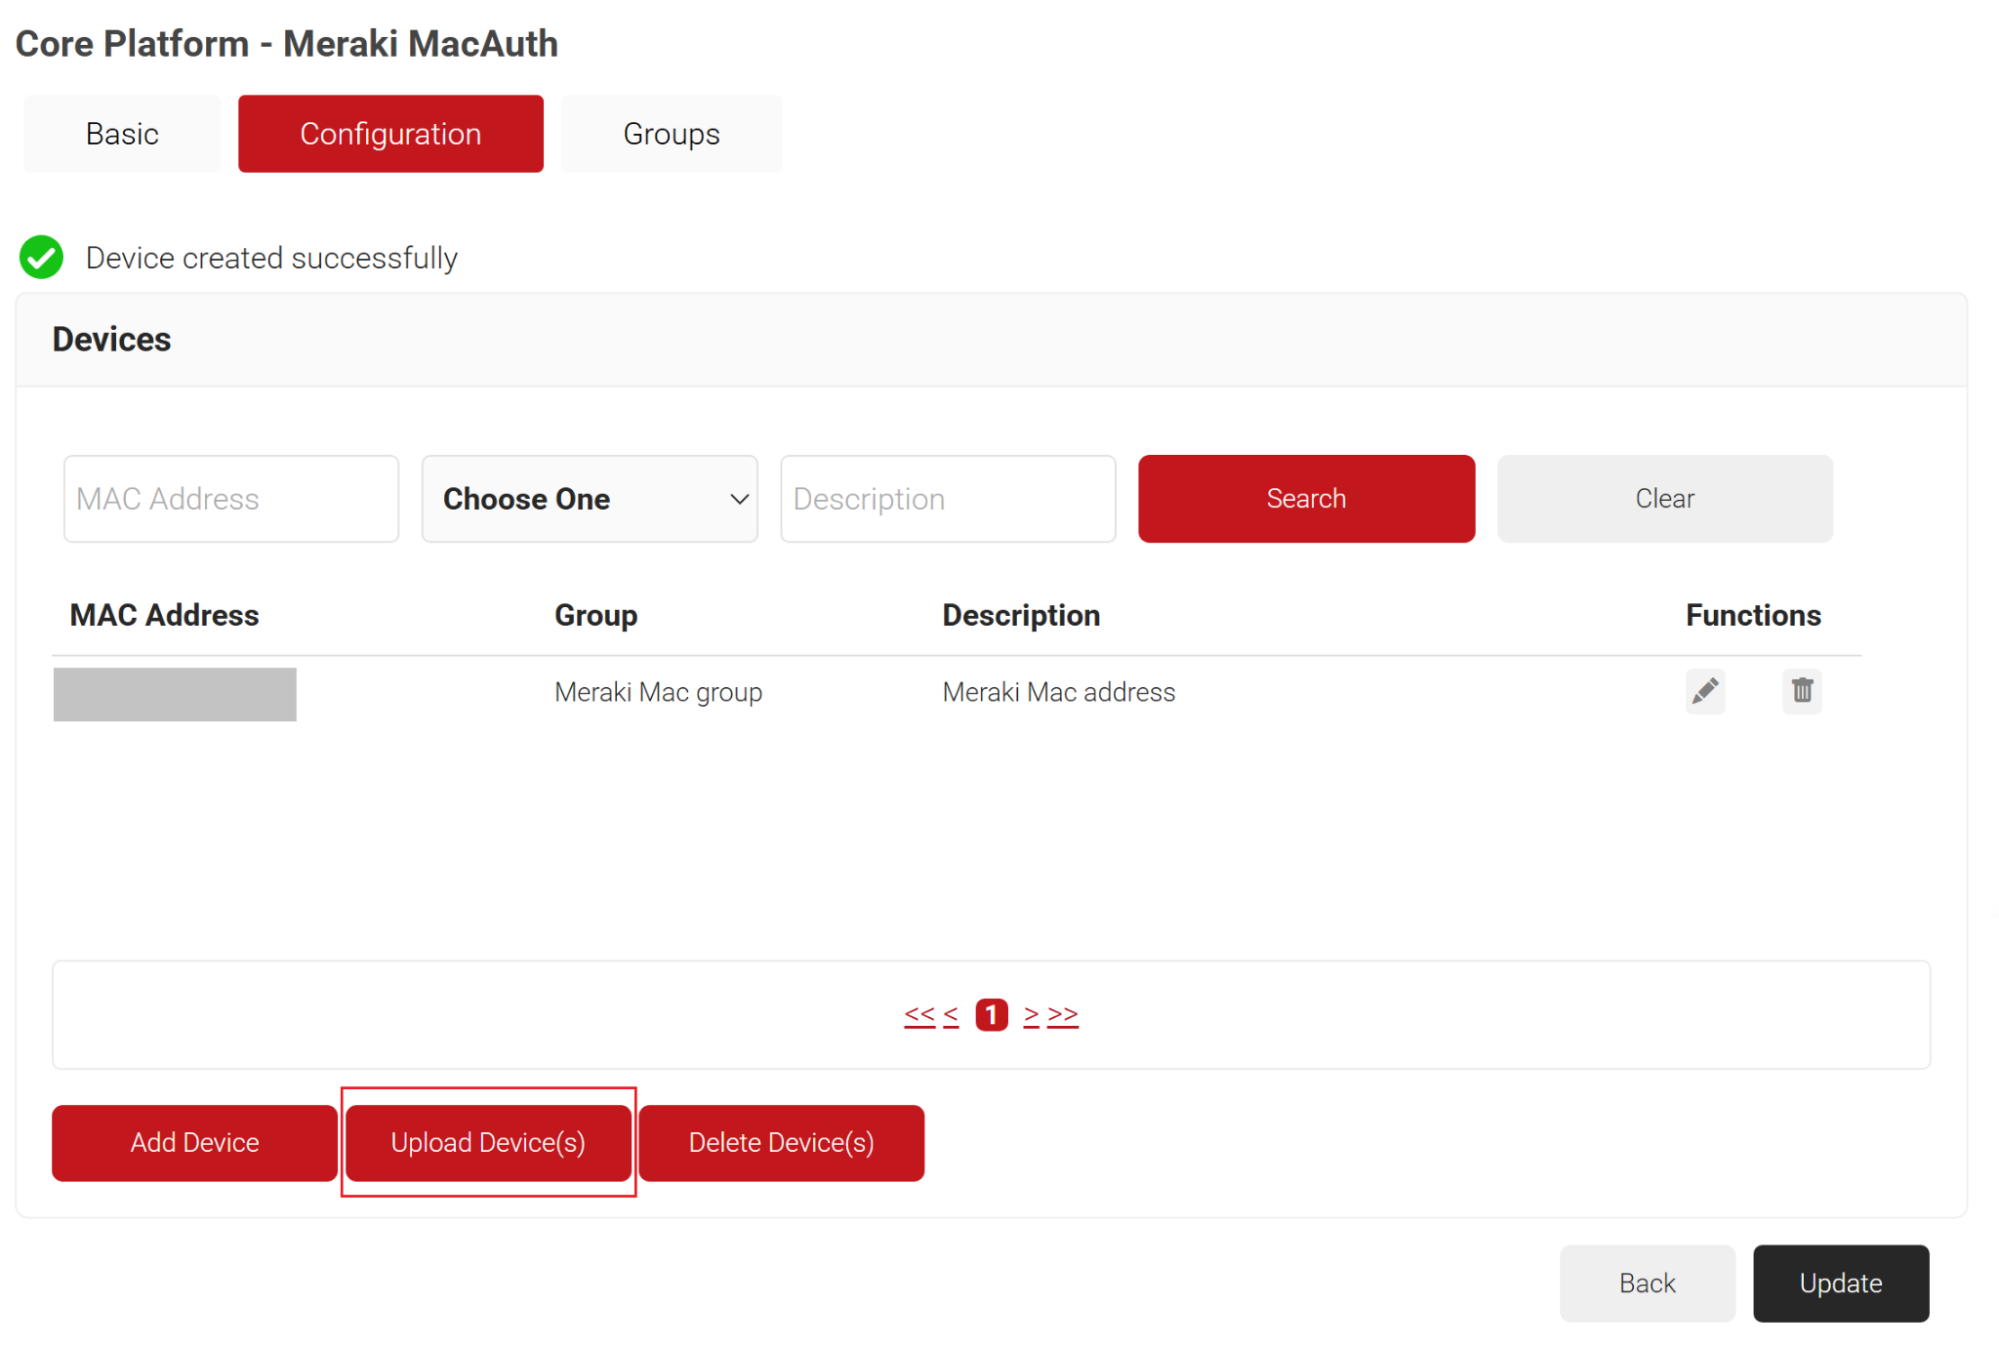
- Click Save.

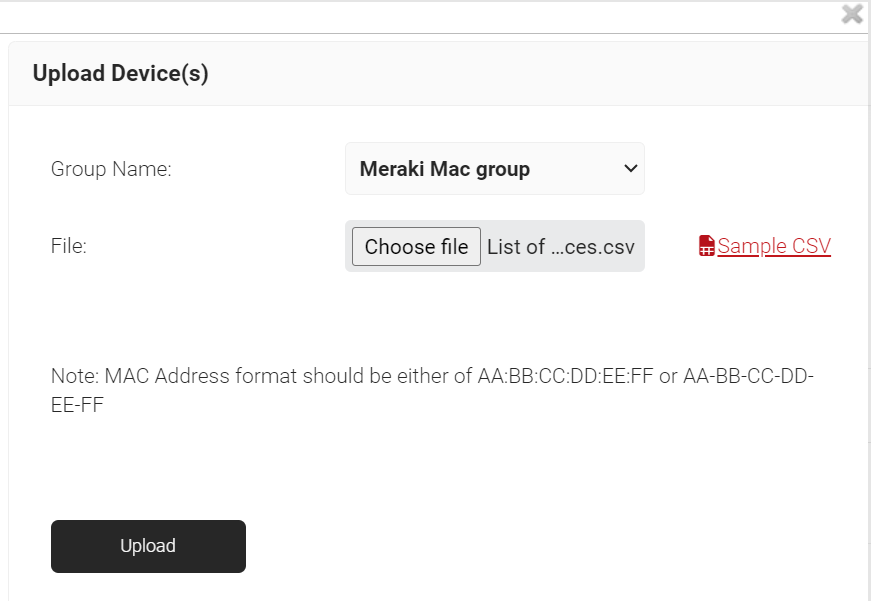
- To add the details of multiple devices at the same time (bulk upload), click Upload Device(s).
- On the Upload Device(s) pop-up window, from the Group Name drop-down list, select the group you created earlier.
- In the File field, click Choose file to select the .csv file containing the MAC address of the devices.

NOTE: The MAC Address should be either in AA:BB:CC:DD:EE:FF or AA-BB-CC-DD-EE-FF format. - Click Upload.

- Click Update.

A Policy Workflow grants a user access to defined resources. To add a Policy Workflow, perform the following steps:
- Log in to the JoinNow Management Portal.
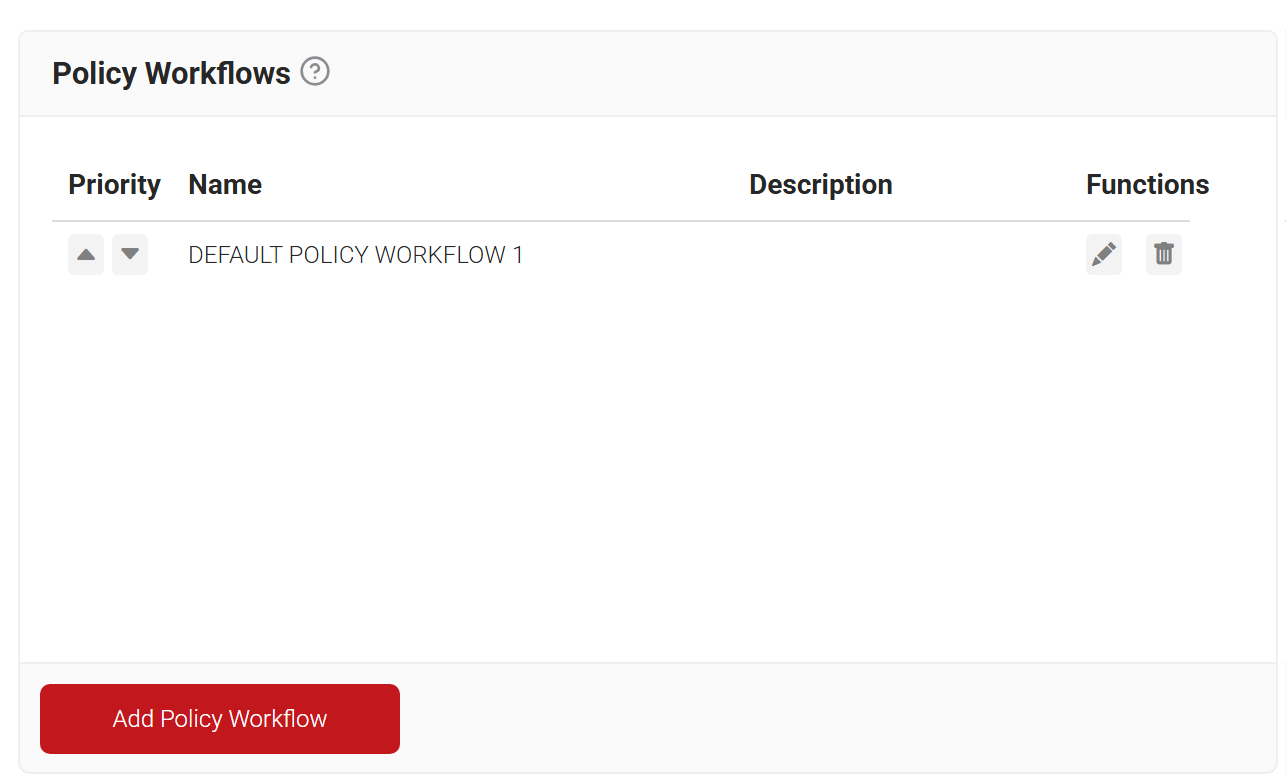
- Navigate to Policy Management > Policy Workflows.
- Click Add Policy Workflow.

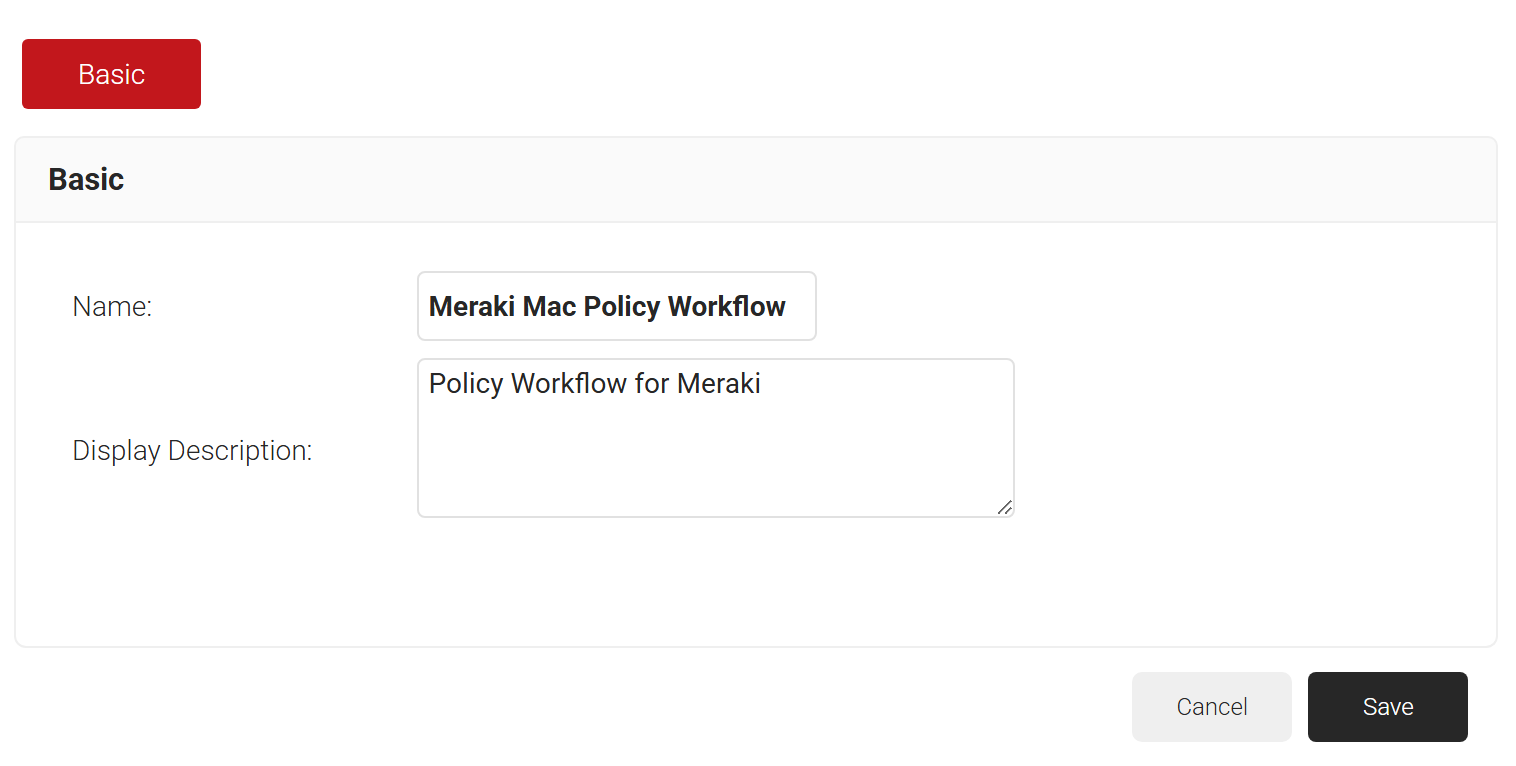
- In the Name field, enter a name for your policy workflow.
- In the Display Description field, enter a suitable description for your policy workflow.

- Click Save.
- The page refreshes, and the Conditions tab is displayed.
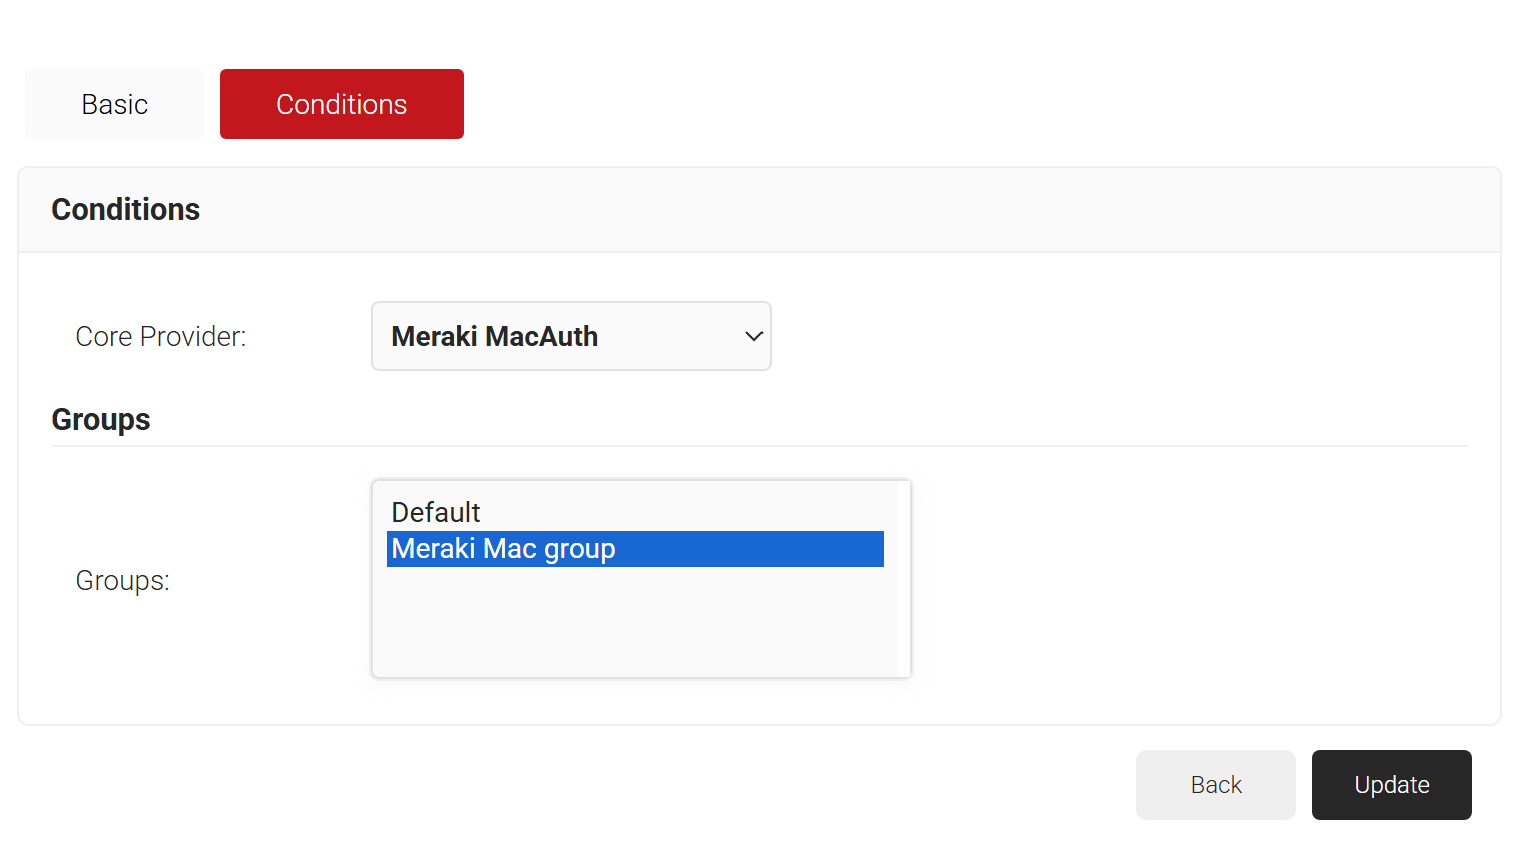
- Select the Conditions tab.
- In the Conditions section, from the Core Provider drop-down list, select the core provider you created with the MAC Authentication type.
- In the Groups field, select the group you created earlier (see the Create a MAC Authentication Core Platform in SecureW2 section).

- Click Update.
The purpose of a network policy is to specify how Cloud RADIUS will authorize access to a particular policy workflow. To create and configure the Network policy, perform the following steps:
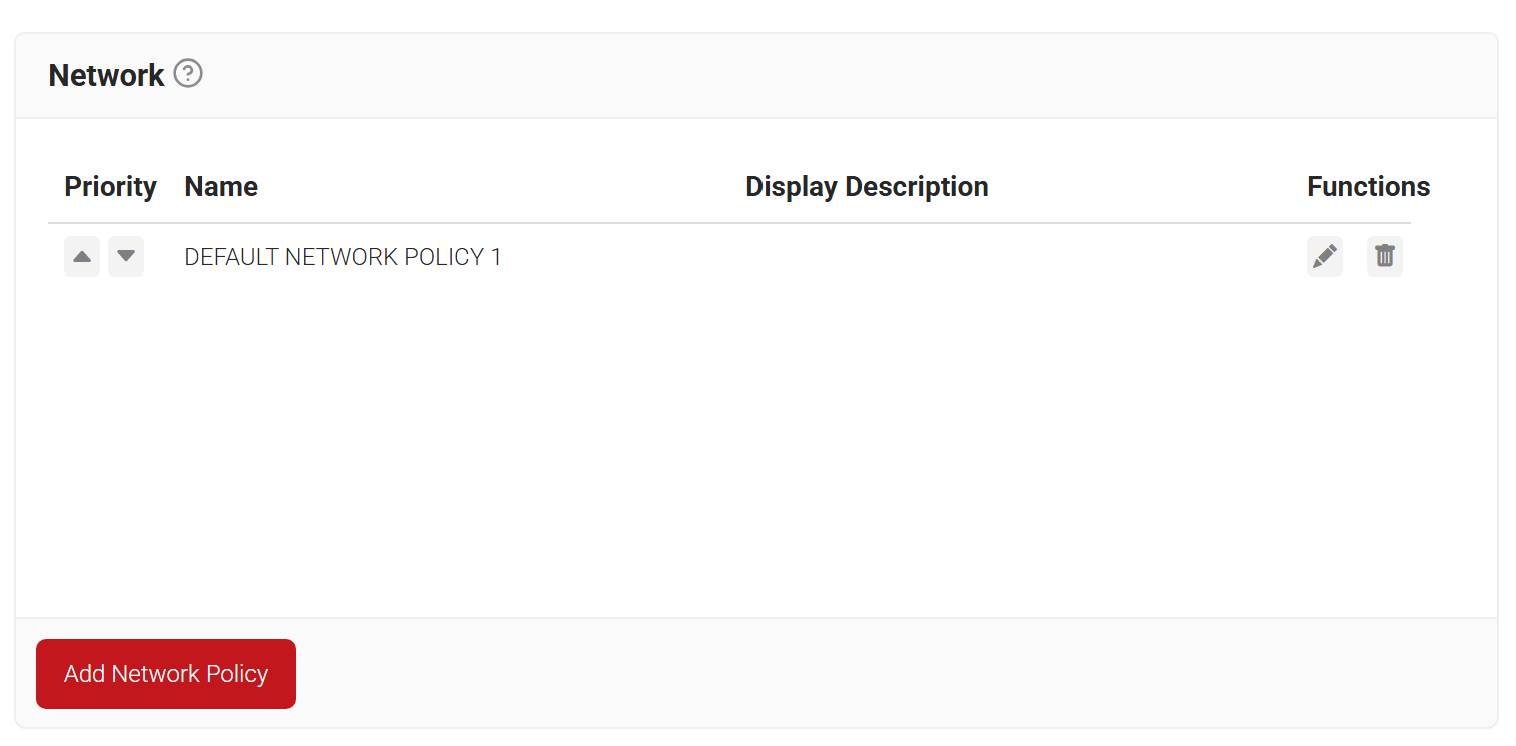
- Navigate to Policy Management > Network.
- Click Add Network Policy.

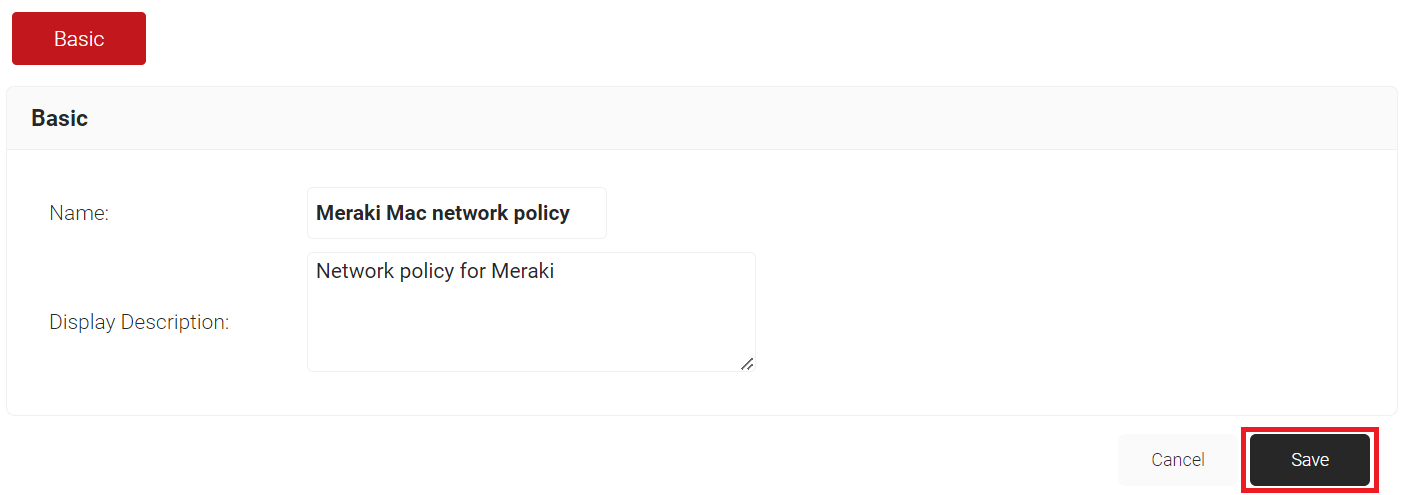
- In the Name field, enter a name for your network policy.
- In the Display Description field, enter a suitable description for your network policy.

- Click Save.
- The page refreshes and displays the Conditions and Settings tabs.
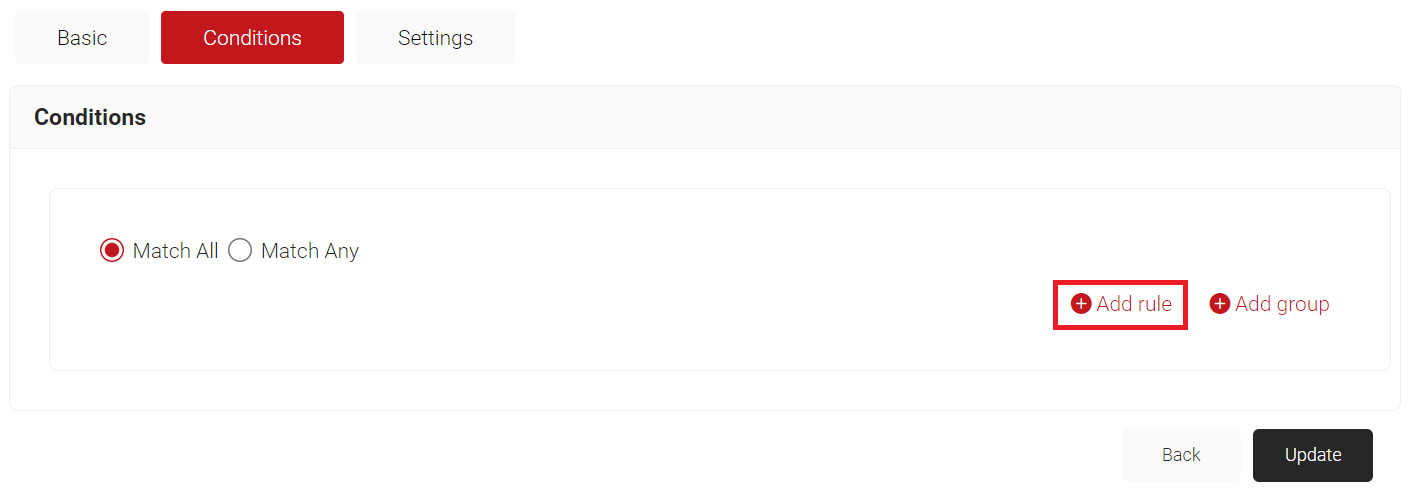
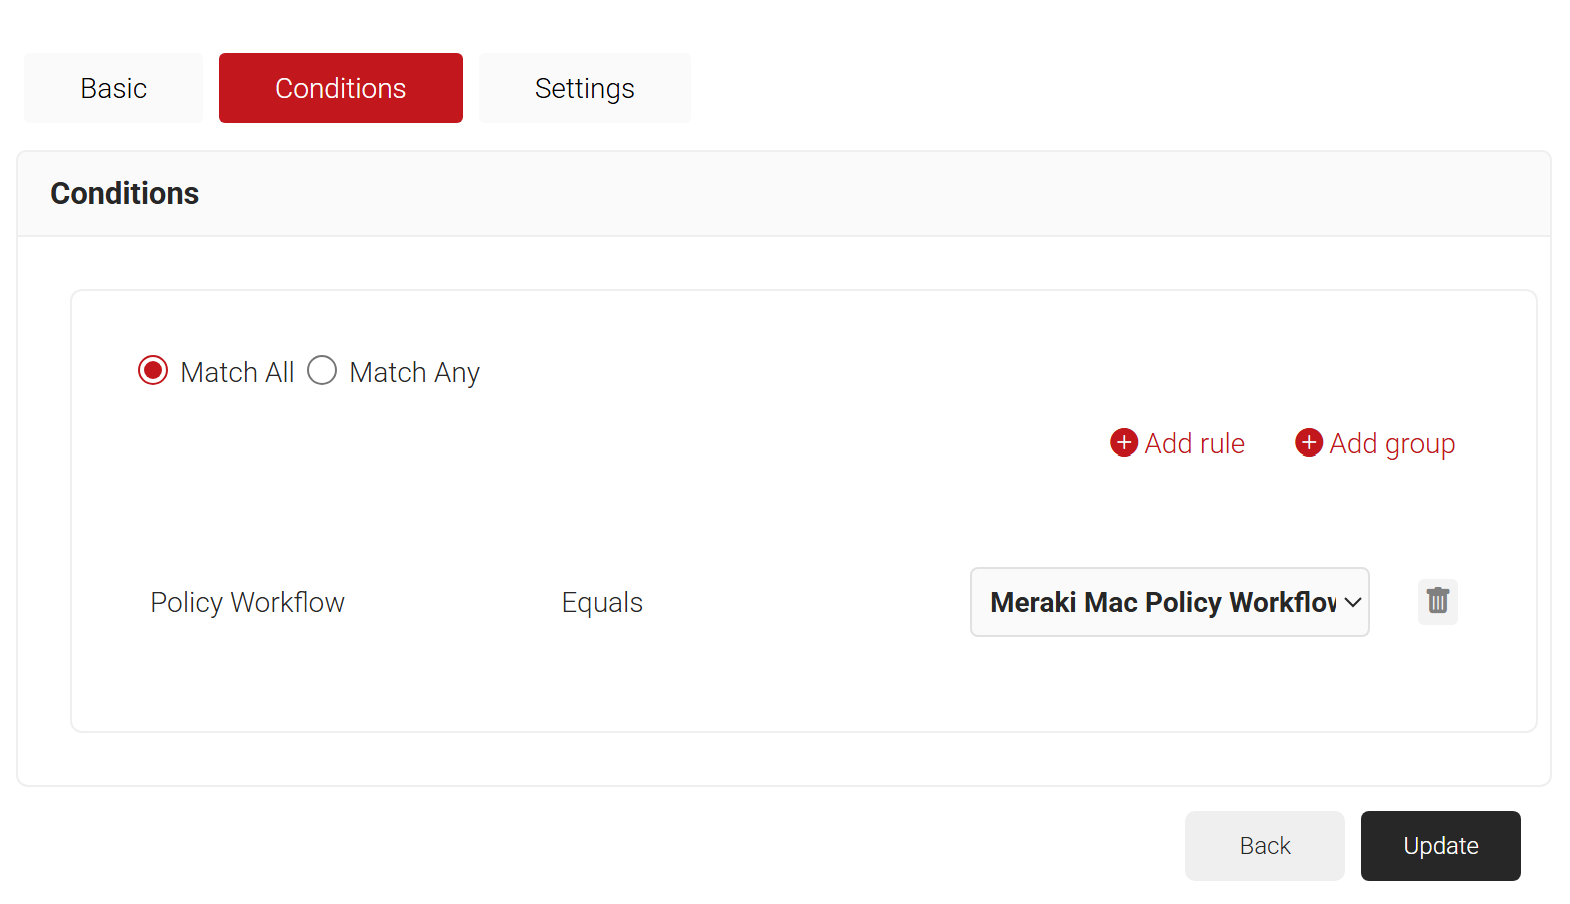
- Select the Conditions tab.
- In the Conditions section, select Match All or Match Any based on your requirement to set authentication criteria. In the case explained here, we are selecting Match All.
- Click Add rule.

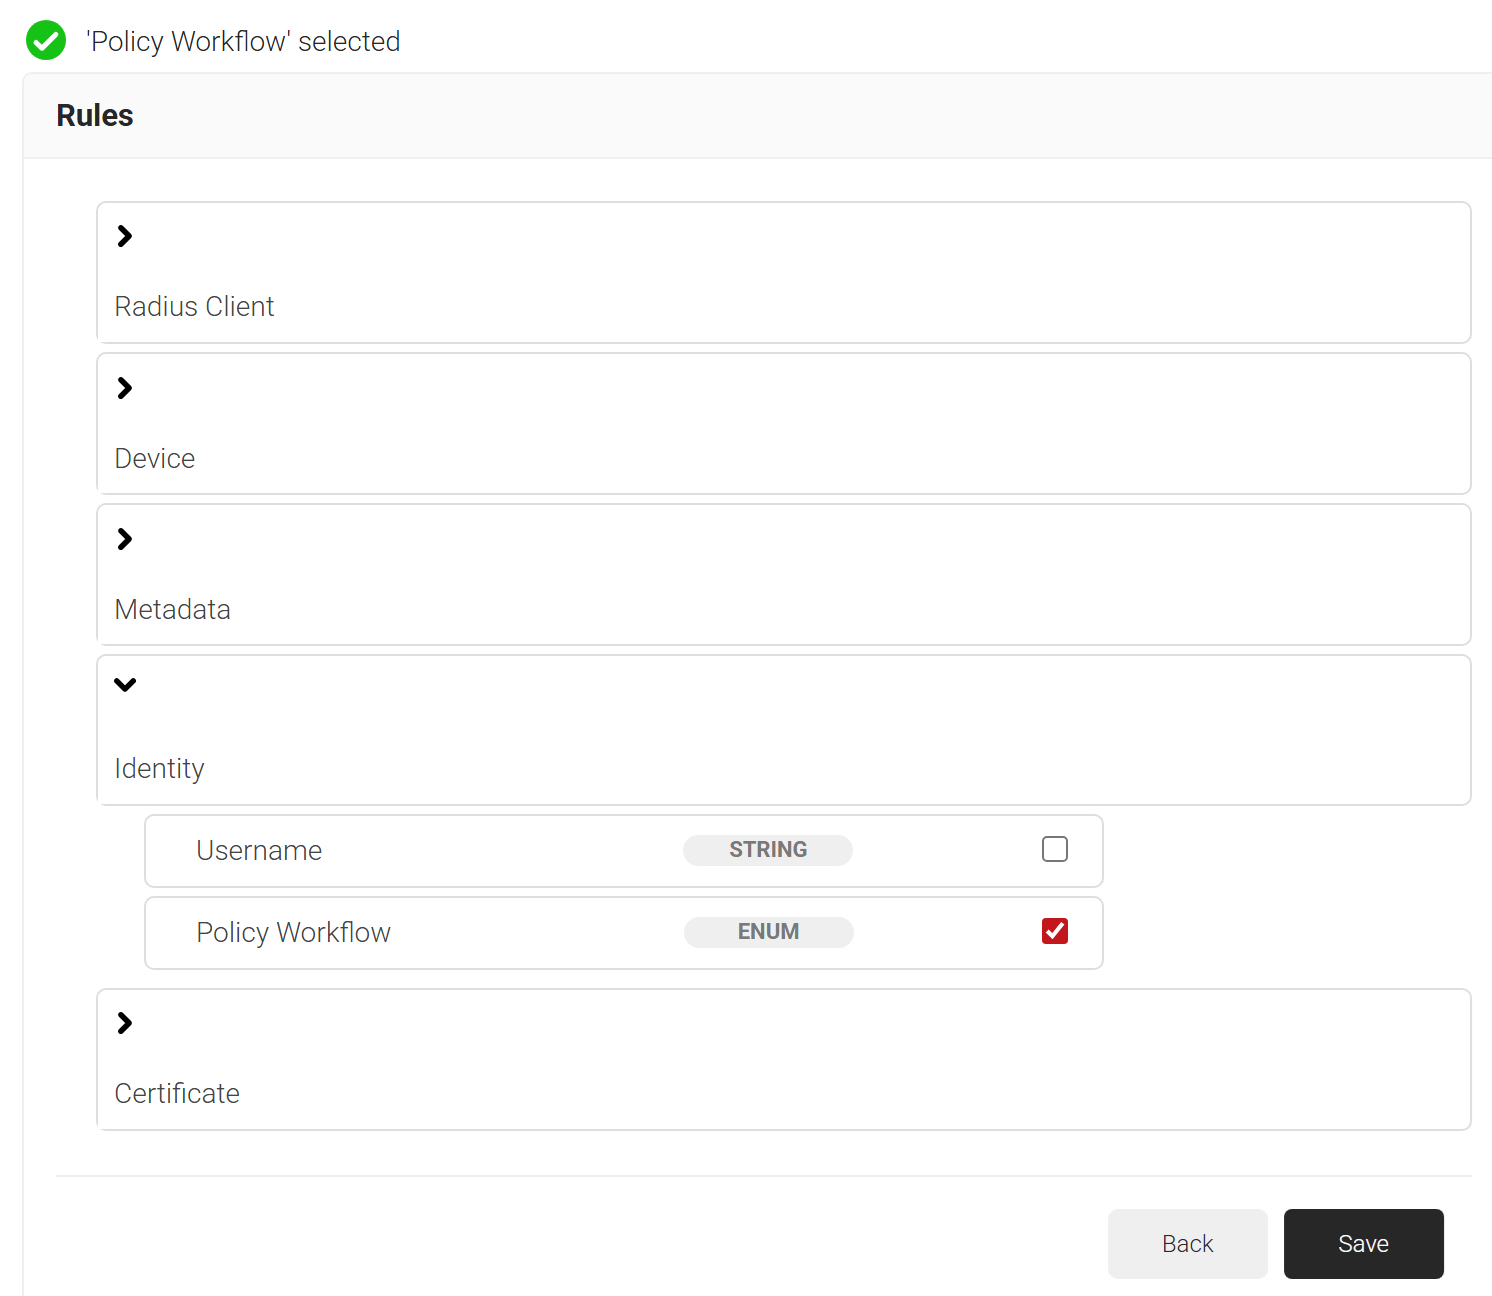
- Expand Identity and select the Policy Workflow option.

- Click Save.
- The Policy Workflow option appears under the Conditions tab.
- From the Policy Workflow Equals drop-down list, select the policy workflow you created earlier (see the Create a Policy Workflow section).

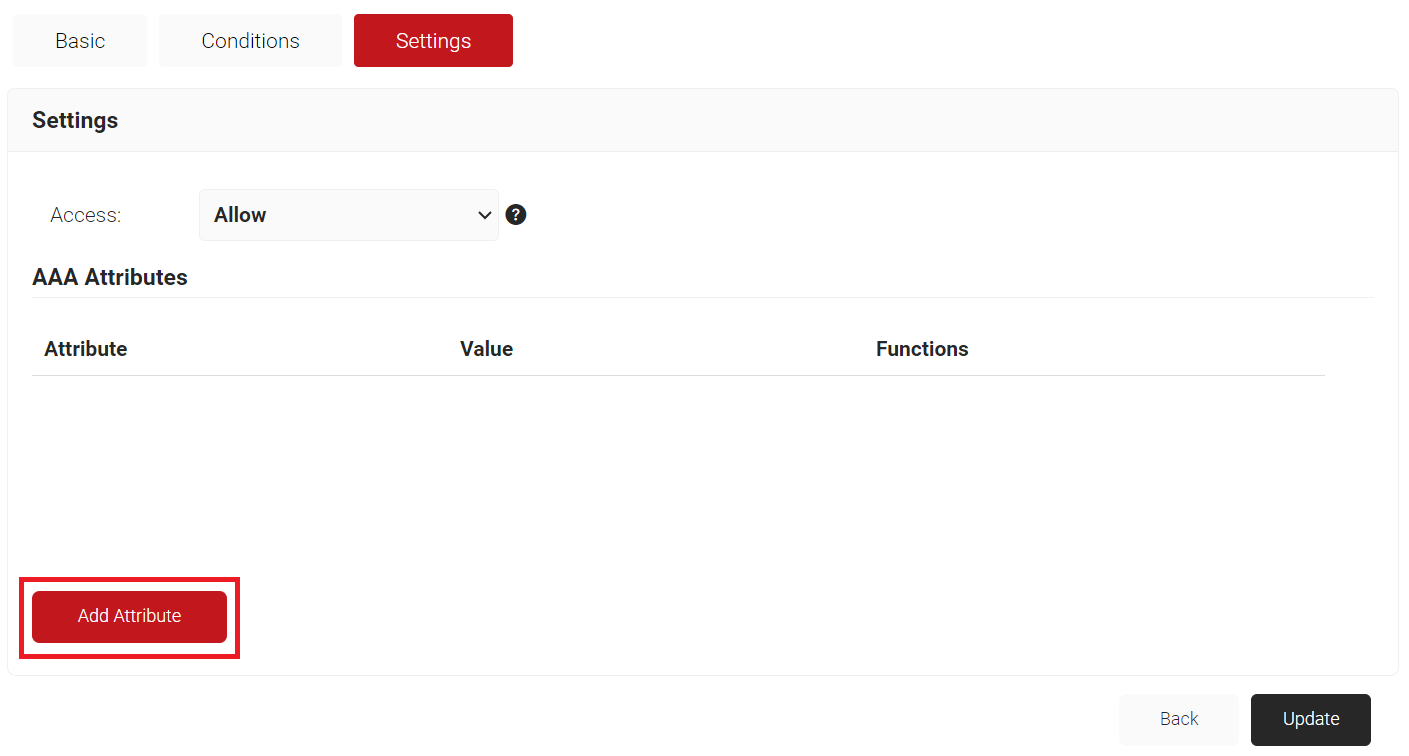
- Select the Settings tab.
- Click Add Attribute.

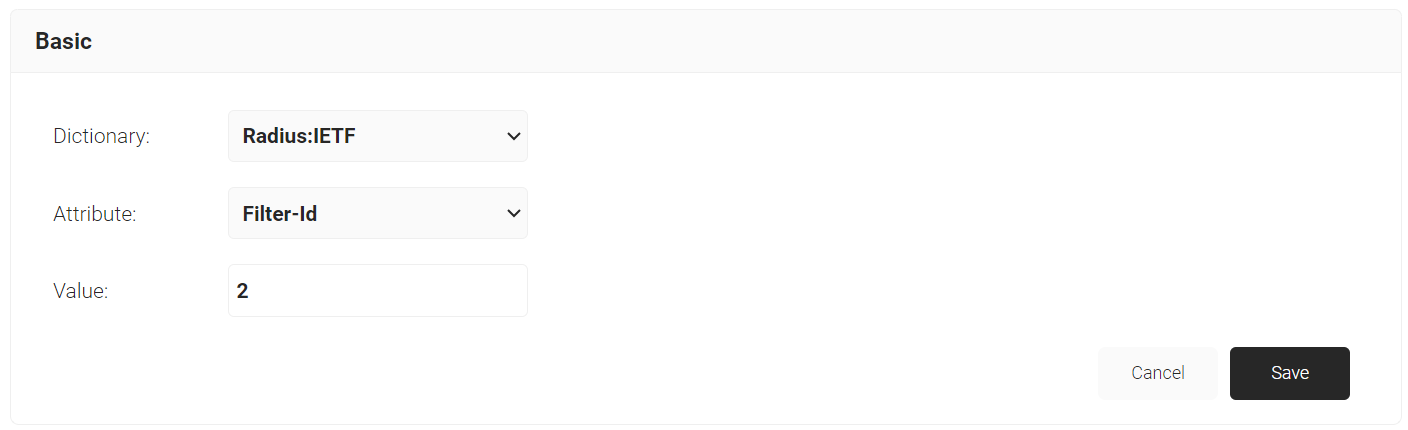
- From the Dictionary drop-down list, select an option: Radius:IETF or Custom.
- From the Attribute drop-down, select Filter-Id.
NOTE: Filter-Id is created on your access point to form a VLAN range. - In the Value field, enter the VLAN filter-ID you wish to connect to.

- Click Save.
- Log in to the JoinNow Management Portal.
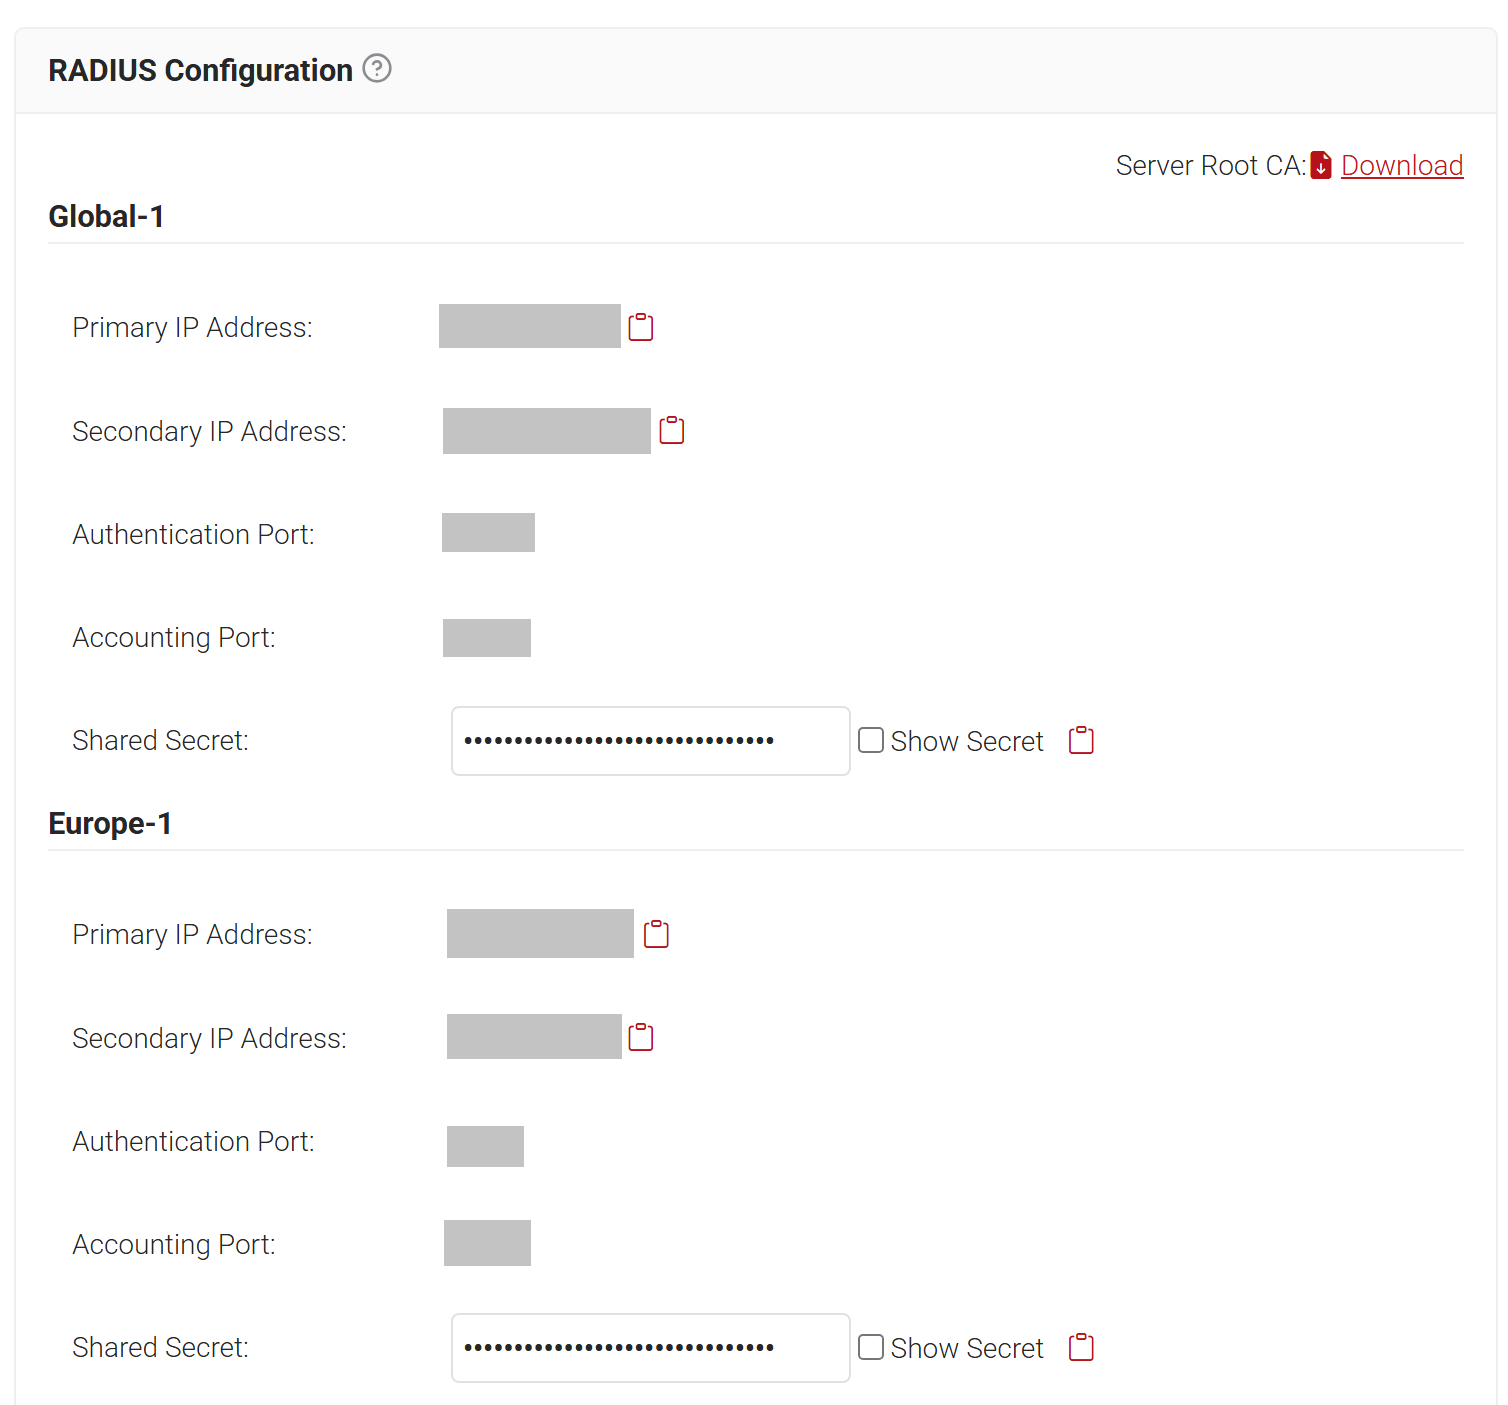
- Navigate to RADIUS > RADIUS Configuration.

- Copy the Primary IP address on your console.
Follow the steps below to set up MAC-based authentication using Meraki:
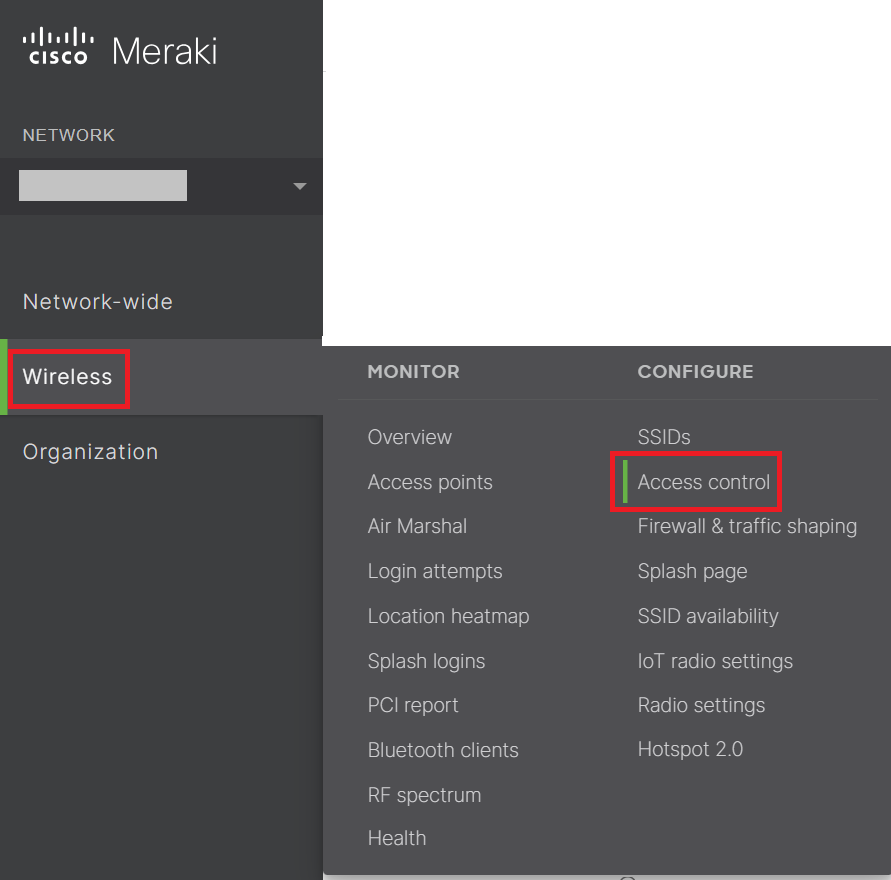
- Log in to the CISCO Meraki Portal.
- Navigate to Wireless > Access Control.

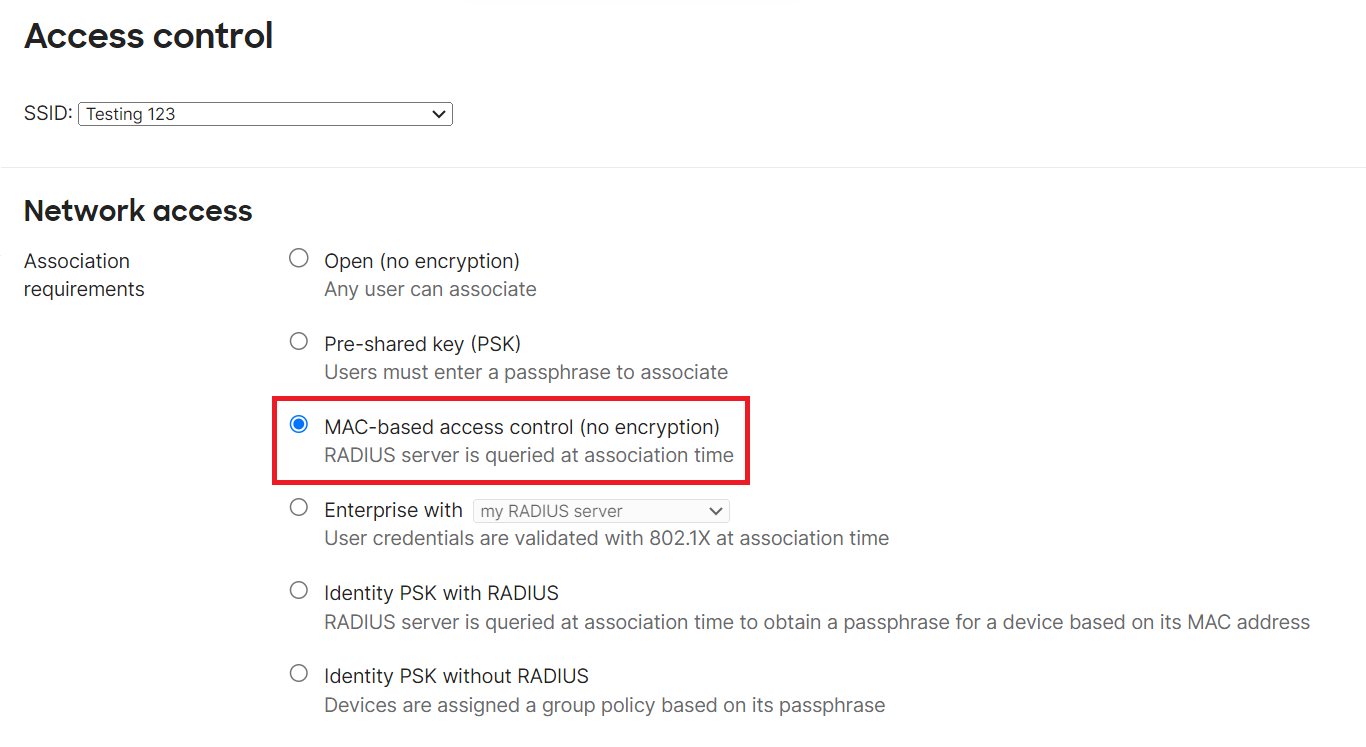
- Under Access control, from the SSID drop-down list, select your SSID.
- Under Network access, for Association requirements, select MAC-based access control (no encryption).

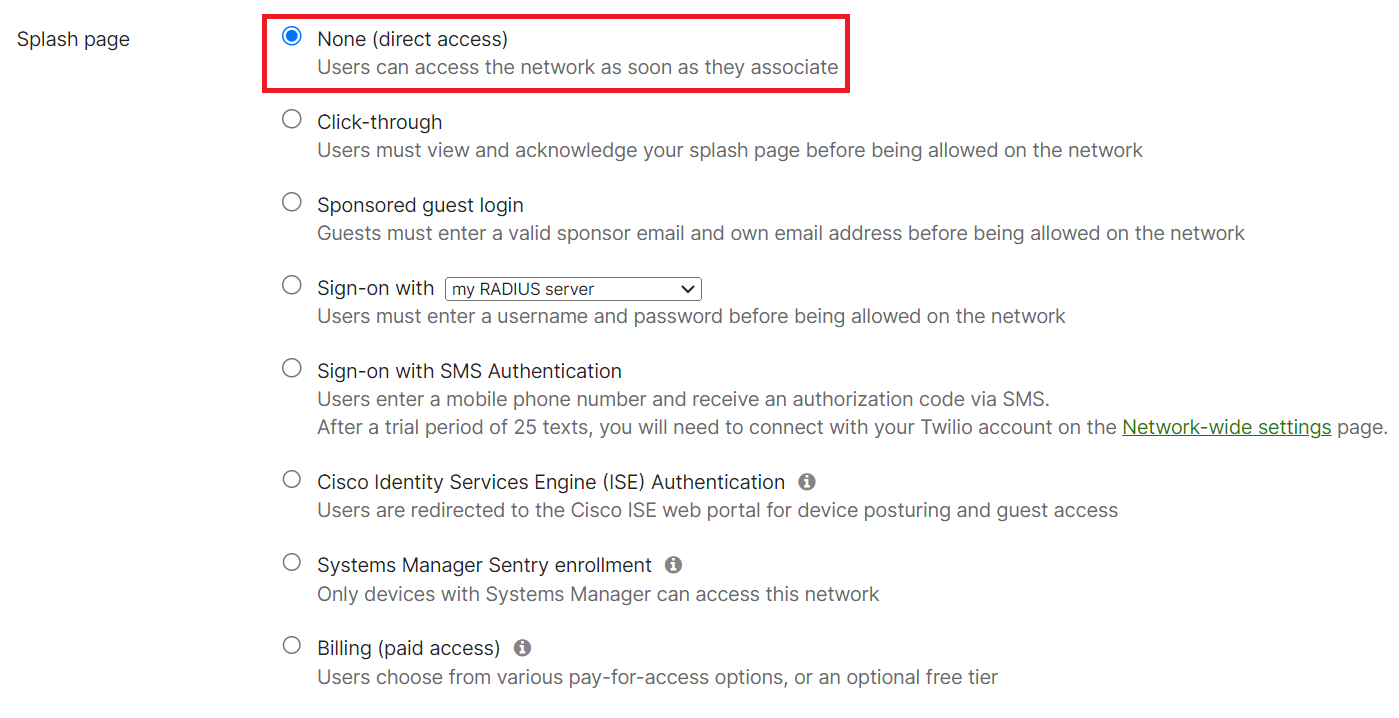
- Under Splash page, select None (direct access).

- In the RADIUS servers section, click Add a server.
- From the JoinNow Management Portal (navigate to RADIUS > RADIUS Configuration), copy the values from Host IP, Port, and Secret and paste them in the Host, Port, and Secret fields in Meraki.

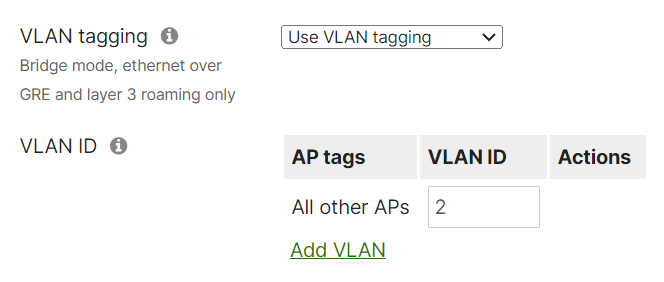
- From the VLAN tagging drop-down list, select Use VLAN tagging.
- In the VLAN ID section, add your VLAN ID with AP tags.

- Scroll down to the bottom of the page and click Save Changes.