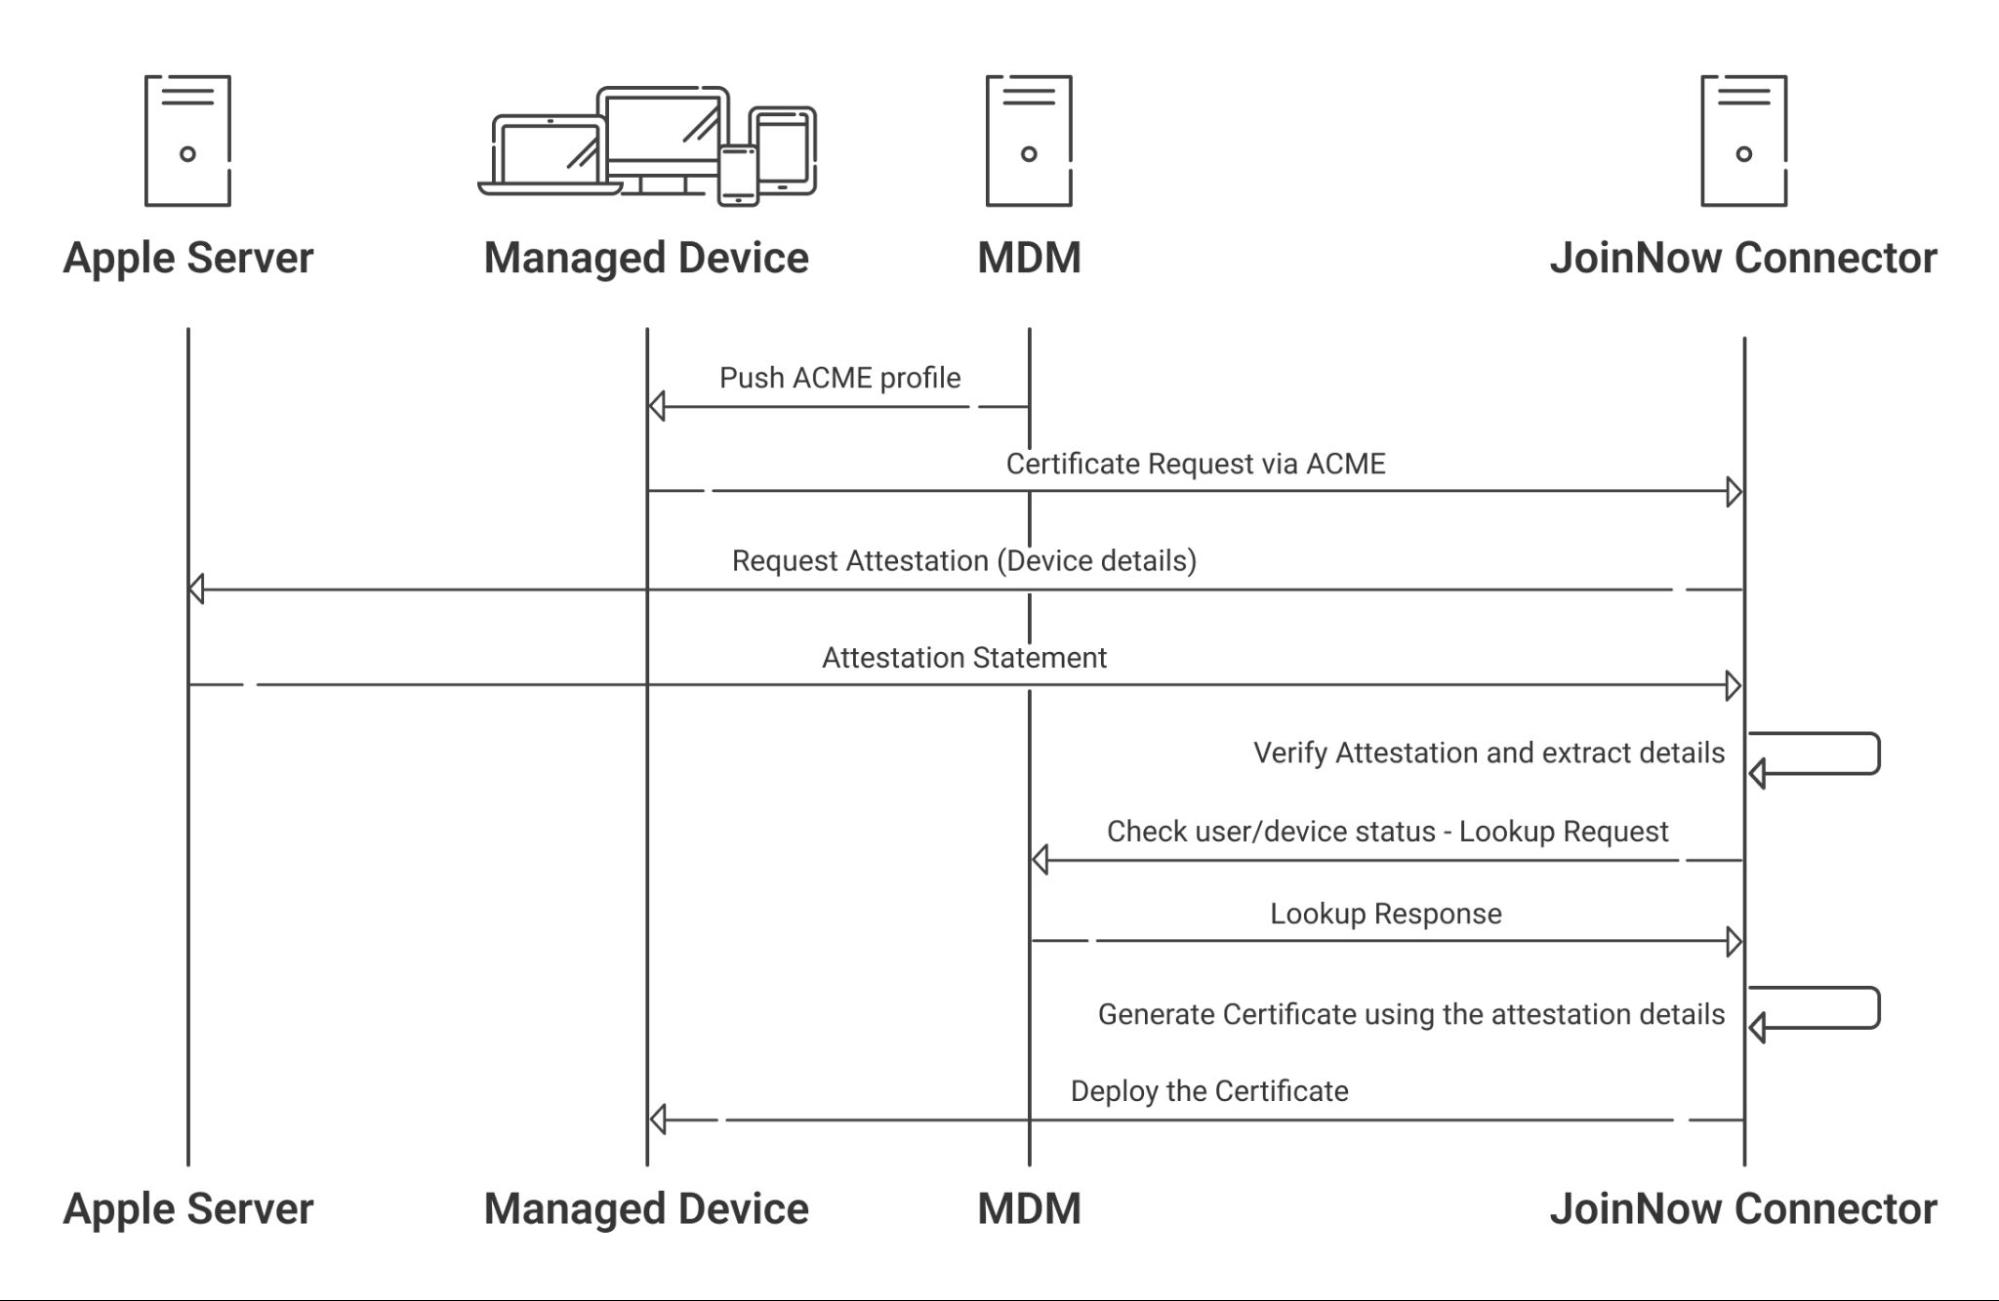
SecureW2 ACME service can cryptographically prove a device is a genuine Apple Product, and confirm its Serial Number using Apple Managed Device Attestation (MDA). MDA is what allows JoinNow Connector to validate a device’s identity and cross-reference it with your MDM to ensure only trusted devices can enroll for certificates.
Traditional SCEP implementations only require a pre-shared key for certificate issuance. With ACME, organizations can ensure that only trusted, managed devices obtain and maintain certificates that are used to access critical resources. This guide describes the steps to integrate Jamf MDM with JoinNow’s Cloud Connector to allow devices, such as macOS, iOS, iPadOS, and tvOS, to enroll for digital certificates via an ACME (Automated Certificate Management Environment) Client Certificate Enrollment token.
It is recommended to have a new intermediate CA for enrolling devices using ACME Gateway integration with Jamf for easy management.
To create a new intermediate CA:
- Log in to the JoinNow Management Portal.
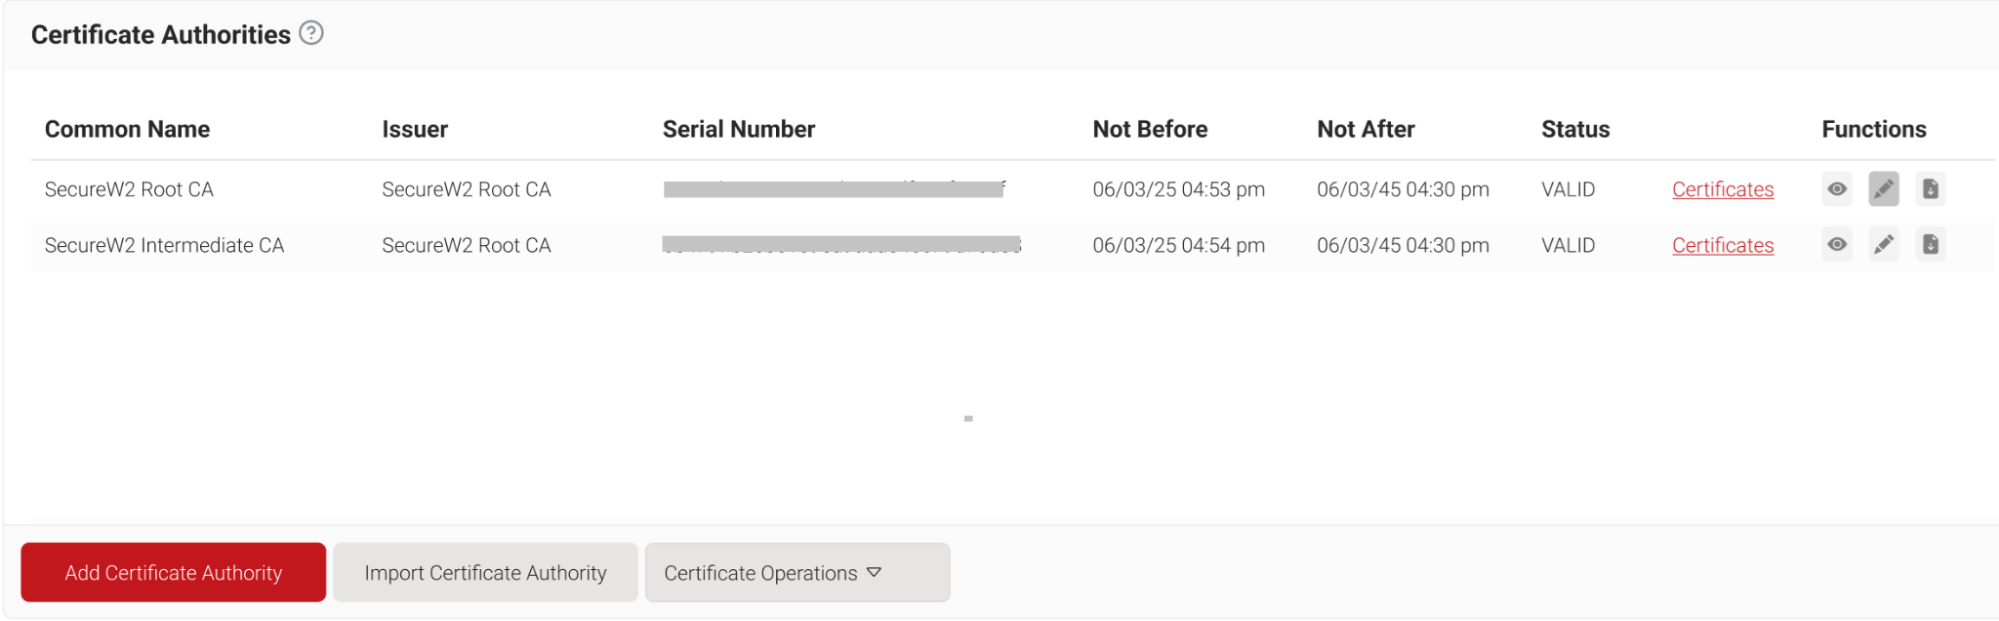
- Navigate to Dynamic PKI > Certificate Authorities.
- Click Add Certificate Authority.

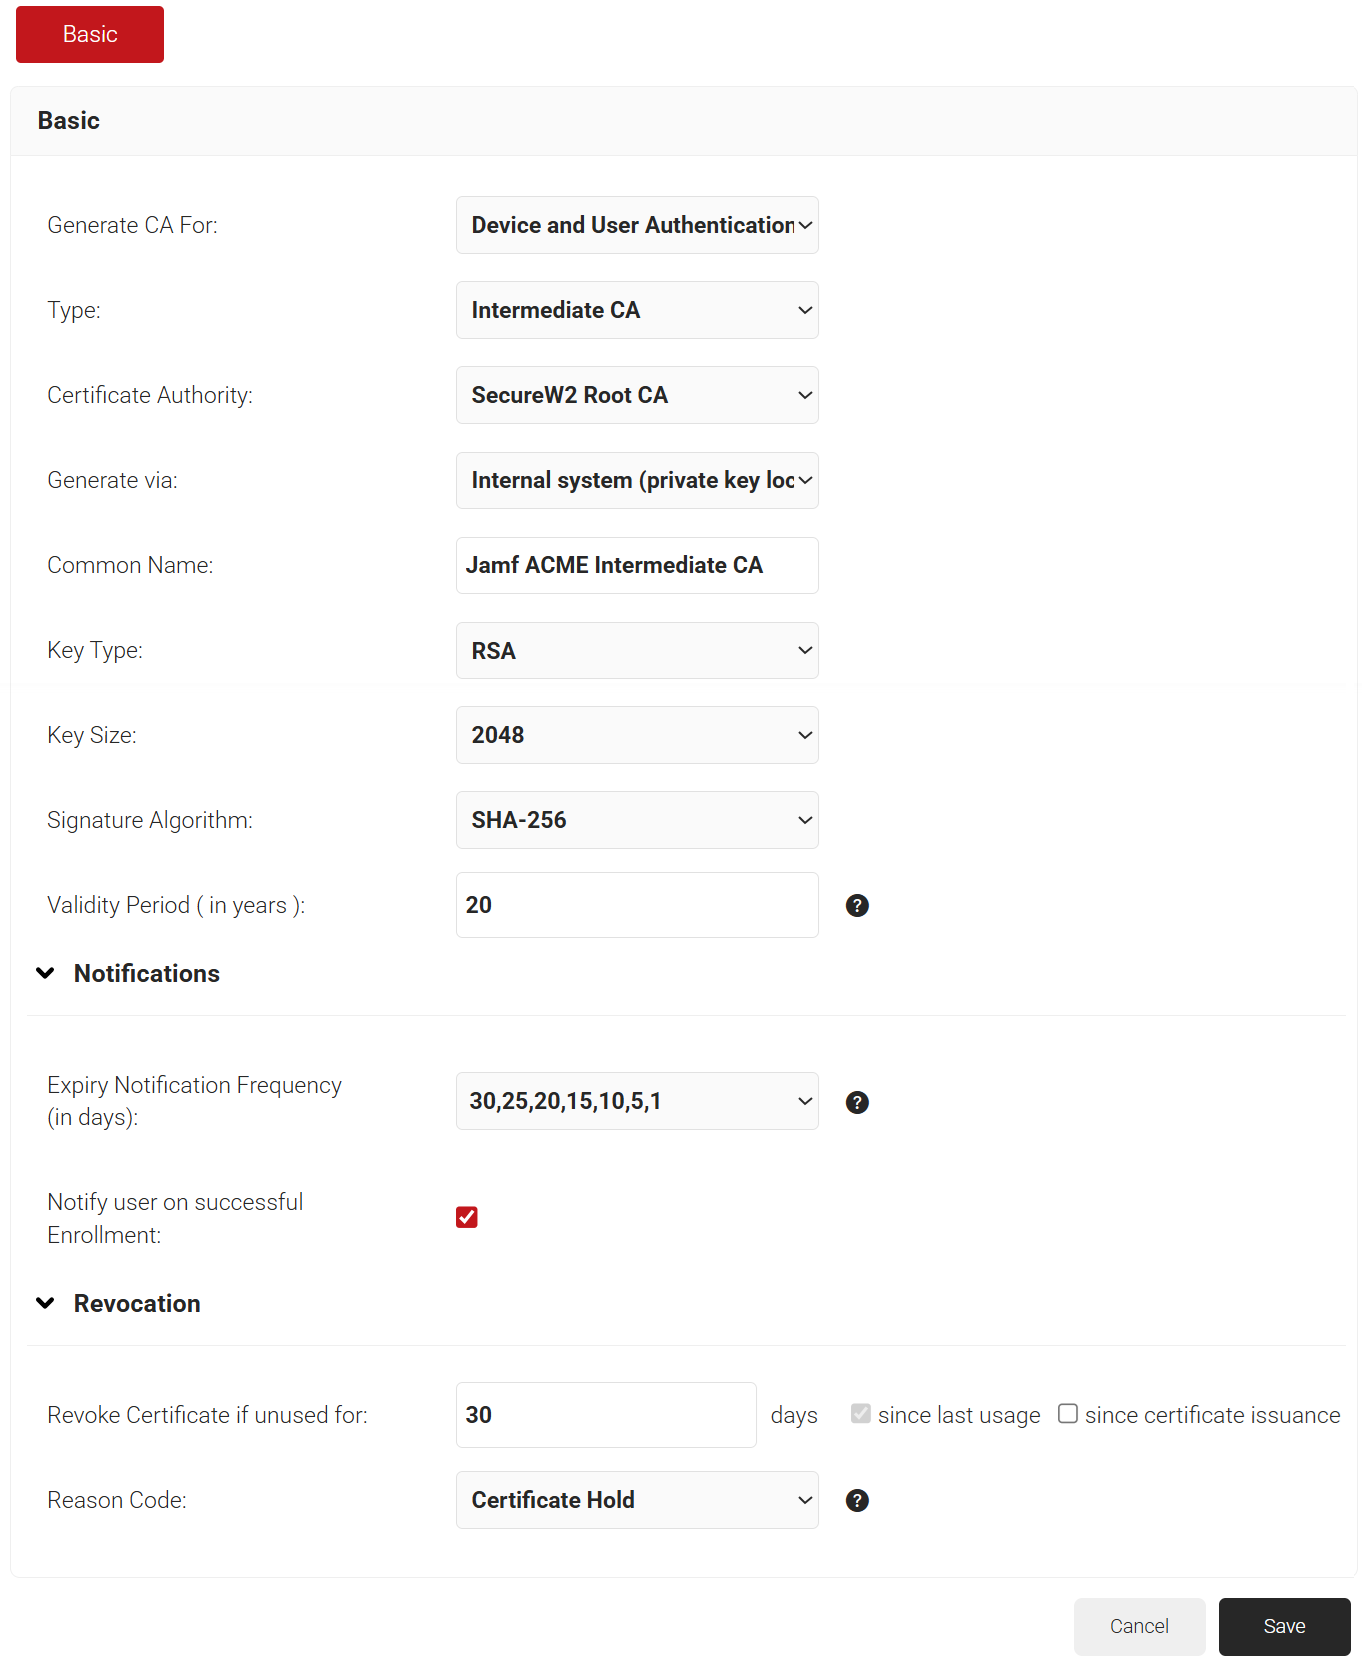
- In the Basic section, from the Generate CA For drop-down list, select the Device and User Authentication option to authenticate devices and users.
- From the Type drop-down list, select Intermediate CA.
- From the Certificate Authority drop-down list, select the default Root CA that comes with your organization.
- In the Common Name field, enter a common name for the CA certificate.
- From the Key Size drop-down list, select 2048 for the CA certificate key pair.
- From the Signature Algorithm drop-down list, select the signature algorithm for the certificate signing request. The option available is SHA-256.
- In the Validity Period (in years) field, enter the validity period of the CA certificate.

- Click Save. The new intermediate CA is generated.
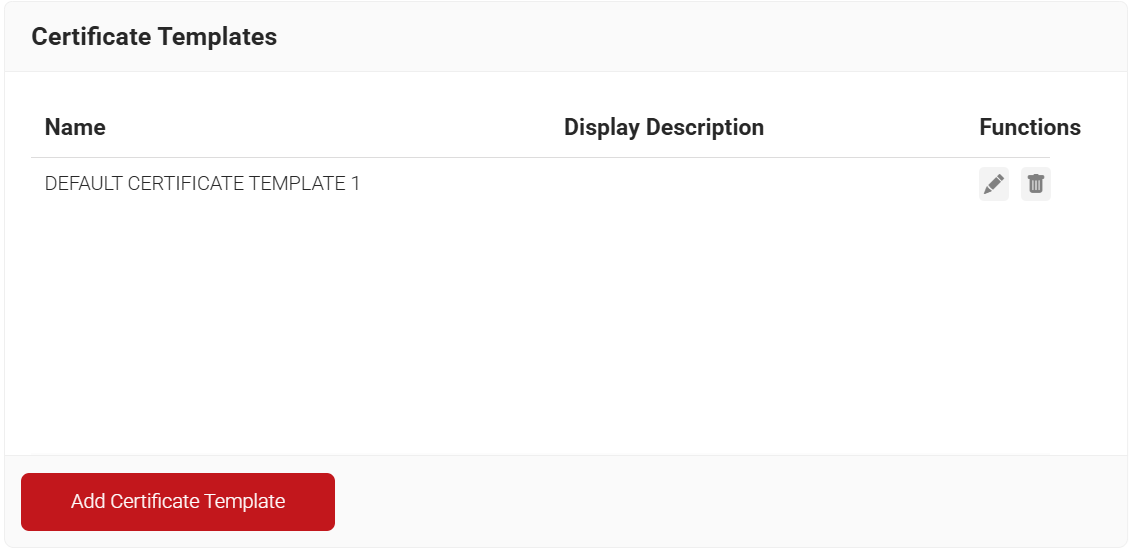
A certificate template determines how information is encoded in the certificate to be issued by the Certificate Authority. It will consist of a list of certificate attributes and how the information must be encoded in the attribute values.
It is recommended to create a separate template for each MDM platform for easier identification of different values being passed. To create an Jamf Certificate Template:
- Navigate to Dynamic PKI > Certificate Authorities.
- Click Add Certificate Template.

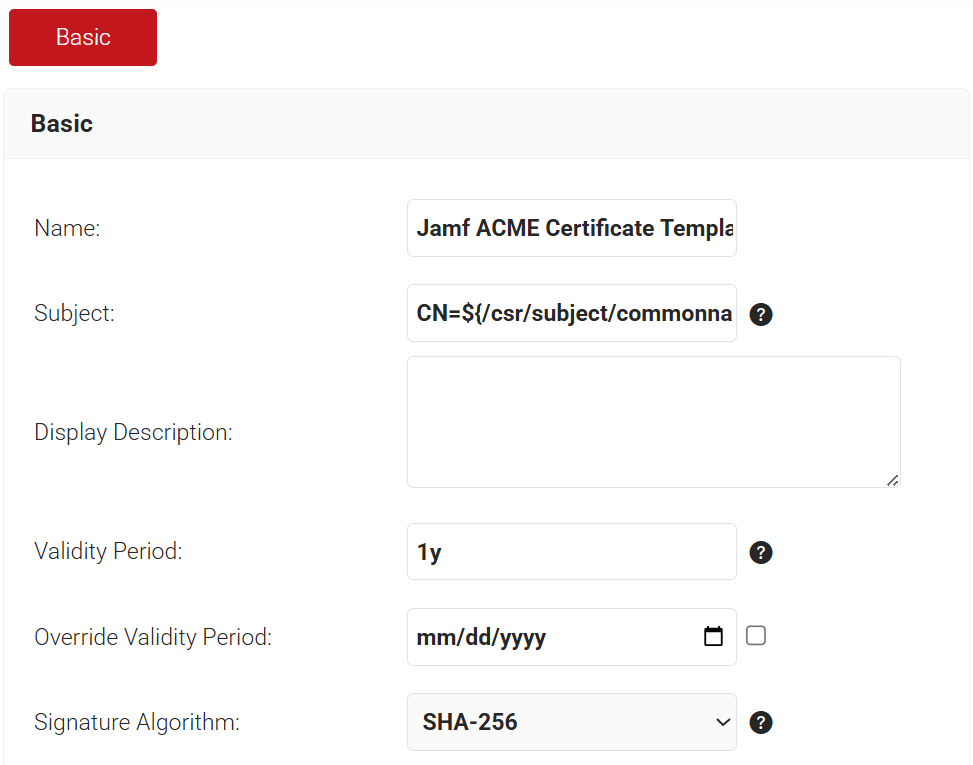
- In the Basic section, for the Name field, enter the name of the certificate template.
- Subject field can be configured to source values from the Jamf.
- To use the attributes sent from Jamf, enter CN=${/csr/subject/commonname}
- In the Display Description field, enter a suitable description for the certificate template.
- In the Validity Period field, type the validity period of the certificate (based on the requirement).
- From the Signature Algorithm drop-down list, select the signature algorithm for the certificate signing request.

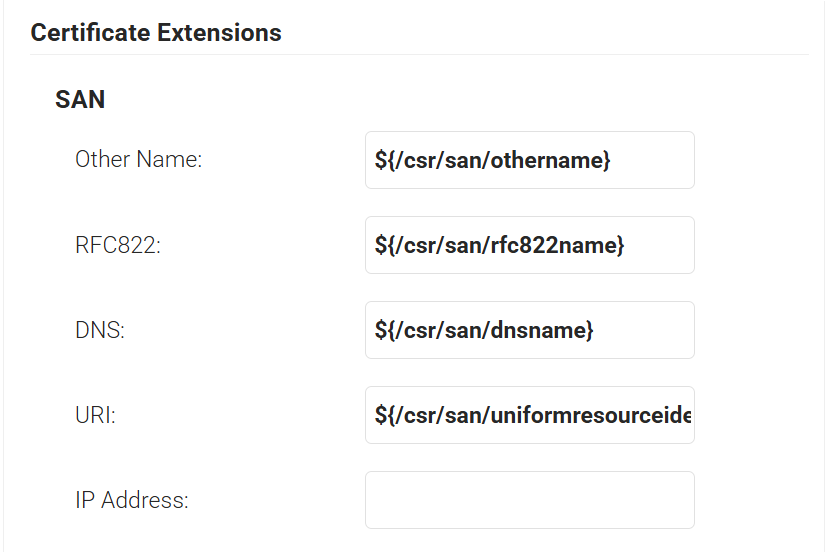
- In the SAN section:
- In the Other Name field, enter ${/csr/san/othername}
- In the RFC822 field, enter ${/csr/san/rfc822name}
- In the DNS field, enter ${/csr/san/dnsname}

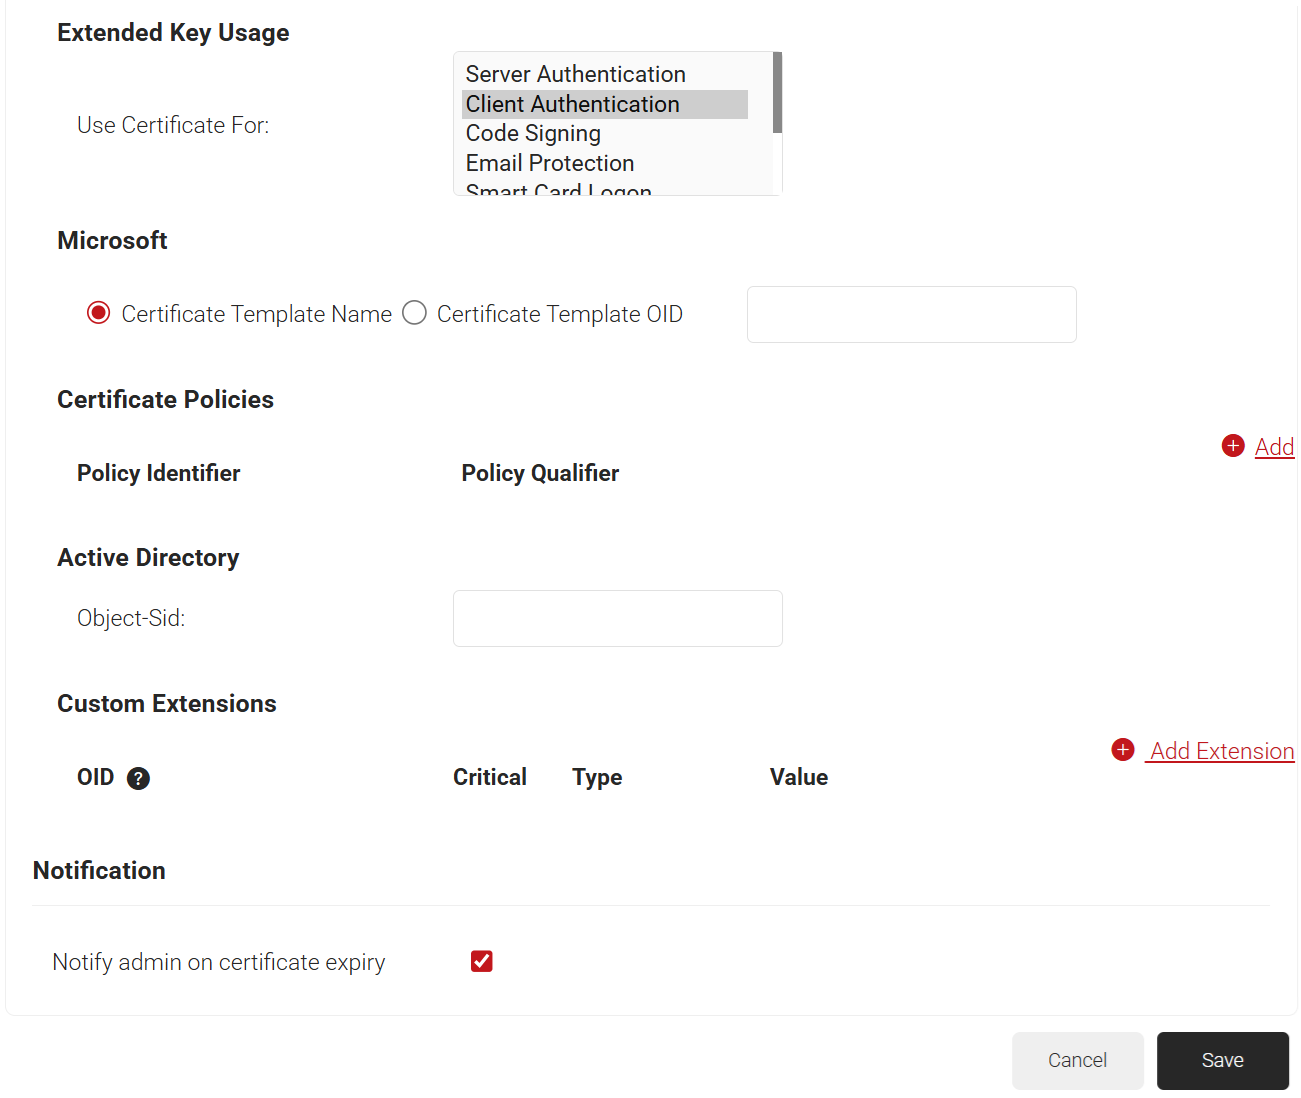
- In the Extended Key Usage section, from the Use Certificate For list, select Client Authentication.

- Click Save.
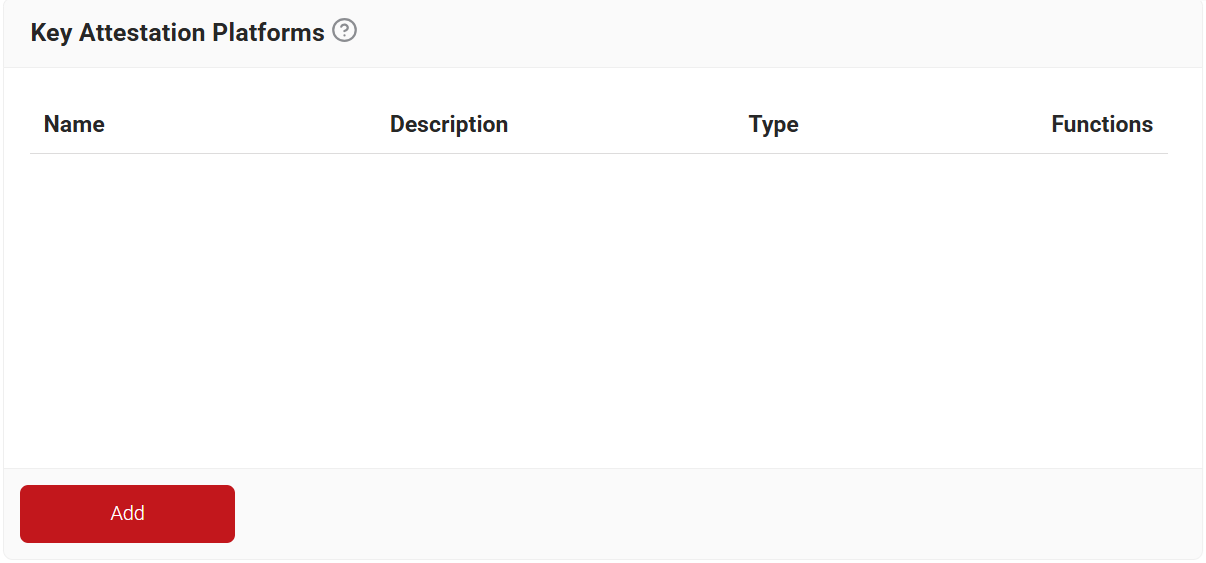
A Key Attestation Provider in JoinNow helps set up device attestation services for iOS devices. To create a Key Attestation platform:
- Navigate to Integrations Hub > Key Attestation Platforms.
- Click Add.

- In the Name field, enter a name for your Key Attestation Provider.
- In the Display Description field, enter a description.
- From the Type drop-down, select Apple.

- Click Save.

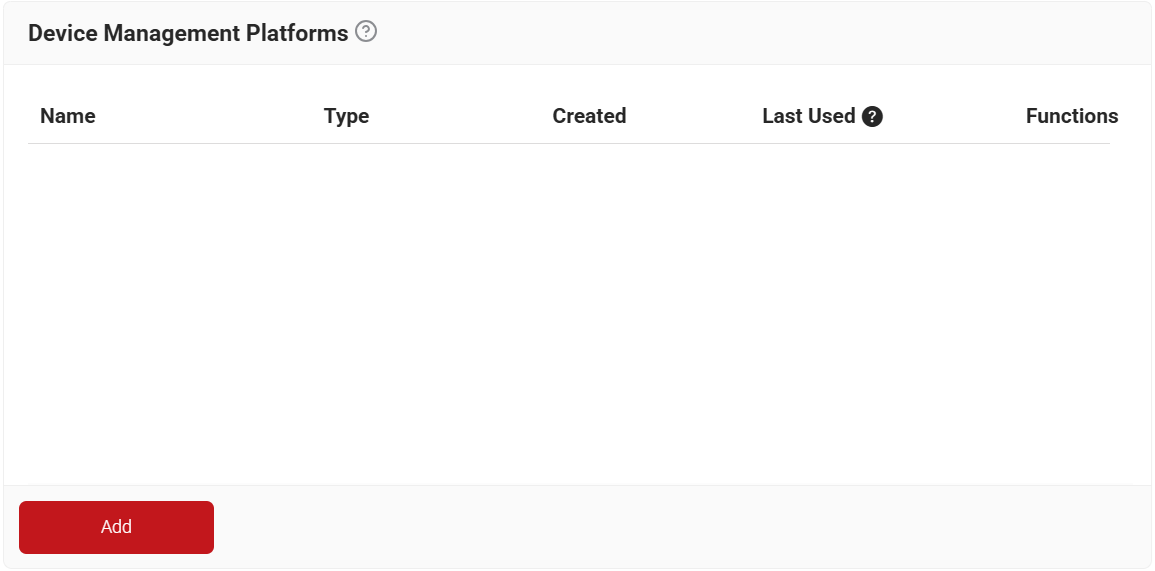
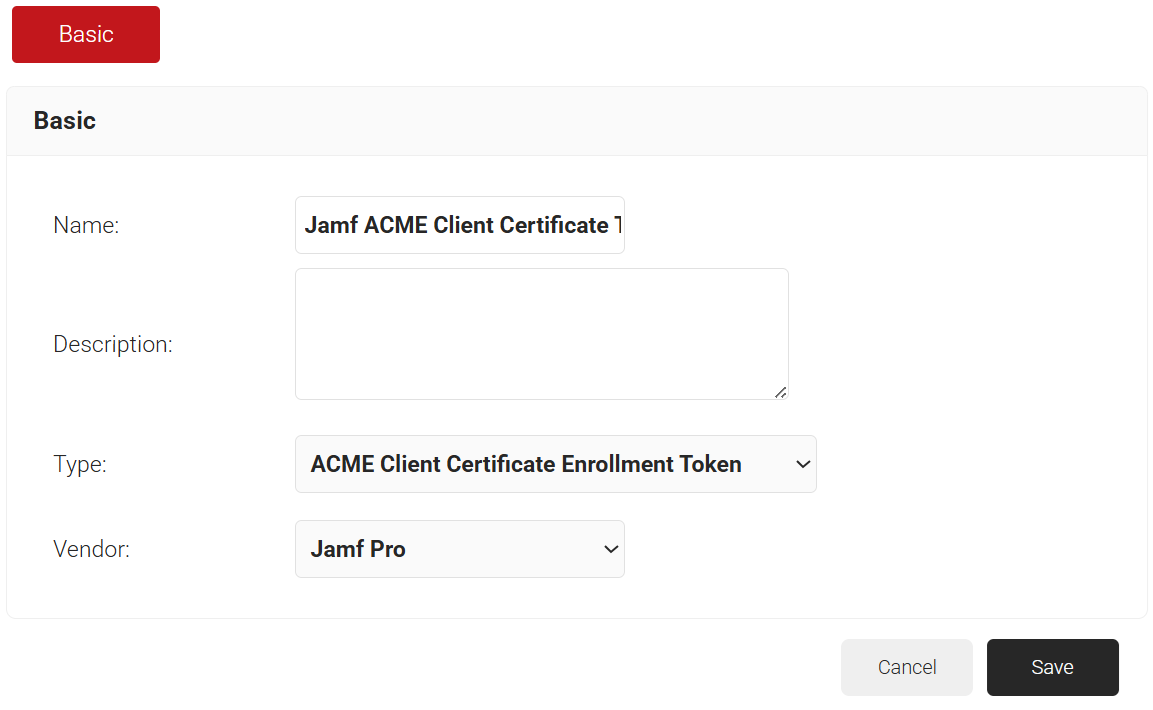
To generate an ACME Certificate Enrollment Token from JoinNow:
- Navigate to Integrations Hub > Device Management Platforms.
- Click Add.

- In the Name field, enter a name for your device management platform.
- In the Display Description field, enter a description (Optional).
- From the Type drop-down, select ACME Client Certificate Enrollment Token.
- From the Vendor drop-down, select Jamf Pro.

- Click Save. A .mobileconfig file is downloaded.
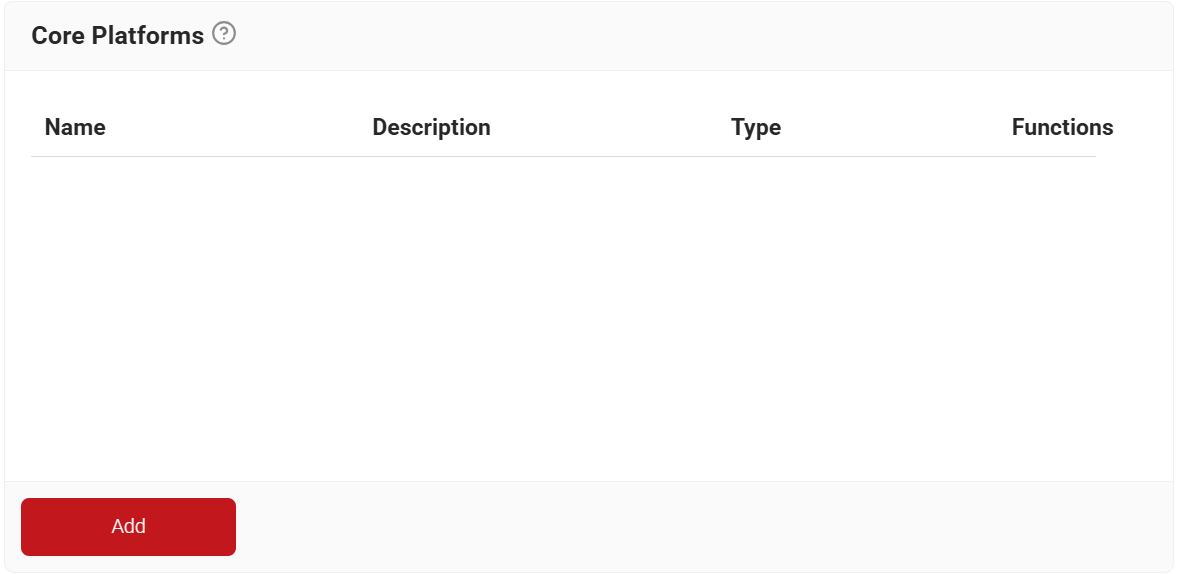
To create a signal source for Jamf ACME-based enrollment:
- Navigate to Integrations Hub > Core Platforms.
- Click Add.

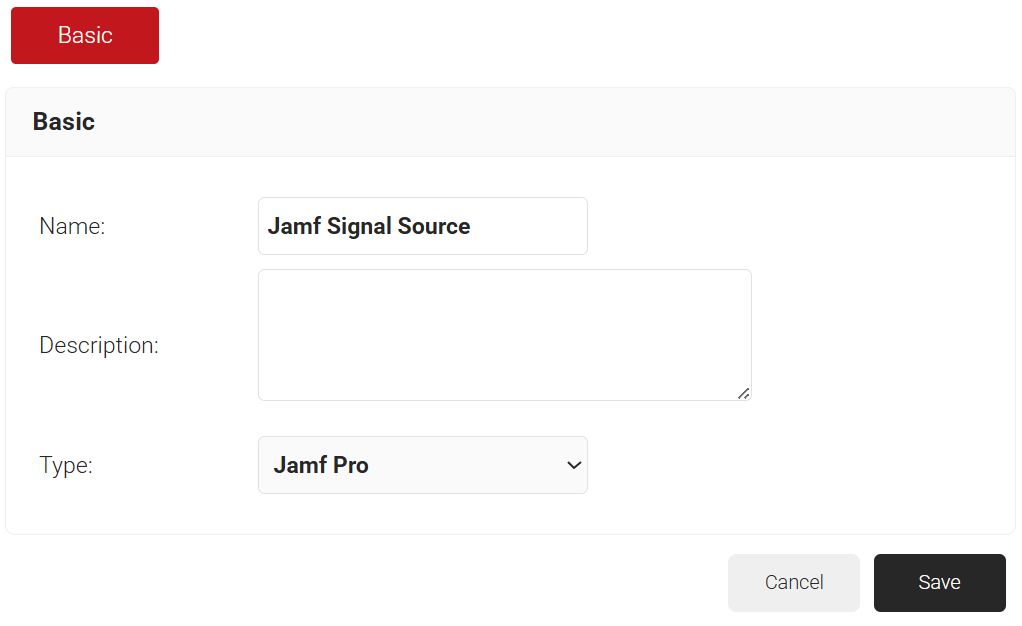
- In the Basic section, in the Name field, enter the name of the Signal Source.
- In the Description field, enter a suitable description for the Signal Source.
- From the Type drop-down list, select Jamf Pro.

- Click Save. The page refreshes and opens the Configuration, Attribute Mapping, and Groups tab.
- Click on the Configuration tab.
- From the Authentication Type drop-down list, select any one of the following options based on your business requirements. SecureW2 recommends using Client Credentials.
- Bearer Token – Authentication is done using Jamf user credentials.
- For Provider URL, enter the JAMF URL of the organization.
- For the Username and Password fields, enter the JAMF credentials.
- From the Device Lookup via drop-down list, select the attribute to use for device lookup. The default is Serial Number.
- Click Validate to check your connection with JAMF.

- Client Credentials – Authentication is done using Client credentials
- For Provider URL, enter the JAMF URL of the organization.
- For the Client ID field, enter the client ID from Jamf.
- For the Client Secret field, enter the client secret from Jamf
- From the Device Lookup via drop-down list, select the attribute to use for device lookup. The default is Serial Number.
- Click Validate to check your connection with JAMF.

- Bearer Token – Authentication is done using Jamf user credentials.
- Set up required attributes in the Attribute Mapping tab.
- Create required groups in the Groups tab.
- Click Update.


A security signal source can be mapped along with the Jamf Identity Lookup provider created earlier for device lookup.
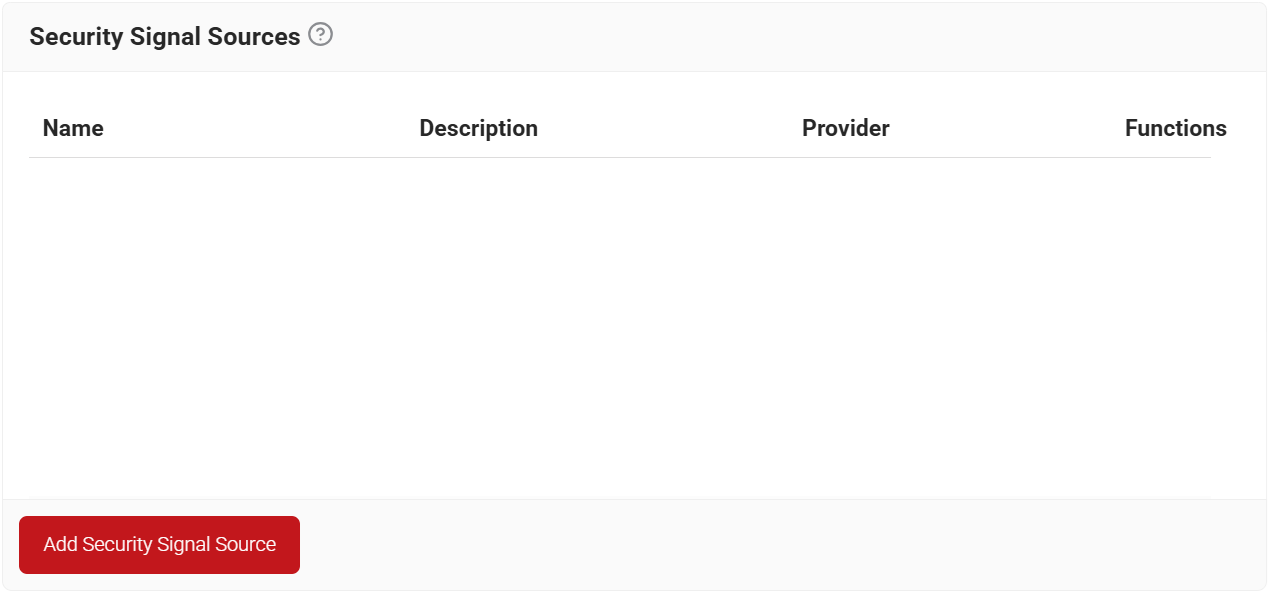
- From the JoinNow Management Portal, go to Policy Management > Security Signal Sources.
- Click Add Security Signal Source.

- In the Basic section, enter the name of the security signal source in the Name field.
- In the Display Description field, enter a suitable description for the security signal source.
- Lookup Purpose – Purpose of Account Lookup
- Certificate Issuance – To lookup user/device account during Enrollment.
- RADIUS Authentication – To lookup user/device account during RADIUS Authentication

- Click Save. The page refreshes and the Settings tab is displayed.
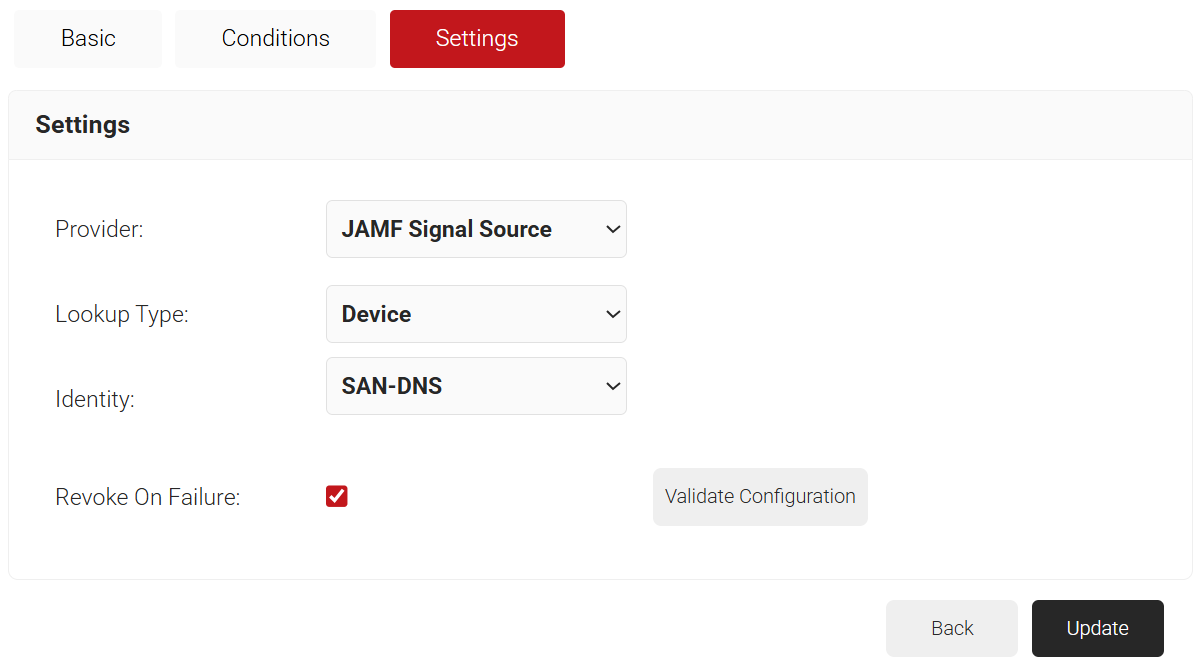
- Under the Settings section, from the Identity Provider Lookup drop-down list, select the Identity Lookup Provider created in the previous section (see the 3.5 Creating an Identity Lookup Provider in JoinNow section).
- From the Lookup Type drop-down list, select Device.
- From the Identity drop-down list, select SAN-DNS from either CSR (used as the lookup attribute for enrollment) or Certificate (used as the lookup attribute for RADIUS authentication) during device lookup.
- Select the Revoke On Failure checkbox to automatically revoke the certificate if an account lookup fails.

- Click the Validate Configuration button to check if the lookup is valid.
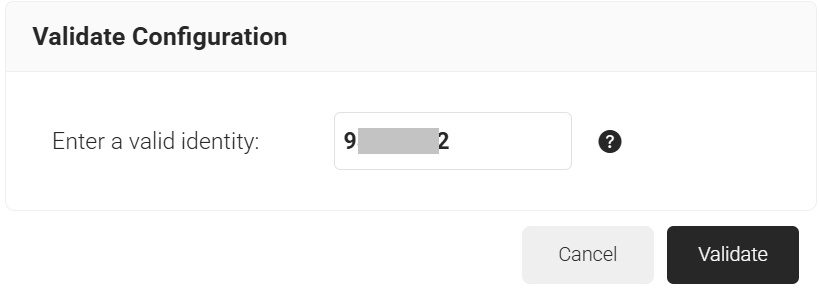
- In the Validate Configuration pop-up window, enter the device serial number in the Enter a valid identity field to validate the lookup, then click Validate.

NOTE: When the Admin enters an invalid identity on the Validate Configuration pop-up window, an error message is displayed: “Account validation failed.” - Click Update.

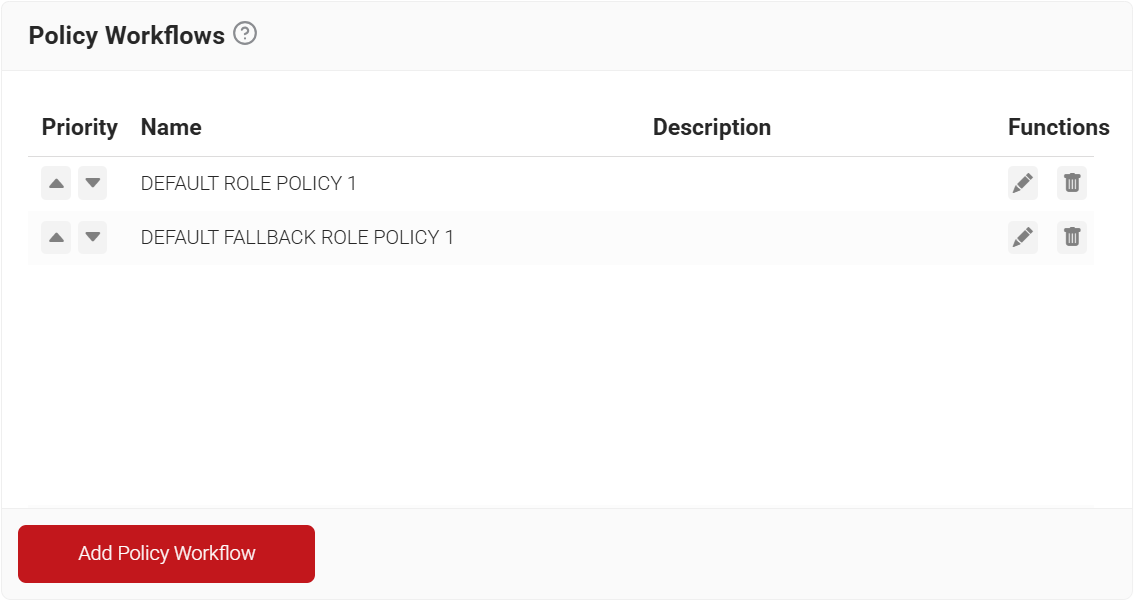
- Go to Policy Management > Policy Workflows.
- Click Add Policy Workflow.

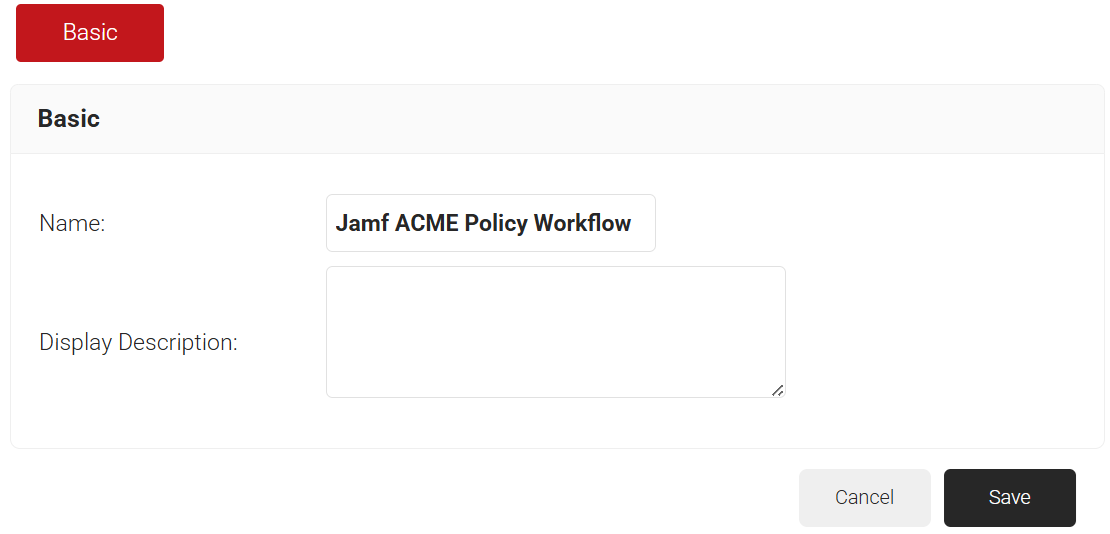
- In the Basic section, enter the name of the Policy Workflow in the Name field.
- In the Display Description field, enter a suitable description for the policy workflow.

- Click Save.
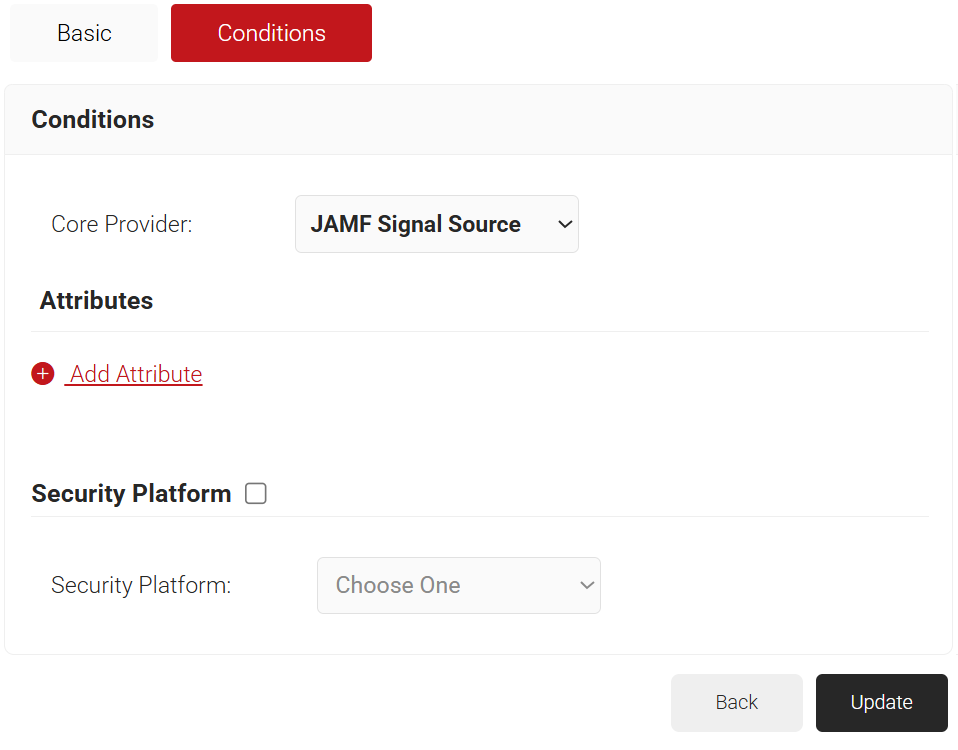
- The page refreshes, and the Conditions tab is displayed.
- Click the Conditions tab.
- In the Conditions section, click the Core Provider drop-down and select the signal source you created earlier.

- Click Update.
Creating an Enrollment Policy
- From the JoinNow Management Portal, go to Policy Management > Enrollment.
- Click Add Enrollment Policy.
- In the Basic tab, for Name, enter a name.
- For Description, enter a description.
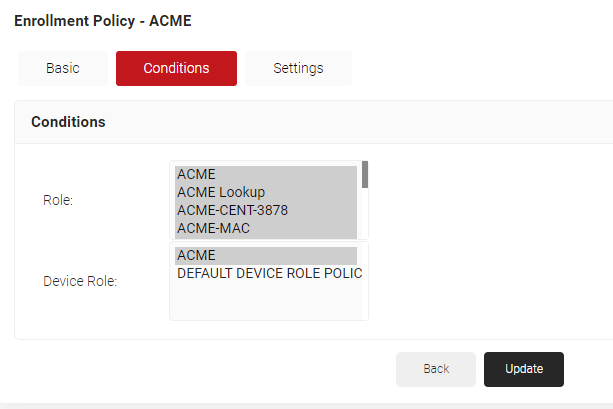
- Click Save. The page refreshes and displays the Conditions and Settings tab.
- In the Conditions section, for Role, select the user role policy you created in the 3.6.2 Creating a Policy Workflow section.
- For Device Role, select the device role created in 3.6.3 Creating a Device Role Policy section.

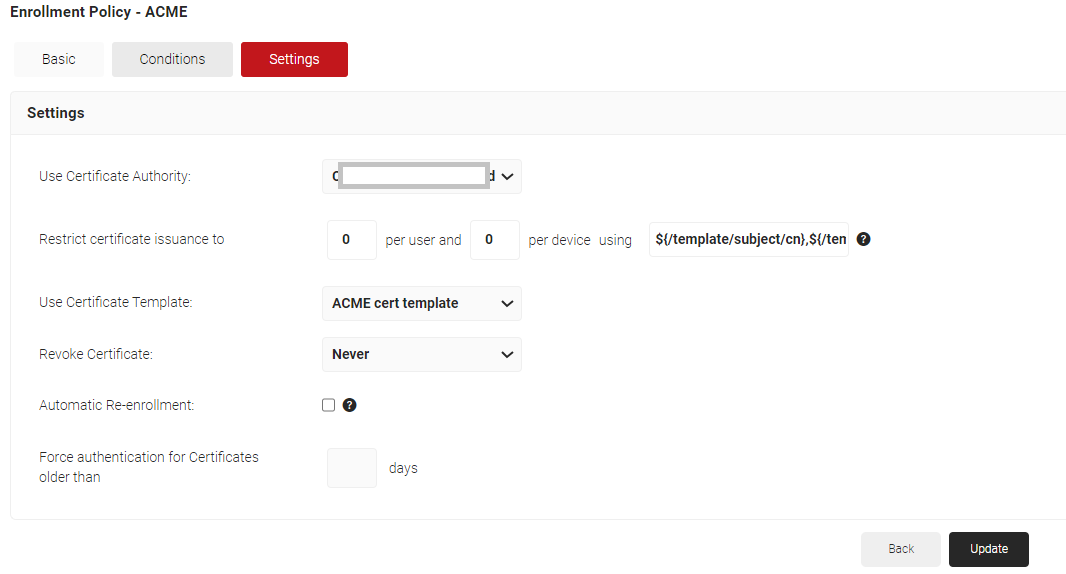
- Click on the Settings tab.
- From the Use Certificate Authority drop-down, select the Certificate Authority created for ACME.
- From the Use Certificate Template drop-down, choose the certificate template created for ACME.

- Click Update.
Setting Up Certificate Enrollment via ACME on Jamf
In order to initiate the ACME certificate enrollment on the client devices, a .mobileconfig file should be created in JoinNow and pushed to the required devices/device groups via Jamf.
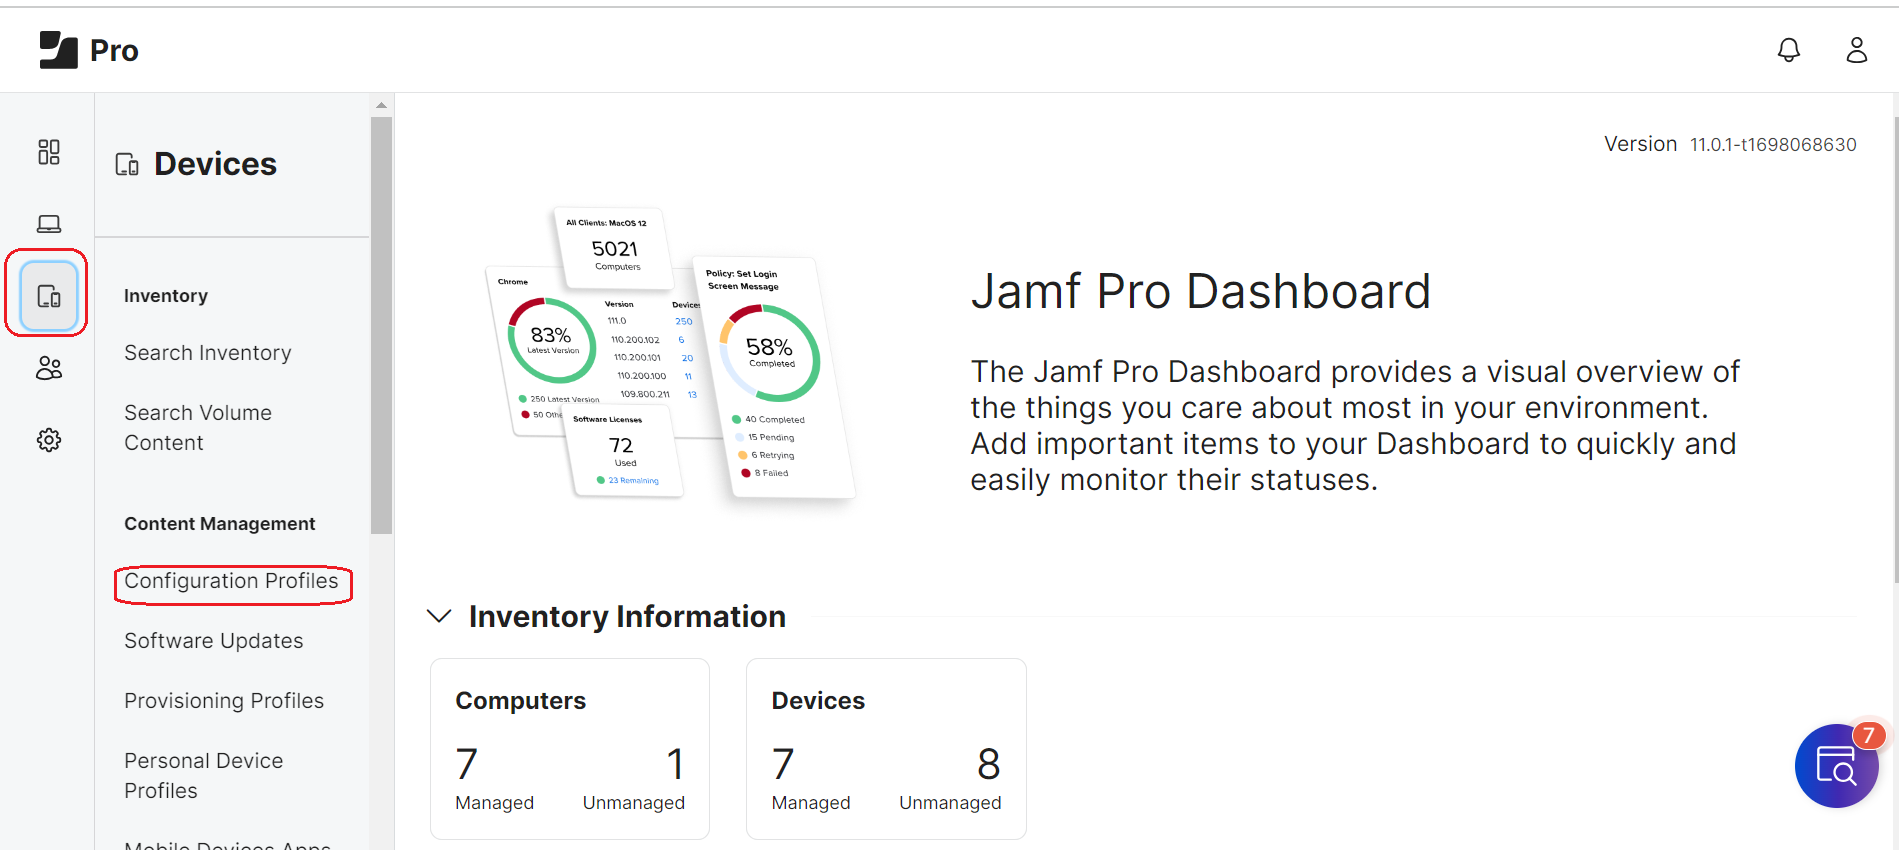
- Log in to the Jamf portal.
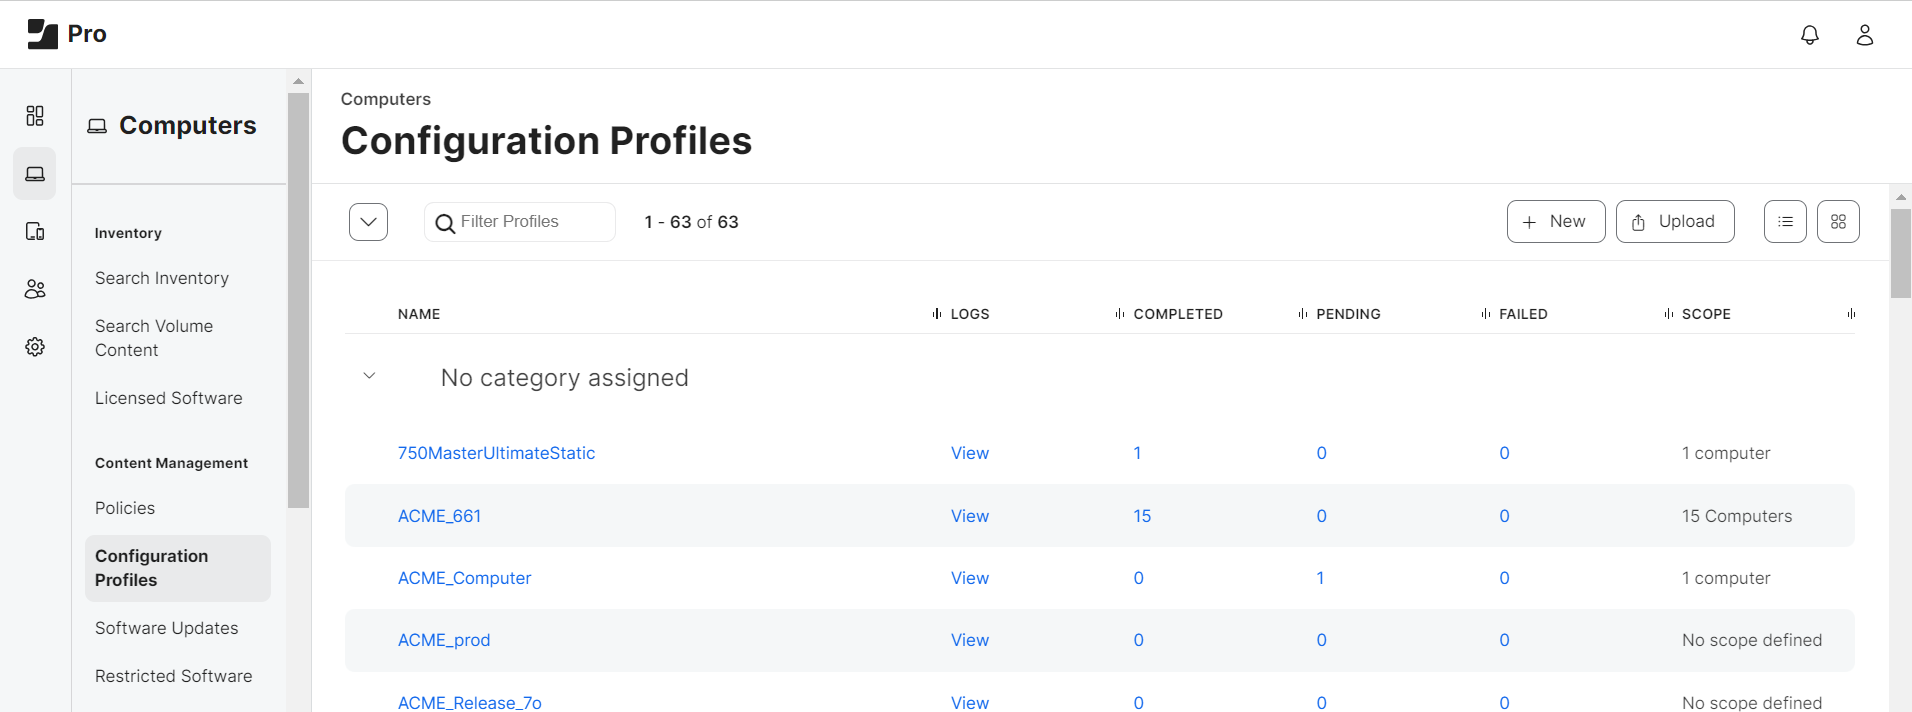
- Navigate to Devices > Configuration Profiles.
NOTE: Devices refer to creating configuration profiles of iOS Mobile devices and iPad. For mac OS, upload Mobileconfig via Computers > Configuration Profiles.
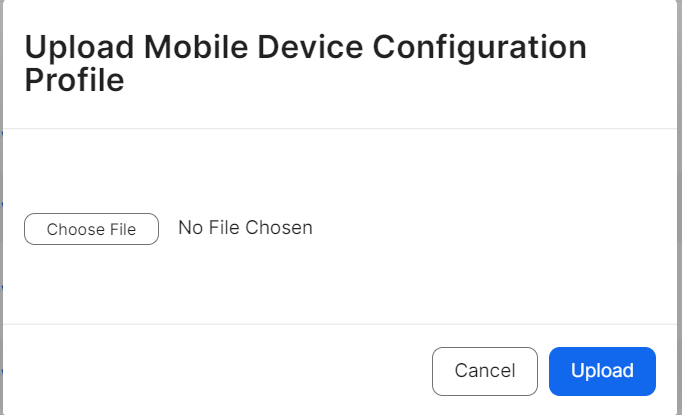
- Click Upload.

- Click Choose File.
- From your computer, upload the .Mobileconfig file acquired from JoinNow.

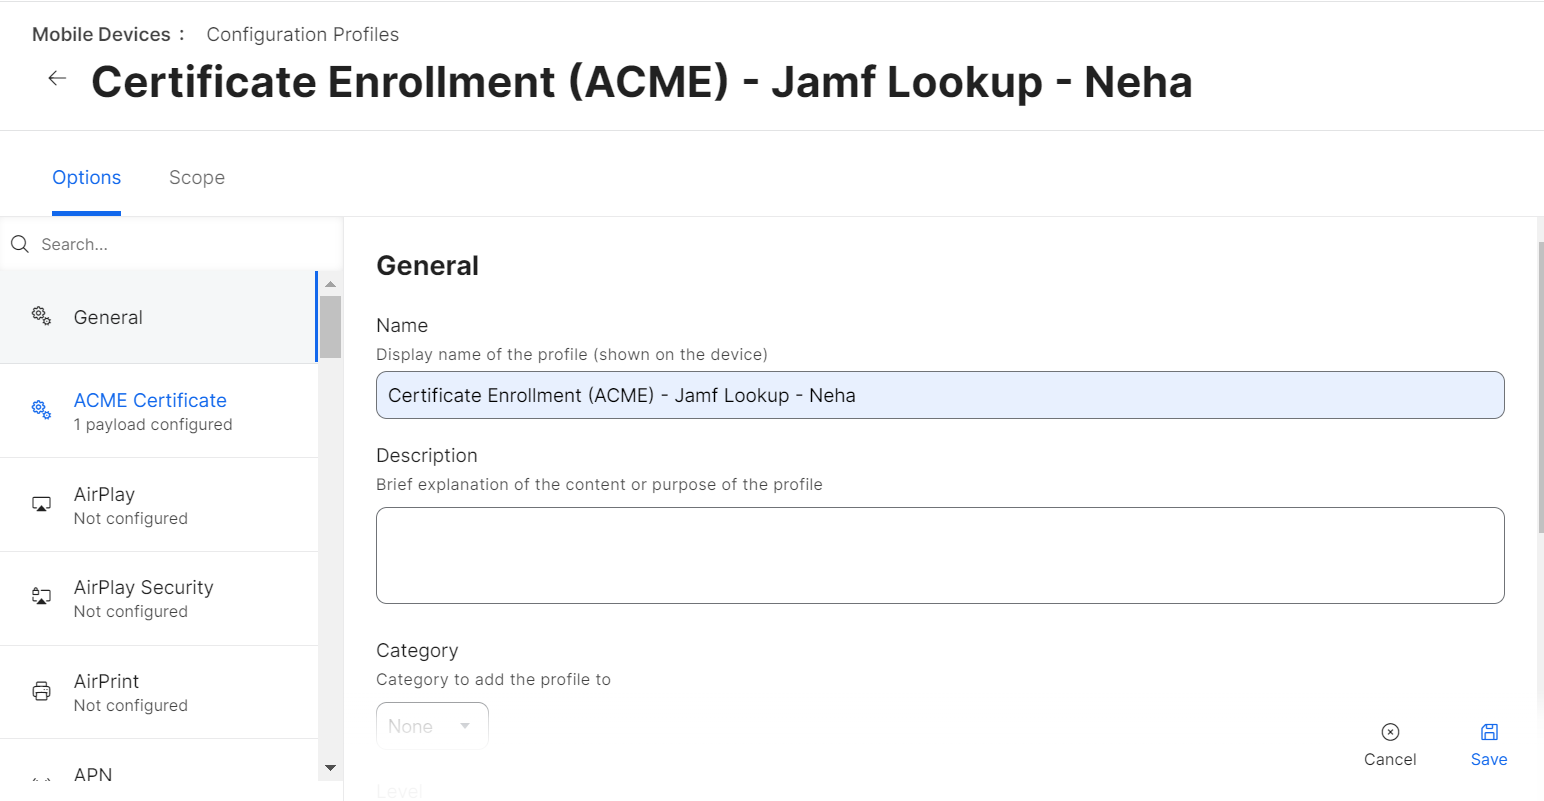
- Click Upload. A new Mobile Device Configuration Profile opens.
- In the General tab, in the Name field, enter a name for your profile.

- Click Save.
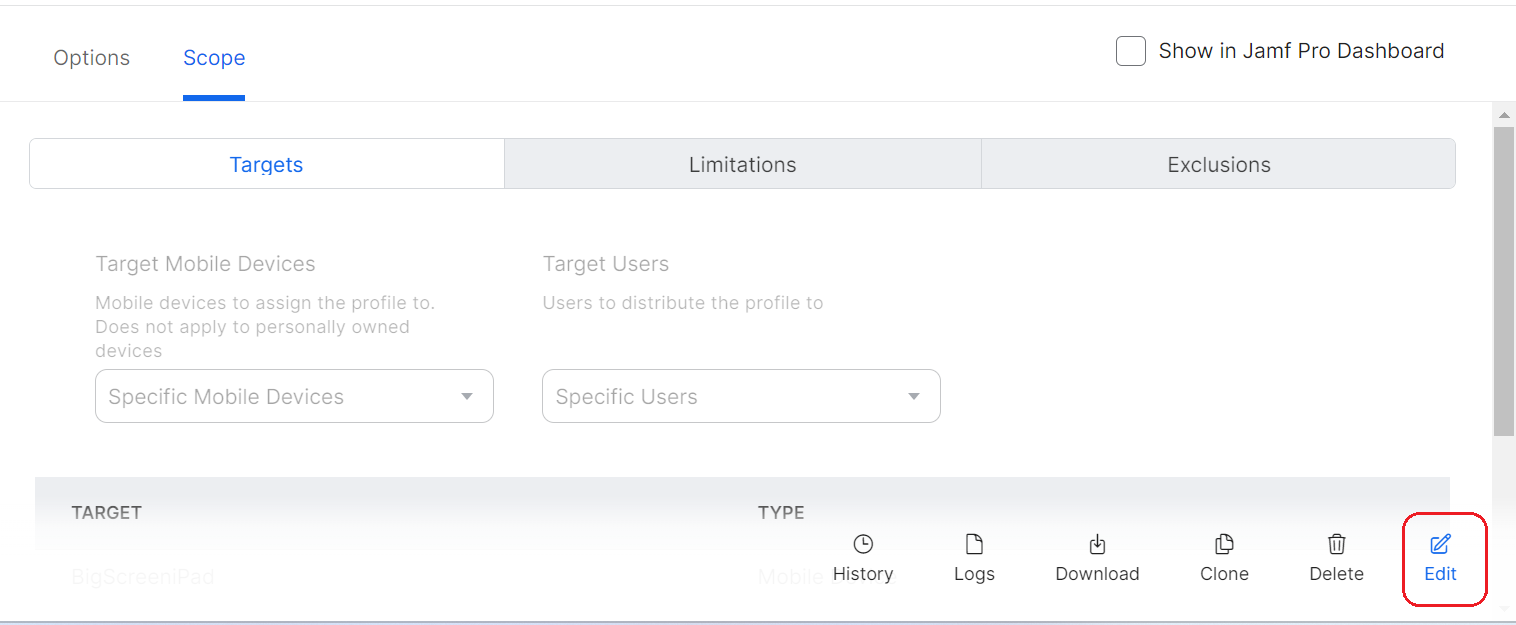
- Click on the Scope tab.
- Click the edit icon

- Add required devices/device groups to which the configuration profiles should be deployed.
- Click Done and then click Save.

Configuring ACME Certificate in Jamf
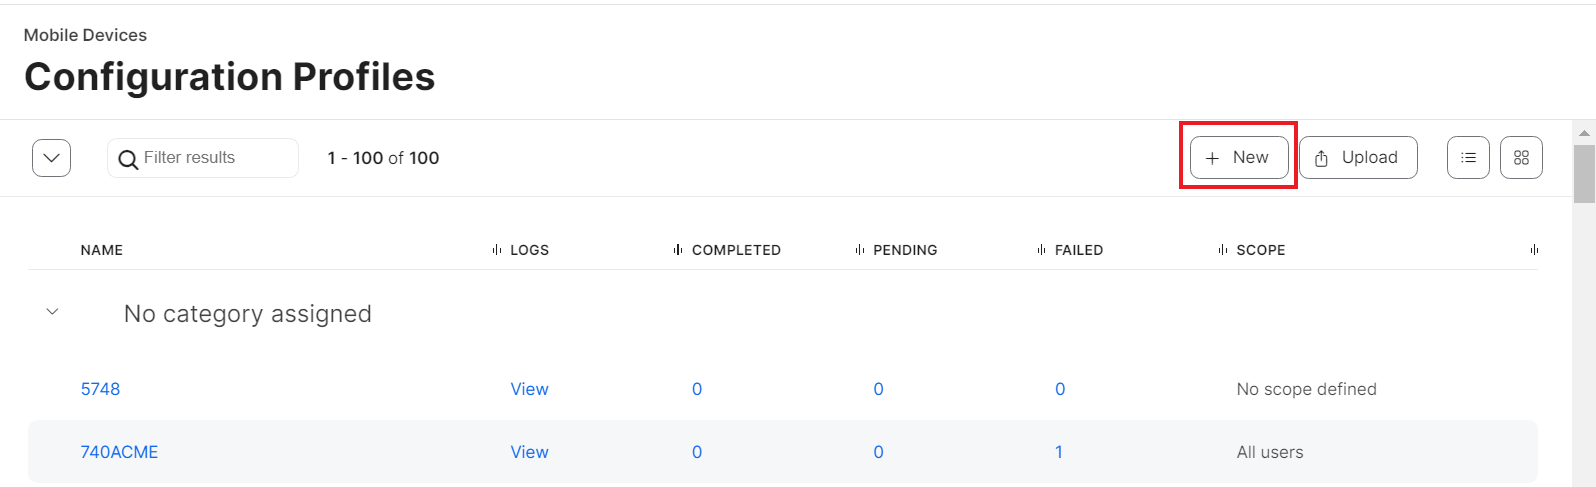
- Navigate to Devices > Configuration Profiles.
NOTE: Devices refer to creating configuration profiles of iOS Mobile devices and iPad. For mac OS, upload Mobileconfig via Computers > Configuration Profiles. - Click + New.

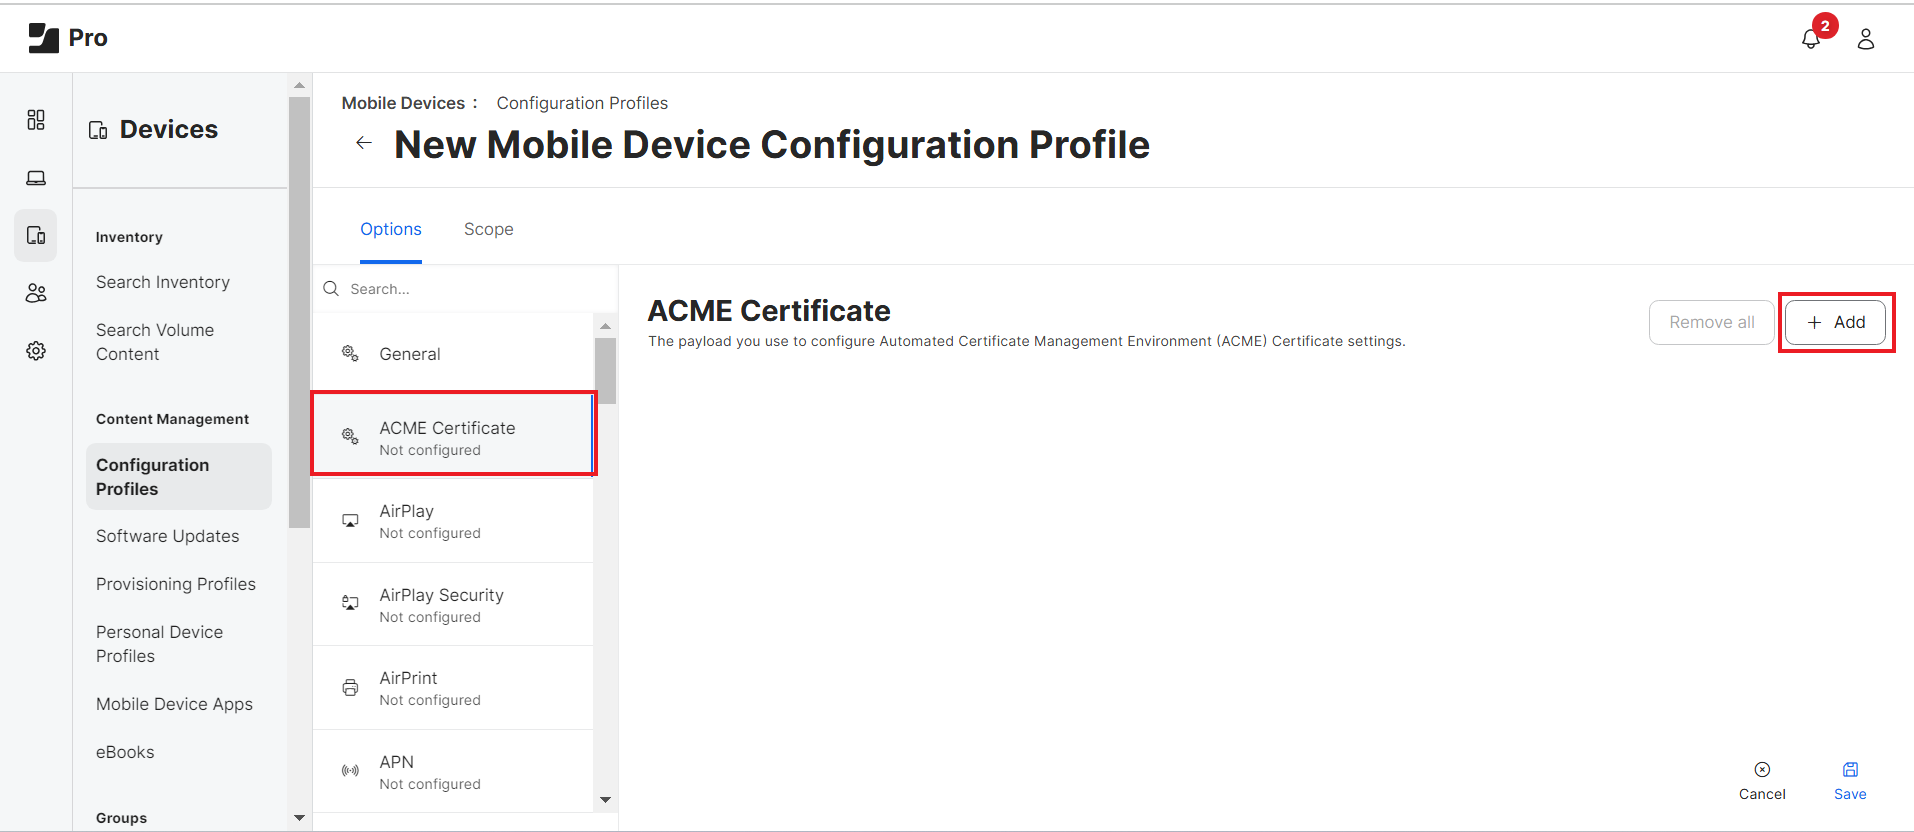
- Click on ACME Certificate.
- Click + Add.

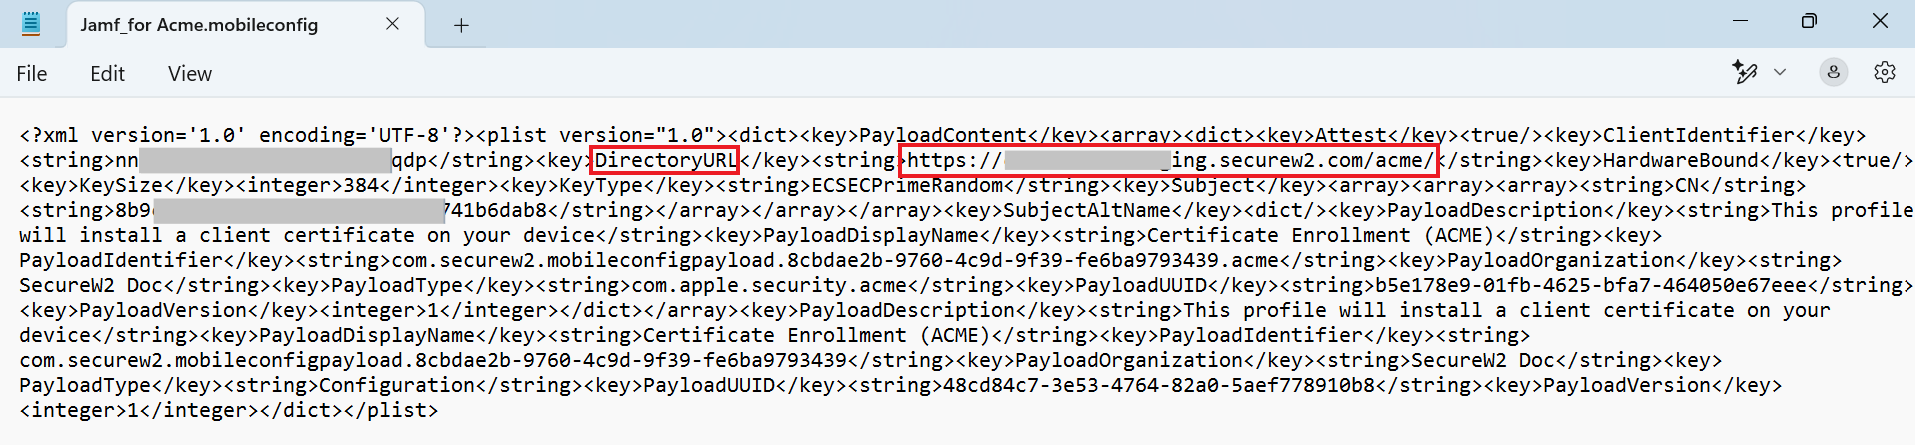
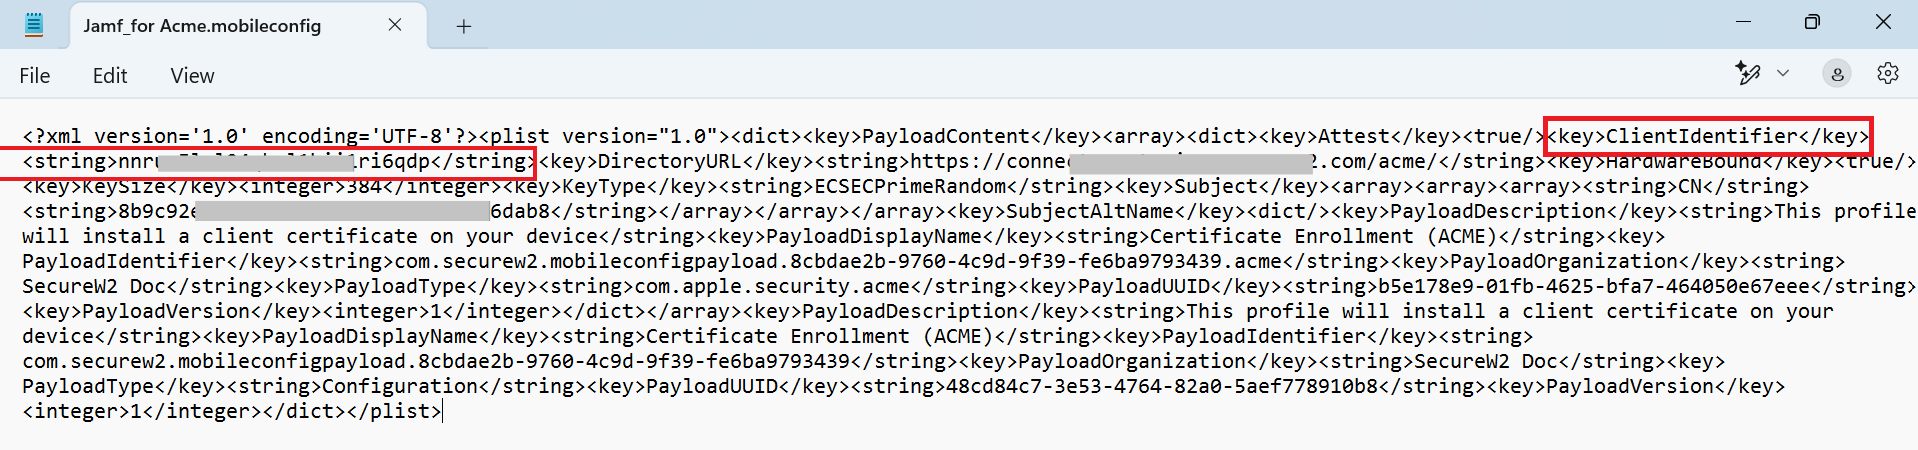
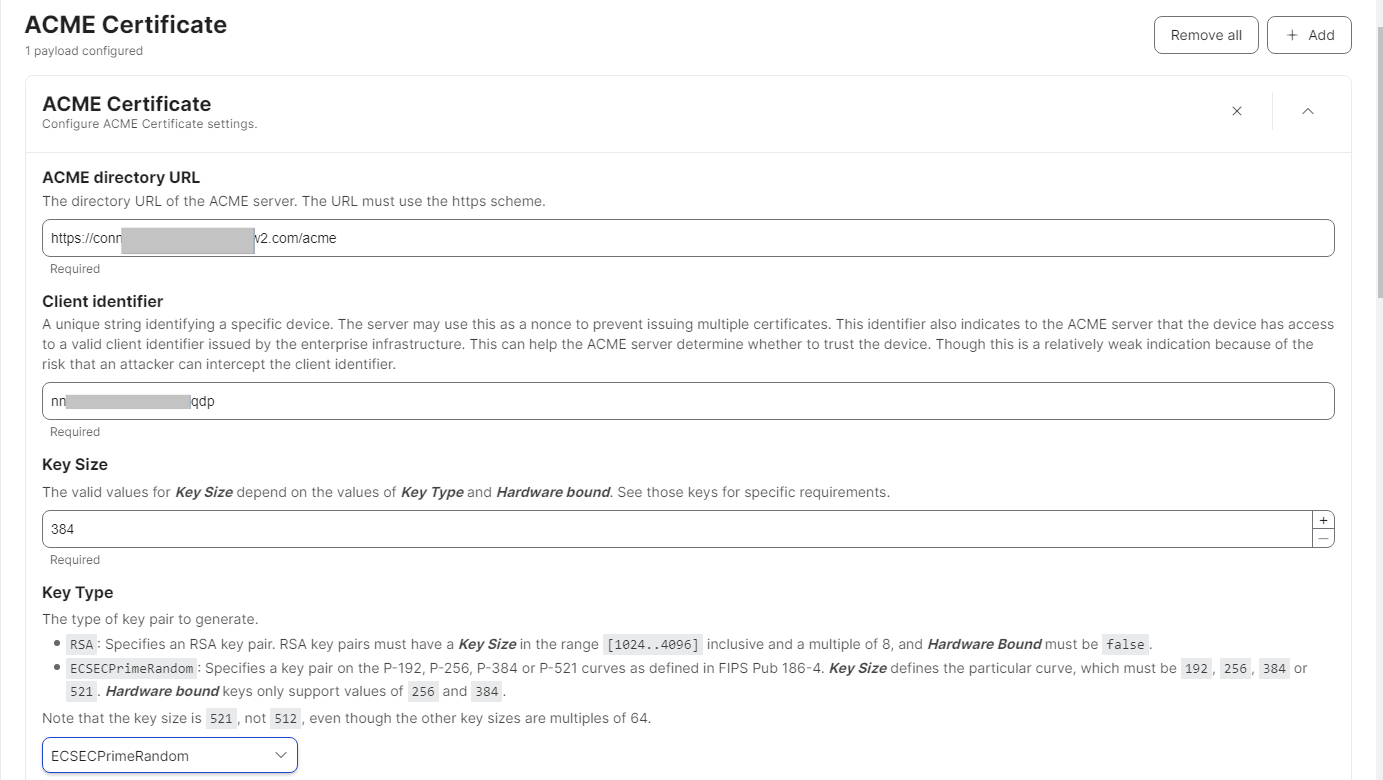
- In the ACME directory URL field, enter the “Directory URL” value from the .mobileconfig file downloaded in 3.4 Creating an API Gateway in JoinNow section.

- In the Client Identifier field, enter the value corresponding to “ClientIdentifier” in the .mobileconfig file.

- In the Key Size field, enter “384”.
- From the Key Type drop-down list, select ECSECPrimeRandom.

- For the Hardware Bound toggle switch, select True.

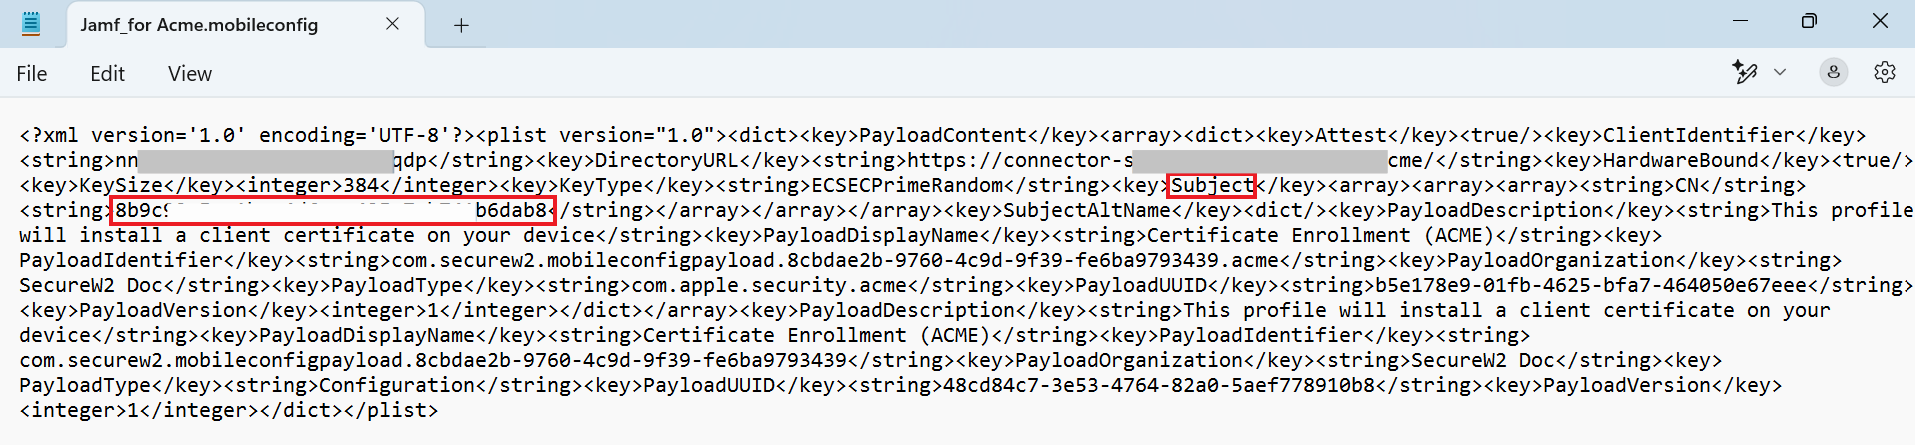
- In the Subject field, enter the value corresponding to “Subject” in the .mobileconfig file. The value must be added as”/CN=value” format.
- Configure further settings as required and click Save.

Certificate Issuance
After completing the steps above, the device now connects with the Jamf. The organization’s ACME profile is pushed which triggers enrollment via ACME. Refer to the below screenshots for the successful enrollments in Jamf under completed status: