Cyber attacks are getting more vicious, and a flat network that is not segmented is like an open invitation to hackers. Even a tiny loT device, such as a smart refrigerator in the cafeteria, can be a hacker’s medium to infiltrate your works to release viruses that can potentially cause severe damage. That’s where virtual networks and segmentation come in.
While segmenting our network into smaller virtual networks requires a proper network segmentation strategy, it doesn’t need to be complex like micro-segmentation. We should instead take action on what is feasible today because every virtual network we implement reduces the threats our network is vulnerable to exponentially.
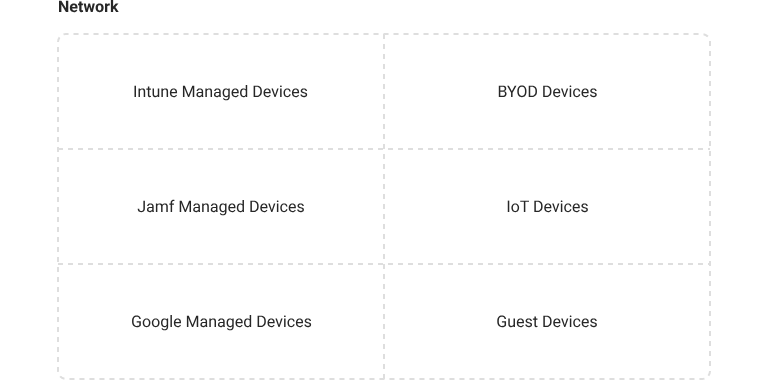
Probably the most popular security policy we see used for segmentation is Device Trust. Organizations want to place their trusted managed devices, which are in active compliance, in separate network security groups from untrustworthy devices like BYODs or uncompliant devices. Another way to segment your virtual networks is through your existing Azure Groups. This is great because Azure Groups are often created for the various roles in an organization, and certain roles like DevOps should certainly be in a separate network security group from risky users and devices.
How Will We Create Virtual Networks Based on Azure Groups
So while all of this is great in theory, how will actually apply this? Most organizations we work with have really solid security policies but struggle to actually create virtual networks with them. There aren’t dedicated Azure services or Azure resources to So, how do we go about creating these “Azure virtual networks”?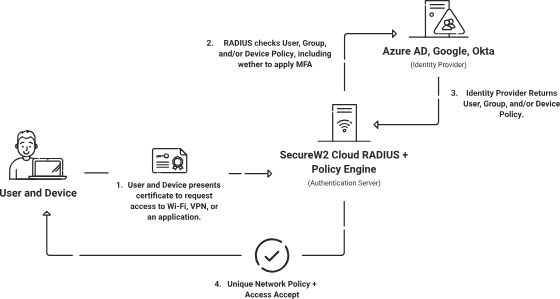
SecureW2 achieves this solution by providing a managed service that does the following:
- Issue Unique digital certificates that contains attributes from Intune and Azure, using software and APIs, to accurately identify all our network traffic
- Authenticate all our users and devices using SecureW2’s Cloud RADIUS server and Policy Engine, which looks up their status in Intune and Azure in real-time to place them in the proper Virtual Network
2. Configuring Cloud RADIUS to Segment Intune/Azure Groups into Different VLANs
SecureW2’s Cloud RADIUS has an industry-unique ability to perform directory lookups at the moment of authentication, and use the information for enforcing certificate lifecycle management, and network authentication and authorization policies. This is achieved by creating an Identity Lookup Provider in SecureW2, which then uses the Microsoft Graph API through an App Registration to access the data in your Azure portal. This data is then accessible to the Policy Engine in SecureW2.
The following are the high-level tasks required to configure Azure:
- Registering a New App
- Creating a Client Secret
- Creating a Provider URL and Client ID
- Providing API Permissions
The following are the high-level tasks required to configure SecureW2:
- Creating an Identity Lookup Provider
- Mapping Group Attributes
- Configuring Policies for VLAN Segmentation
Note: As mentioned in the prerequisites, this document requires you to have already successfully enrolled users for certificates that they can use for RADIUS authentication.
2.1 Registering a New App
- Log in to Azure.
- Navigate to App Registrations.
- Click New Registration.
- Configure the settings as shown in the following screen.
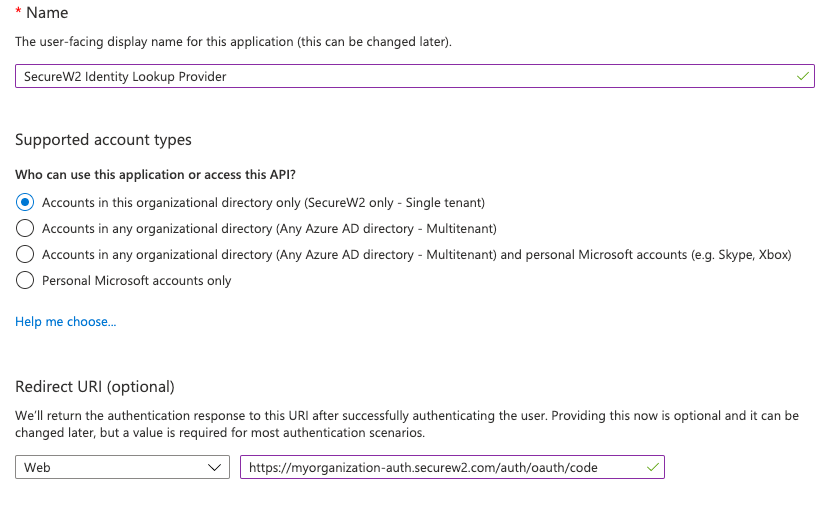 NOTE: Use your unique SecureW2 Organization URL as the Redirect URL like the following:
https://myorganization–auth.securew2.com/auth/oauth/code.
2.1.1 Creating a Client Secret
- Navigate to Manage > Certificates & secrets.
- Select the Client secrets tab.
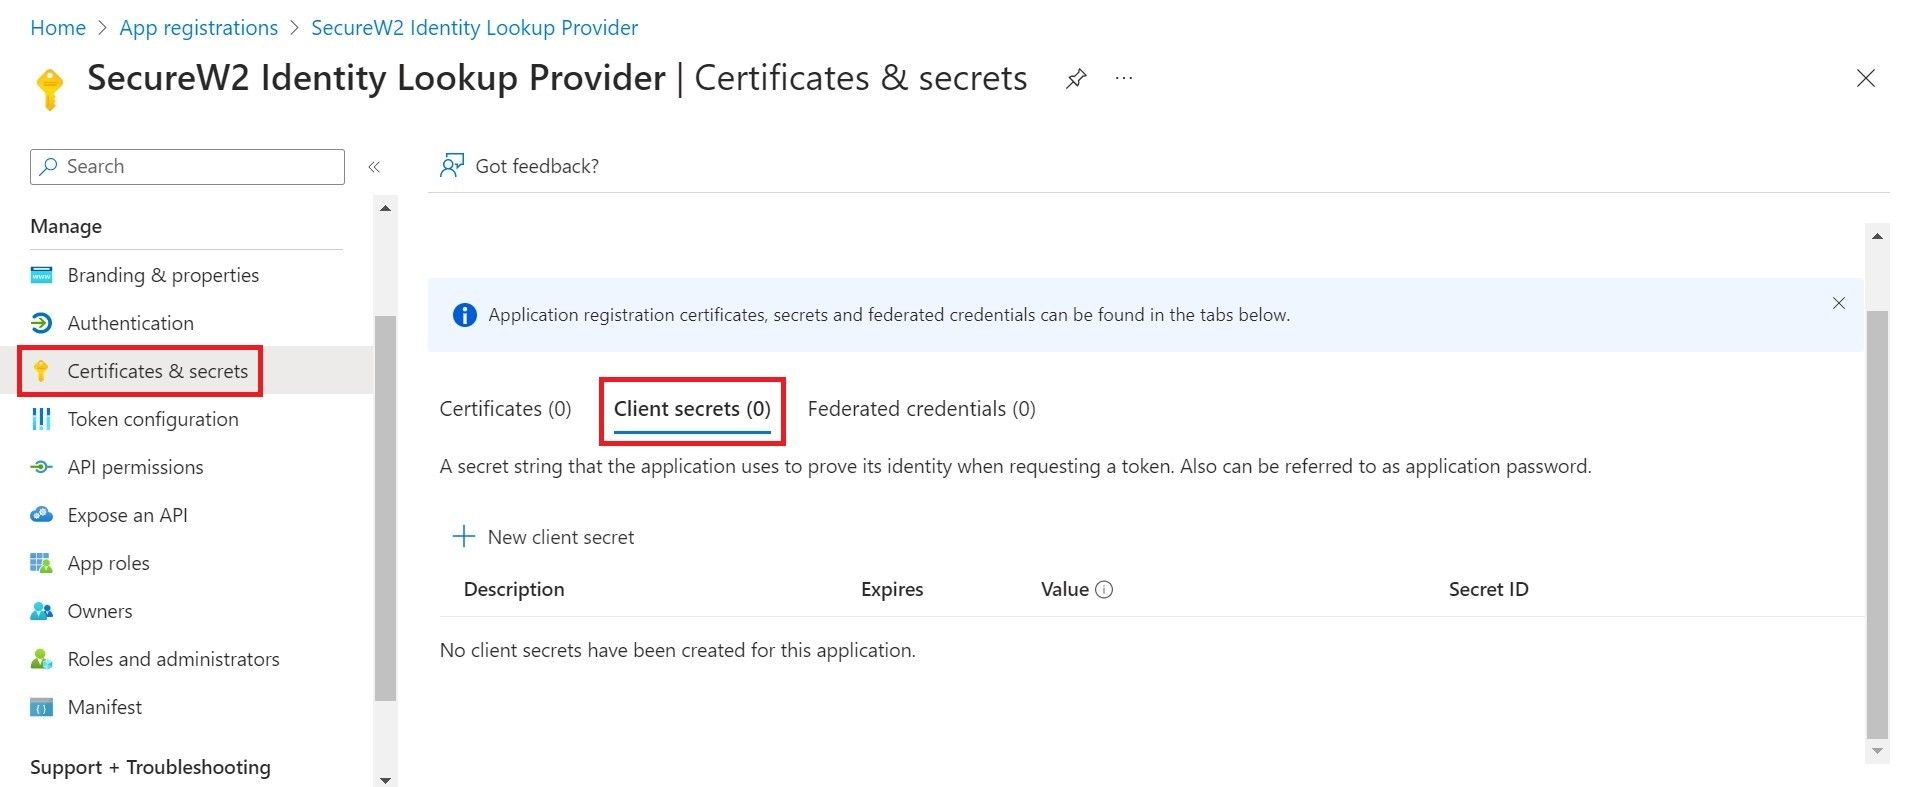
- Click New client secret.
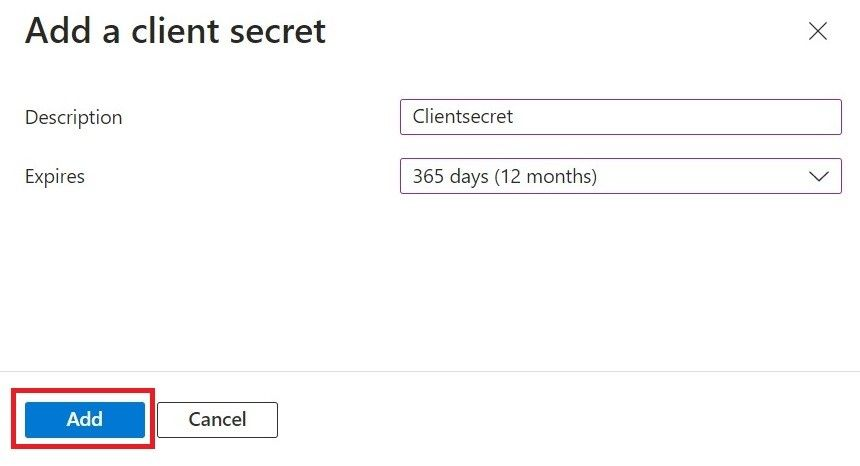
- For the Description field, enter the suitable description for the client secret.
- From the Expires drop-down list, select an expiration date.
- Click Add.
- The client secret value is displayed under the Secret ID column.
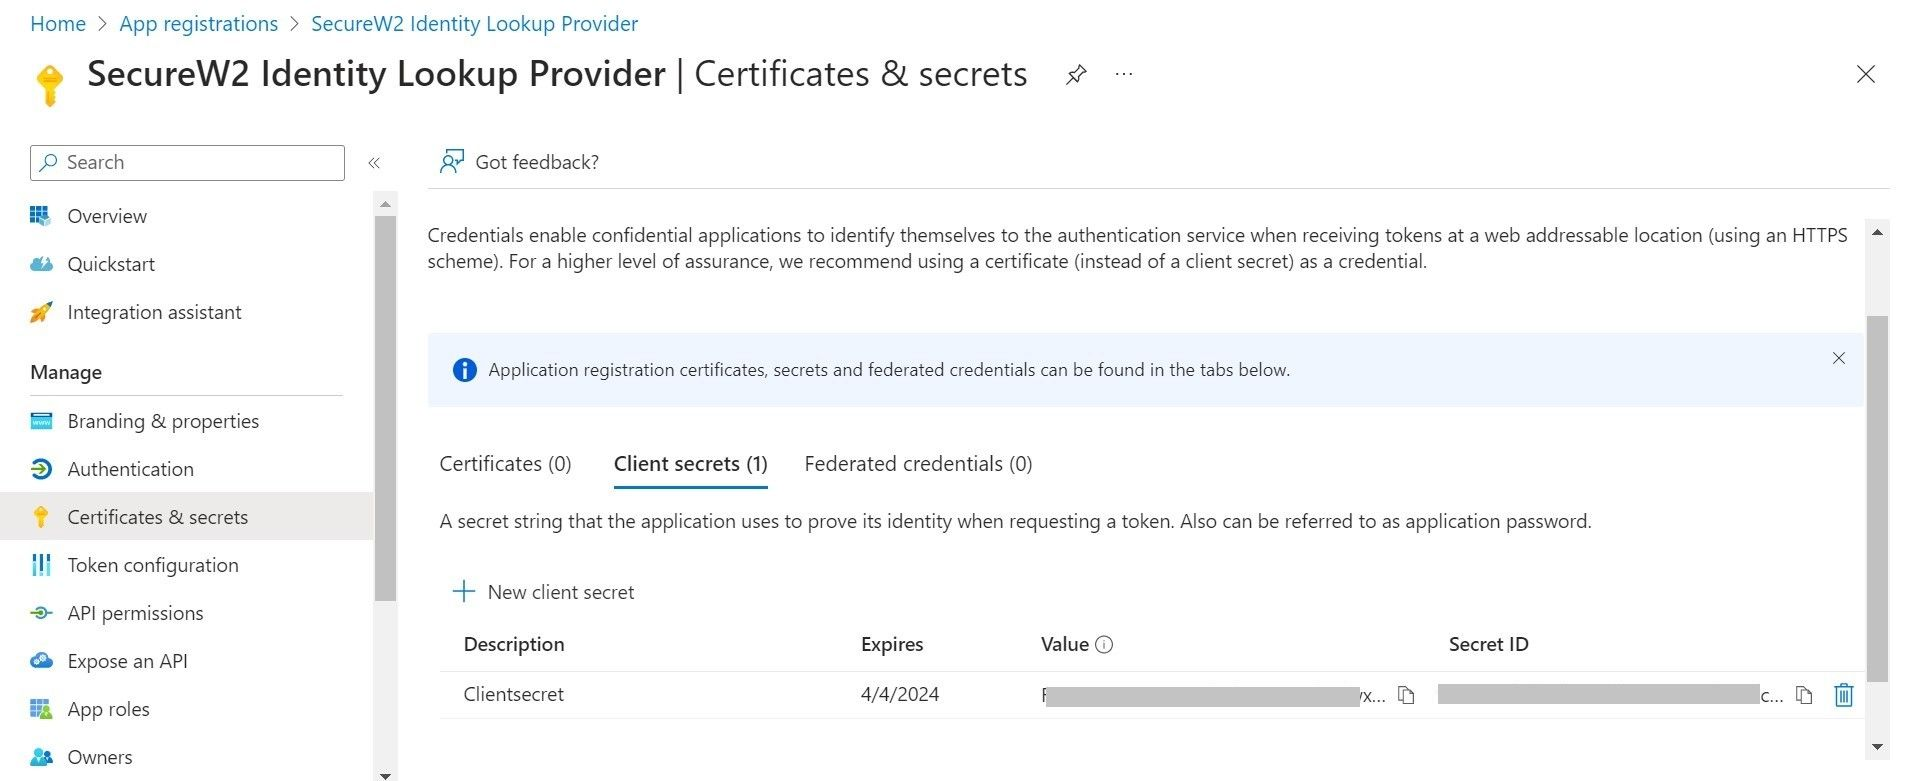
NOTE: The client secret is non-recoverable. Make sure you save it safely somewhere.
2.2 Creating a Provider URL and Client ID
- Navigate to the Overview section. The following screen appears.
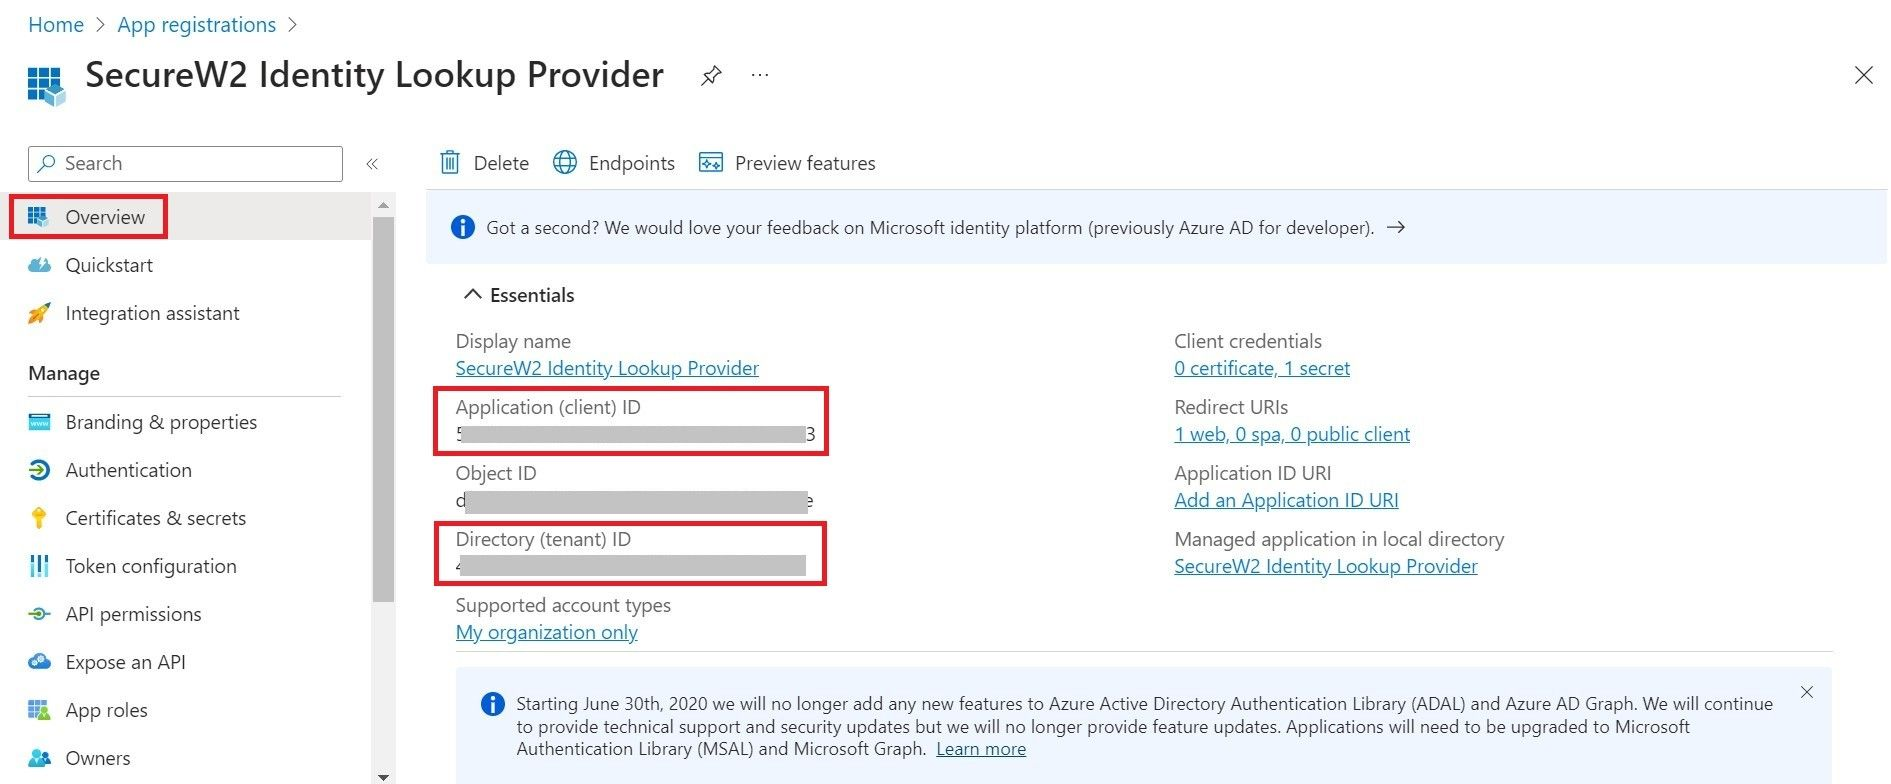
- Copy your Application (client) ID and save this for later.
- Copy your Directory (tenant) ID.
- Insert it into the following URL: https://login.microsoftonline.com/{Directory (tenant) ID}
This should look like this: https://login.microsoftonline.com/561bc67f-1c86-4244-8bd4-5eb23cba44ac - Save this for later.
2.2.1. Providing API Permissions
Finally, provide this application permission to access the data in our Azure directory.
- Navigate to API Permissions under the Manage section.
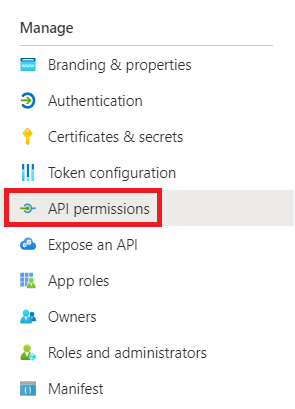
- Click Add a permission.
- Click Microsoft Graph.
- Add the following permissions:
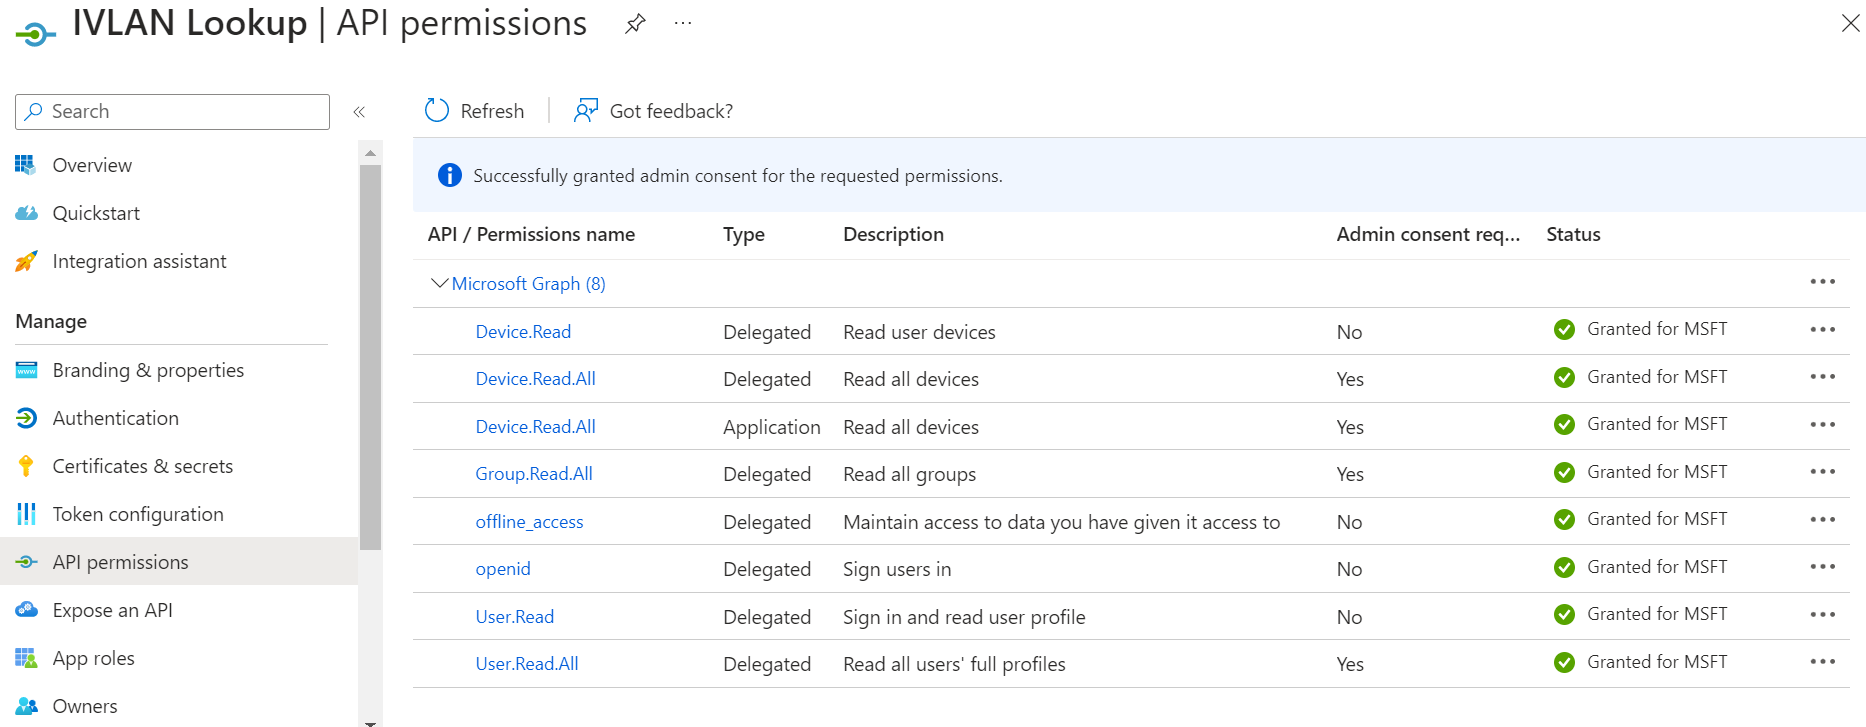
- After adding the permissions, click Grant admin consent for {your organization}.
3. Creating a Core Platform to Integrate with Microsoft Entra ID
- Navigate to Integration Hub > Core Platforms.
- Click Add.

- In the Name field, enter the name of the signal source.
- In the Description field, enter a suitable description for the signal source.
- From the Type drop-down list, select Entra ID.
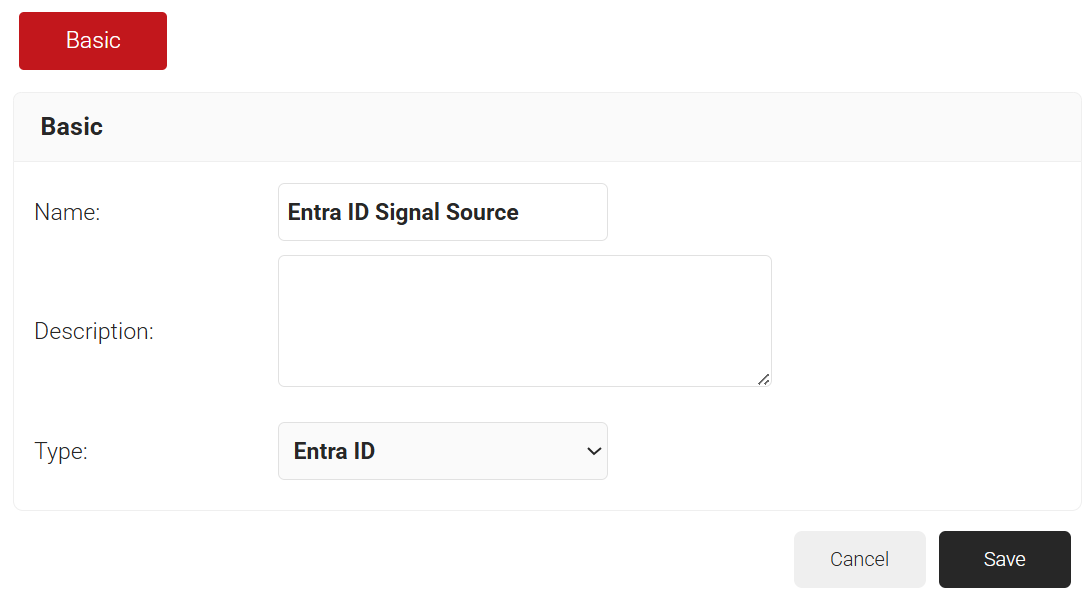
- Click Save.
- The page refreshes and displays the Configuration, Attribute Mapping, and Groups tabs.
- Click the Configuration tab.
- From the Access Token Grant Flow drop-down list, select one of the following options.
- Client Credentials – This option eliminates the need for frequent token reauthorization from the Azure portal and is the recommended method.
- Authorization Code – This option requires reauthorization of the token from the Azure portal every 90 days.
- In the Provider URL field, enter the URL you created earlier using the Directory (tenant) ID: https://login.microsoftonline.com/{Directory (tenant) ID}. This should look like this:
https://login.microsoftonline.com/561bc66f-1d86-4244-8bc4-5eb12cba45ac - In the Client Id field, enter the Application (client) ID that you retrieved from Azure Portal earlier (refer to the Registering a New App section).
- In the Client Secret field, enter the Client secret you generated in the Azure Portal earlier (refer to the Creating a Client Secret section).
- Under the Lookup Configuration section, from the Device Lookup via drop-down list, select the required device lookup attribute from the options listed below:
- Entra ID Device ID – The lookup is performed using Azure ADID.
- Entra ID Device Name – The lookup is performed using the device name. For additional search filters, select the required checkboxes:
- Is Managed – checks if the device is managed.
- Is Compliant – checks if the device is compliant.
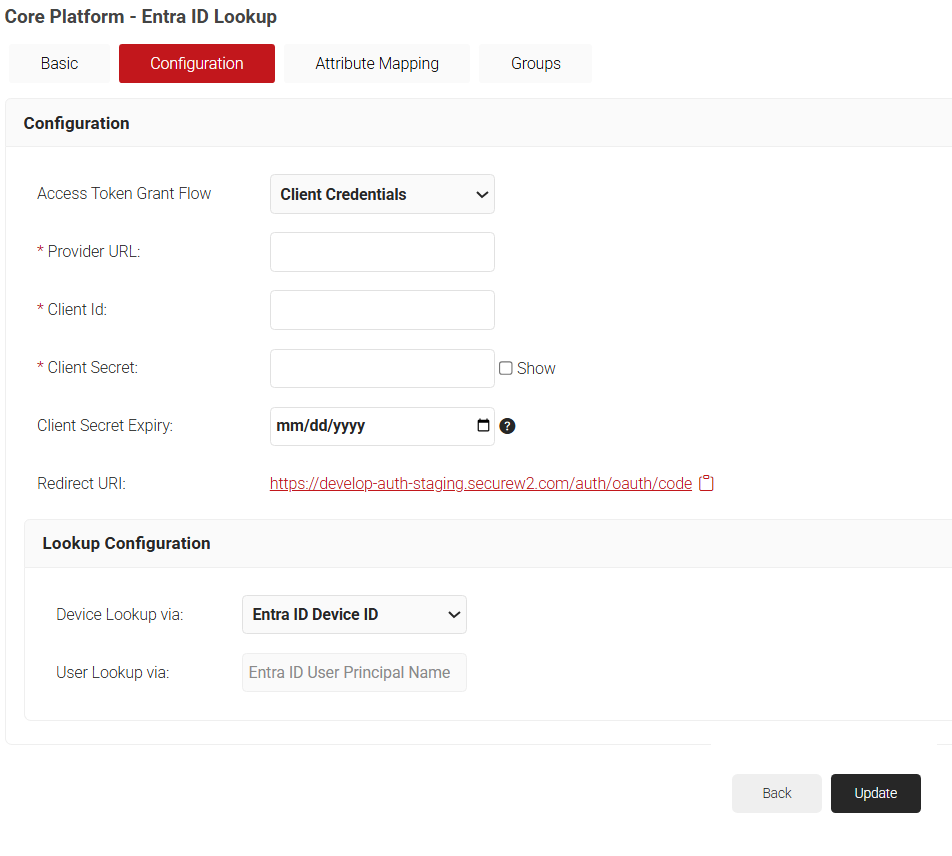
- Click Update.
- From the Access Token Grant Flow drop-down list, select one of the following options.
3.1 Configuring Attribute Mapping
The Lookup Attributes allow you to specify how to map a user’s identity from a Core Provider to the user in the JoinNow Management Portal.
- Click the Attribute Mapping tab.
- From the Attribute Mapping Type drop-down, select the category to display the recommended attributes. The following are the attribute types offered by JoinNow for Entra ID Signal Source:
- Device
- User
- Custom
- Click Update after selecting the required attributes.
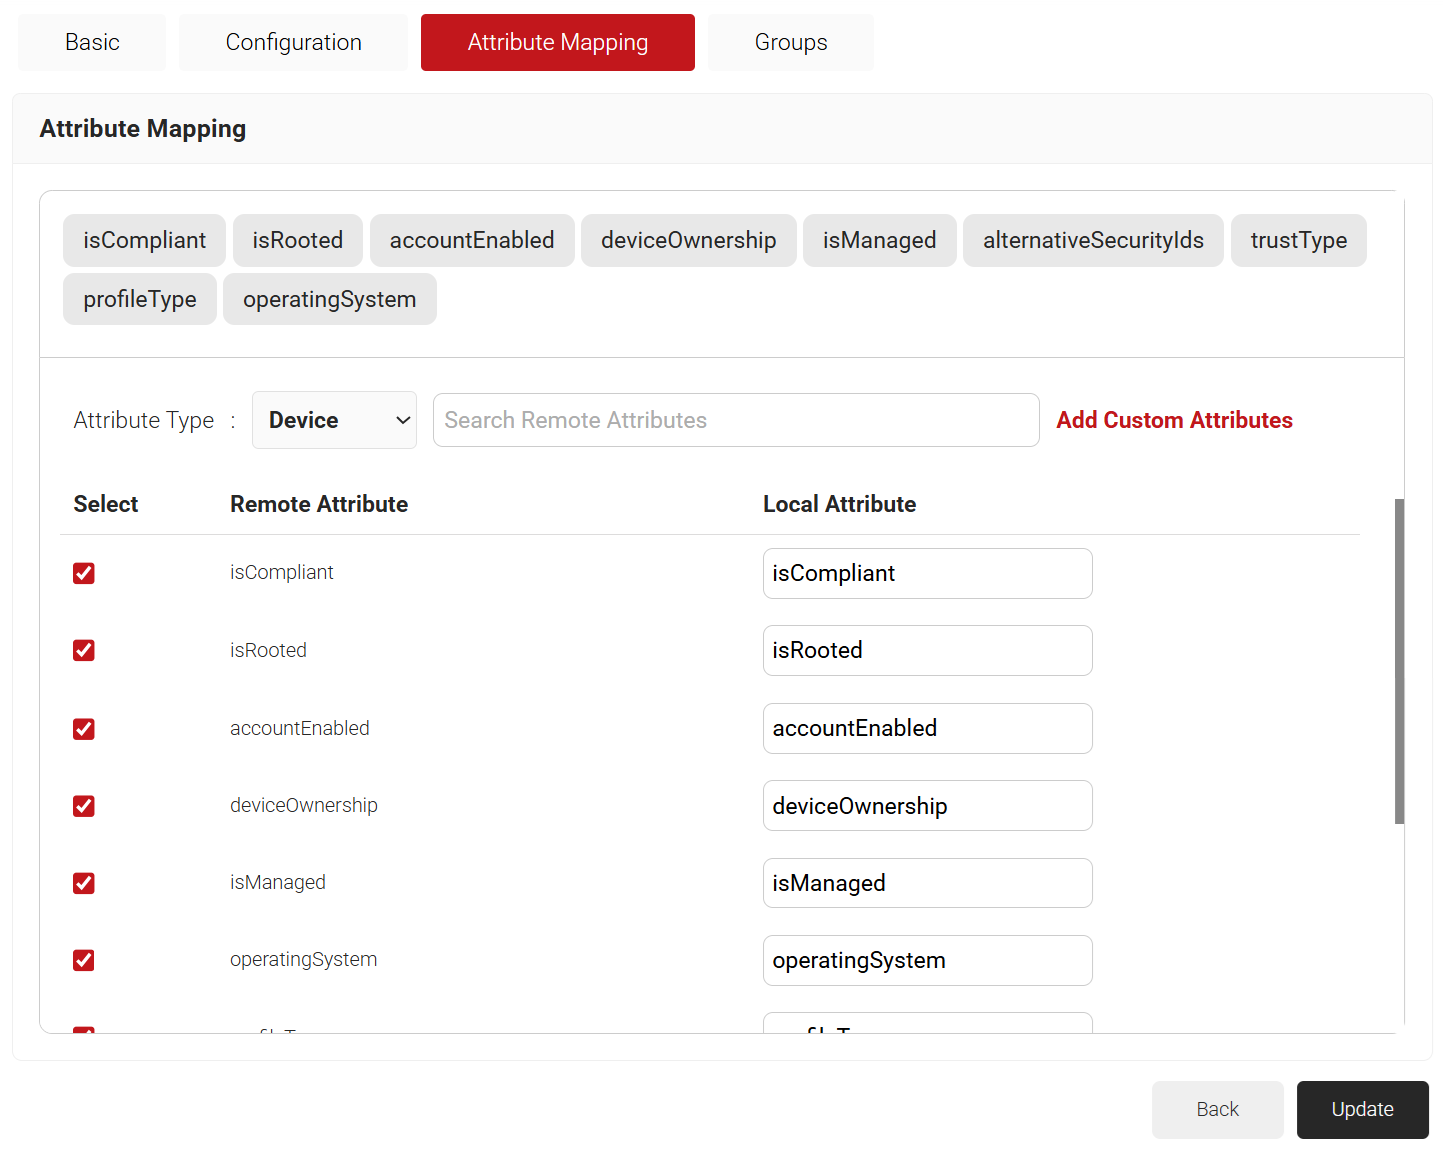
NOTE: The Entra ID Signal Source Lookup Attributes allow you to specify how to map a user’s identity from Entra ID to the user in the JoinNow Management Portal. You can select “User Defined” in the Remote Attribute filed and use any of the following attributes:
3.2 Configuring Groups
- Click on the Groups tab.
- Click Add.
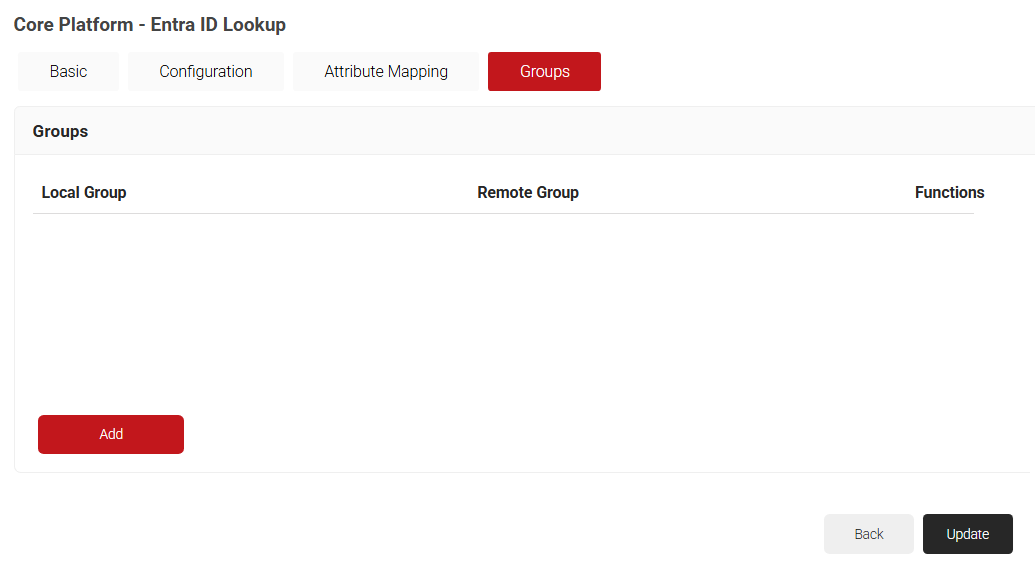
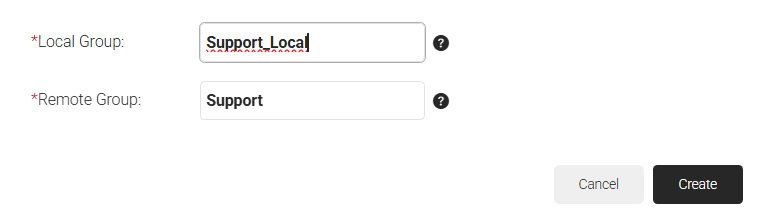
- In the Local Group field, enter a name for the group to identify it locally.
- In the Remote Group field, enter a name for the group configured in Entra ID.
- Click Create.
- Click Update.
3.3 Configuring Policies
Dynamic RADIUS allows the RADIUS to segment users and restrict/allow resources based on information stored in their directory entry. Since enforcement occurs at runtime, changes made to a user’s permissions are propagated throughout the system immediately rather than a day or two later, as is typical with most RADIUS servers.
The following policies need to be configured.
- Configuring Security Signal Sources
- Configuring Policy Workflows
- Configuring Network
Configuring Security Signal Sources
Lookup Policies are the ways to tie the new Core Platform to domains. Here, you create a condition that ties our domain to the new Core Platform created in the previous section.
- Navigate to Policy Management > Security Signal Sources.
- Click Add Security Signal Source.
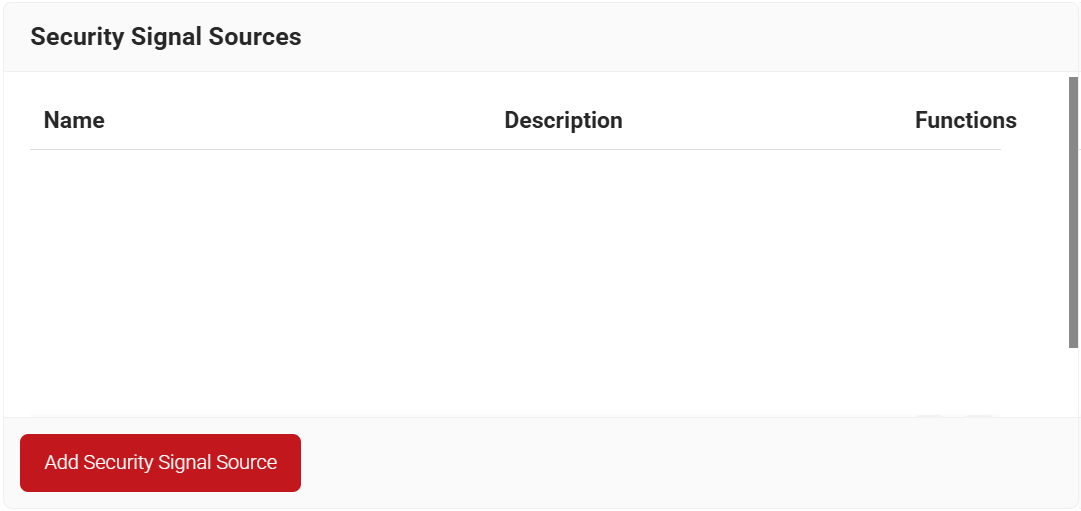
- In the Name field, enter the name of the Security Signal Source.
- In the Display Description field, enter a suitable description for the Security Signal Source.
- Lookup Purpose – Purpose of Account Lookup
- Certificate Issuance – To lookup the user/device account during Enrollment.
- RADIUS Authentication – To lookup the user/device account during RADIUS Authentication.
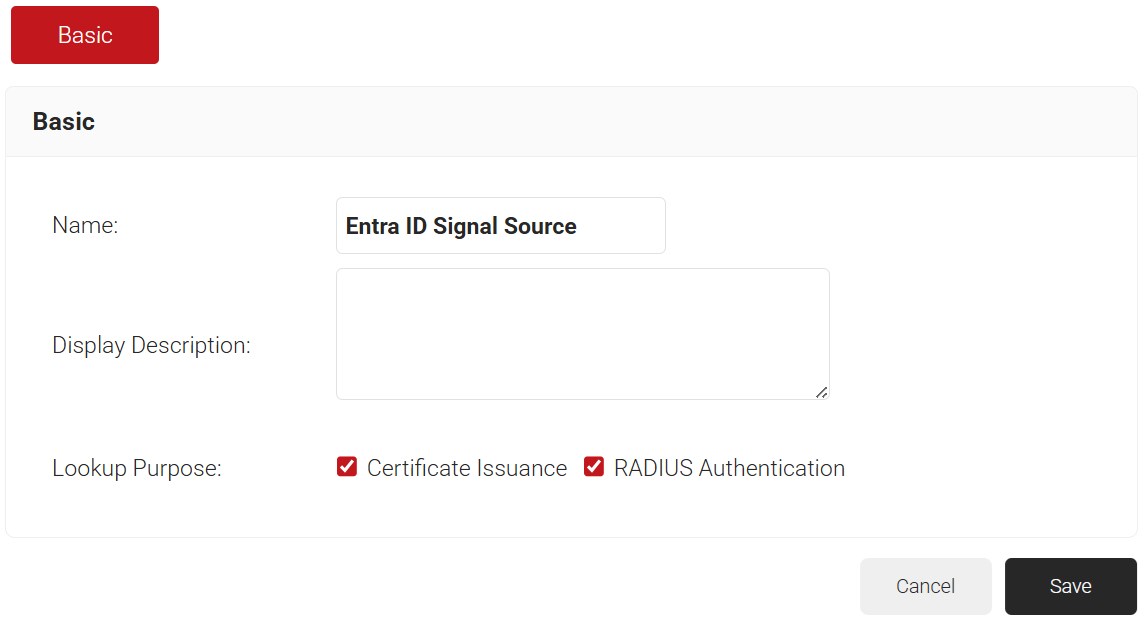
- Click Save.
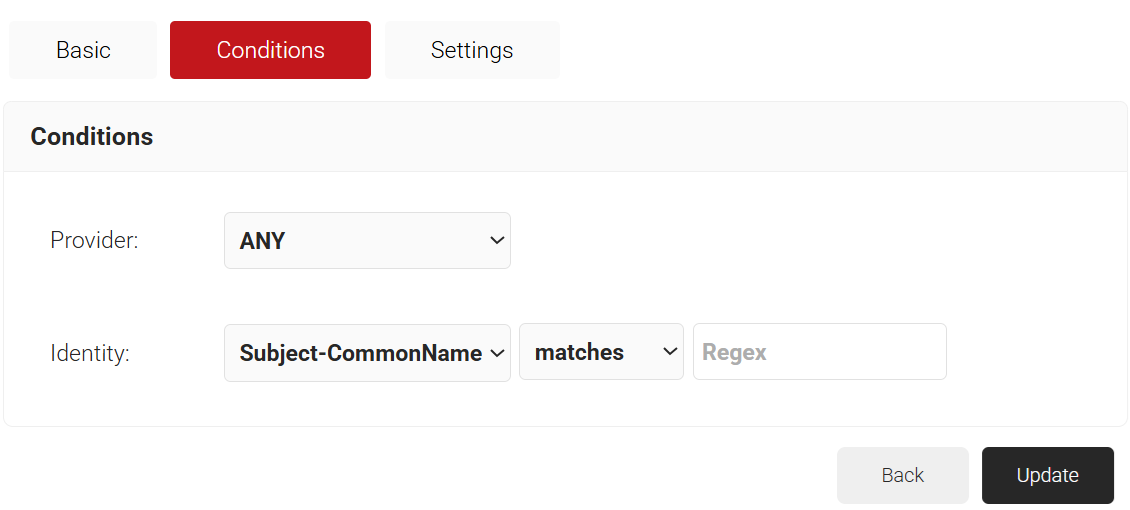
- The page refreshes and displays the Conditions and Settings tabs.
- Select the Conditions tab.
- From the Provider drop-down list, select the Signal Source created in the previous section (refer to the 3. Creating a Core Platform to Integrate with Microsoft Entra ID section).
- From the Identity drop-down list, select the required identity type.
- Configure Regex to match the values of your devices configured in the Identity field.
- Select the Settings tab.
- From the Provider drop-down list, select the Signal Source created in the previous section (refer to the Configuring Security Signal Sources section).
- From the Lookup Type drop-down list, select the required lookup type.
- From the Identity drop-down list, select the required Identity for the lookup.
- Select the Revoke On Failure checkbox to automatically revoke a certificate if an account lookup fails, if necessary.
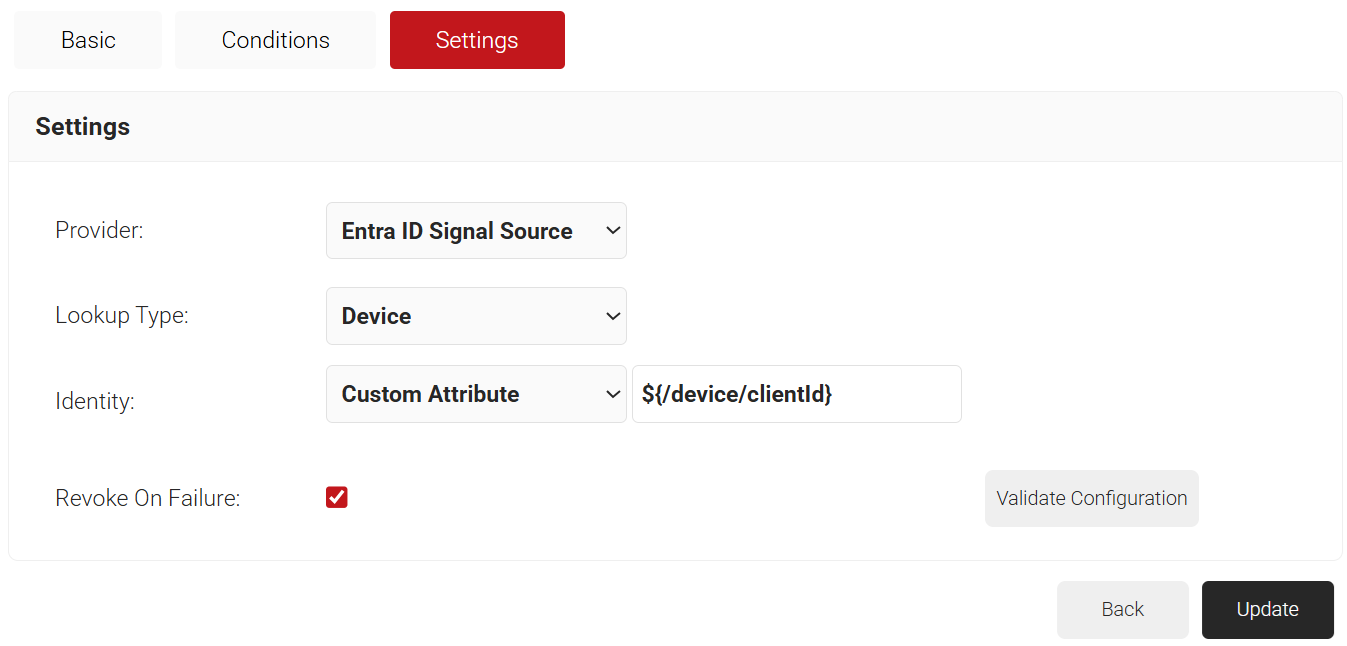
- Click the Validate Configuration button to check if the lookup is valid.
- On the Validate Configuration pop-up window, in the Enter a valid identity field, enter the identity (user/device) to validate the lookup, and then click Validate.
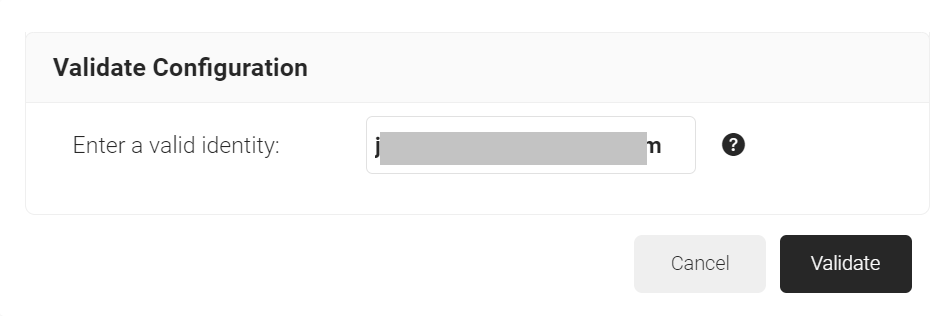
- After the successful validation, the associated attributes and groups of the Signal Source are displayed on the Lookup Details prompt. The admin can use this information to configure the network policies and verify the user’s validity. When the Admin enters an invalid identity on the Validate Configuration pop-up window, the following error message is displayed: “Account validation failed”.
- Click Update.
Configuring Policy Workflow for Network Authentication
Next, create a Policy Workflow for Network Authentication. This policy will be used by Cloud RADIUS Dynamic Policy Engine to lookup user status at the moment of authentication. Then, Cloud RADIUS can dynamically apply Network policies, which you will configure next.
- Navigate to Policy Management > Policy Workflows.
- Click Add Policy Workflow.
- In the Name field, enter the name of the Policy Workflow.
- In the Display Description field, enter a suitable description for the Policy Workflow.
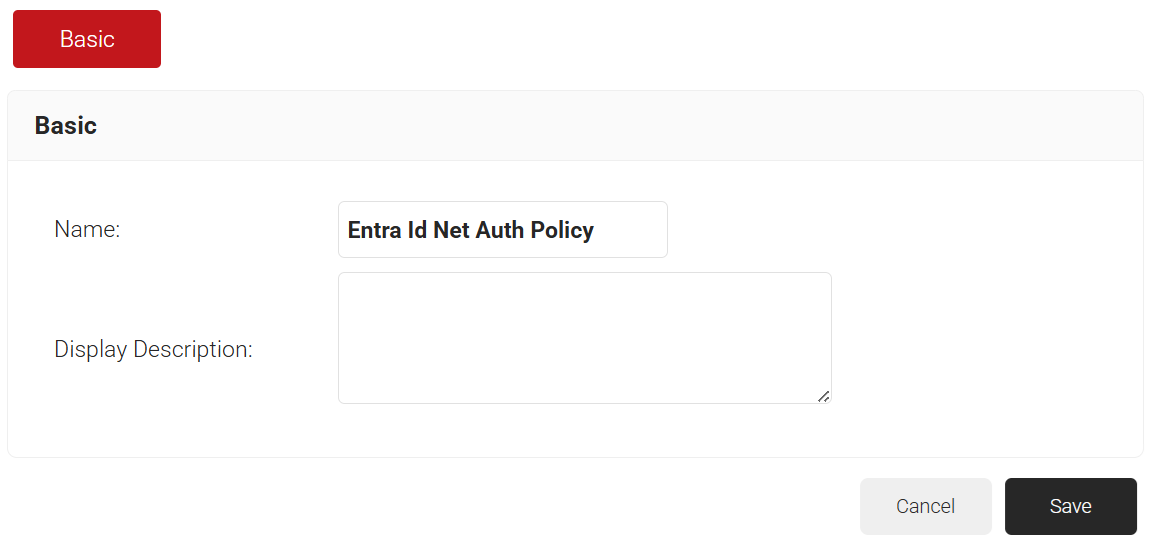
- Click Save.
- The page refreshes and displays the Conditions tab.
- Select the Conditions tab.
- From the Core Provider drop-down list, select the Entra ID Signal Source created in the previous section (refer to the 3. Creating a Core Platform to Integrate with Microsoft Entra ID section).
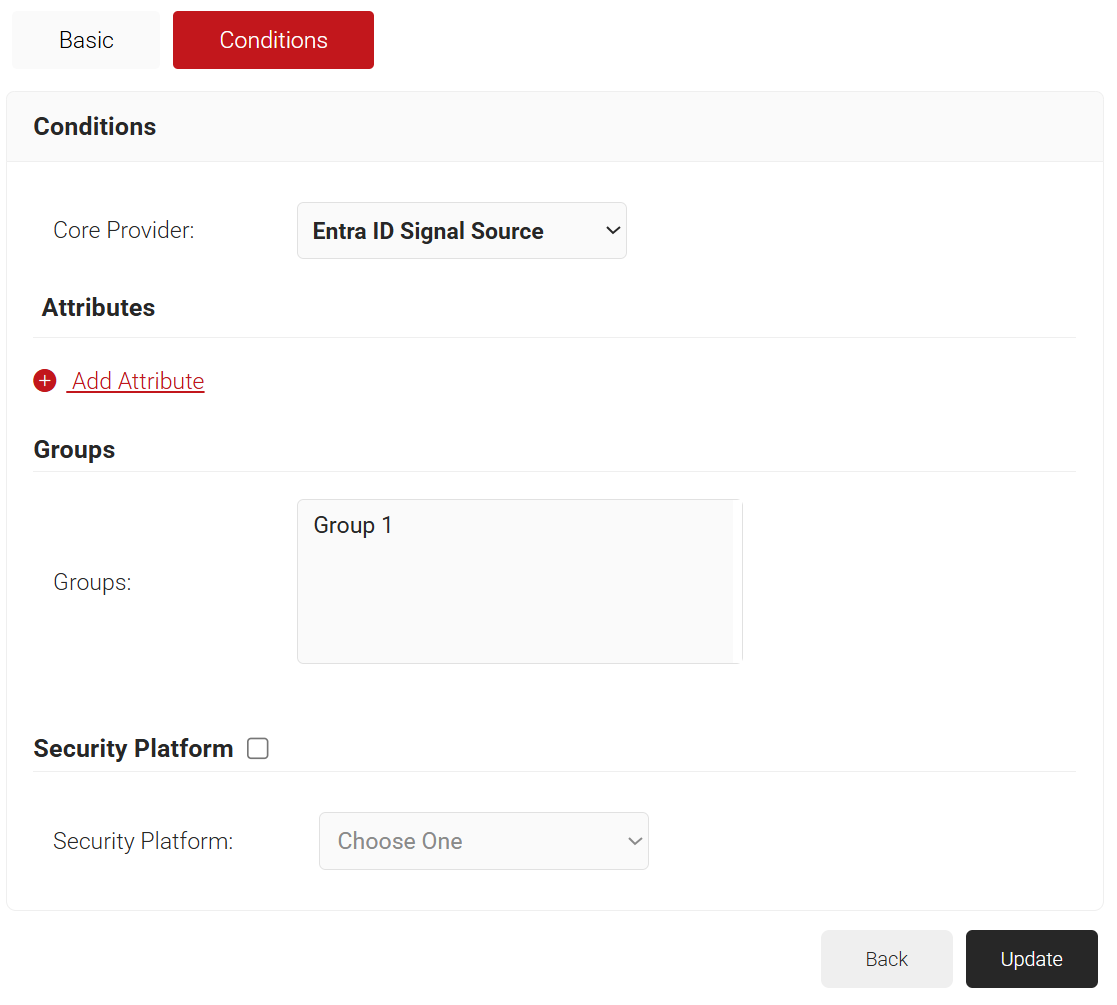
- Click Update.
Network
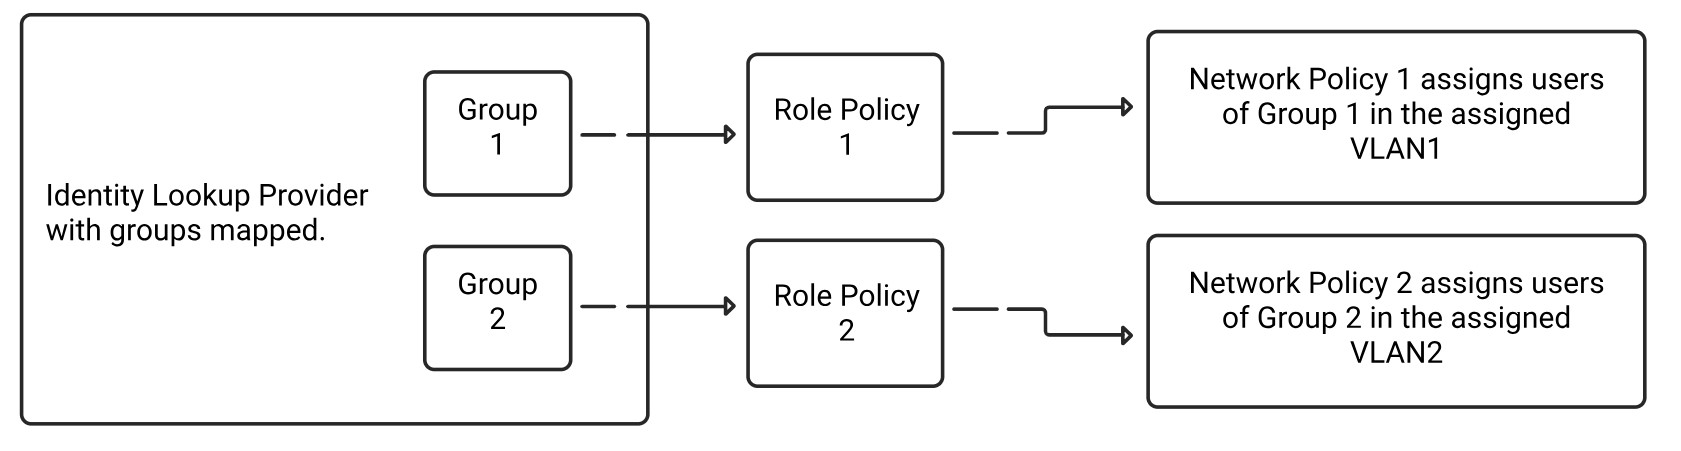
The purpose of a Network Policy is to specify how Cloud RADIUS will authorize access to a particular User Role. A typical Network Policy would say something like: “If User Role = Staff, authorize access and assign them to VLAN 2”. You can configure any RADIUS Attribute to be sent to the wireless controller. If you leave the attribute section blank, it will just send Access Accept.
To create and configure the Network Policy, perform the following steps:
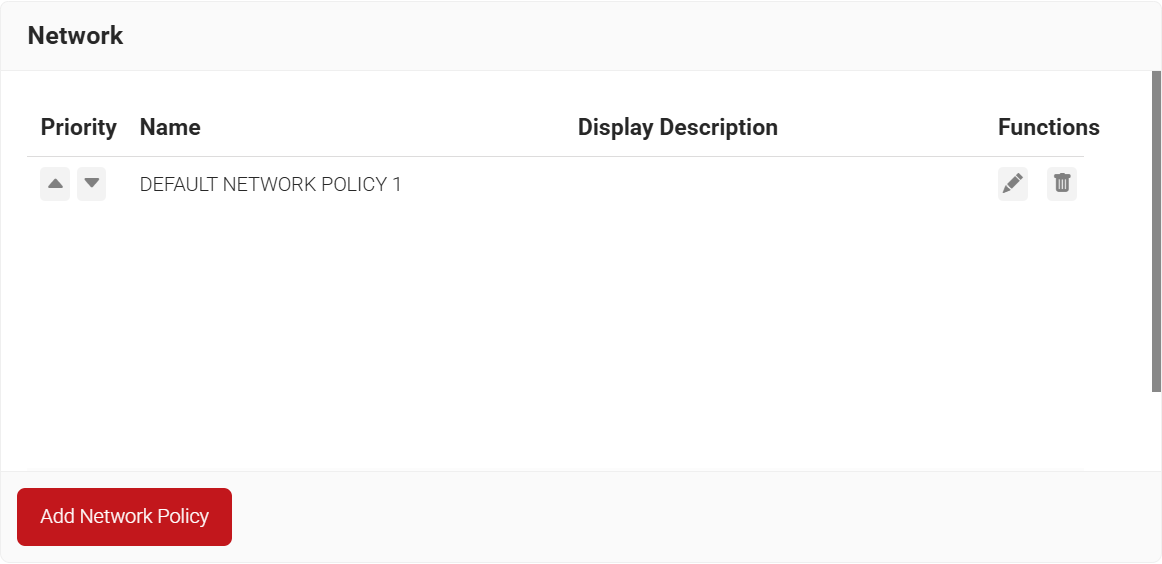
- Navigate to Policy Management > Network.
- Click Add Network Policy.
- In the Name field, enter the name of the network policy.
- In the Display Description field, enter a suitable description for the network policy.
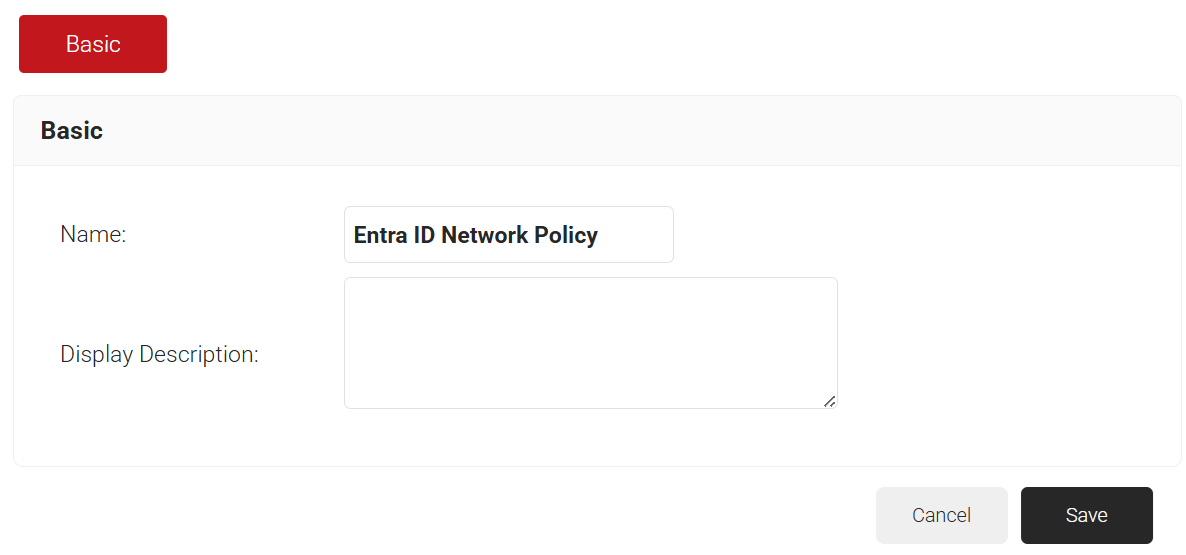
- Click Save.
- The page refreshes and displays the Conditions and Settings tabs.
- Select the Conditions tab.
- Select Match All or Match Any based on your requirement to set authentication criteria. In the case explained here, we are selecting Match All.
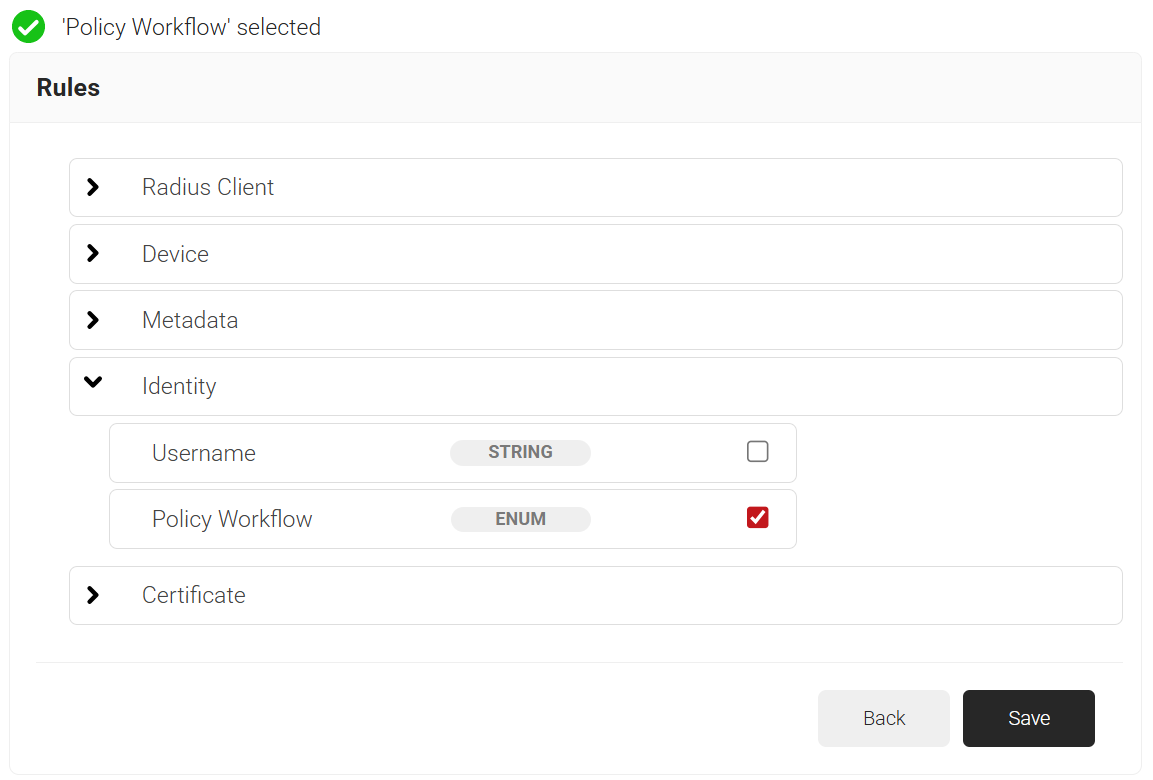
- Click the Add rule and select the policy workflow you want to assign to this network policy. It is essential to select the appropriate policy workflow, as it triggers the network policy. This menu offers various rules that you can select based on your business requirements.
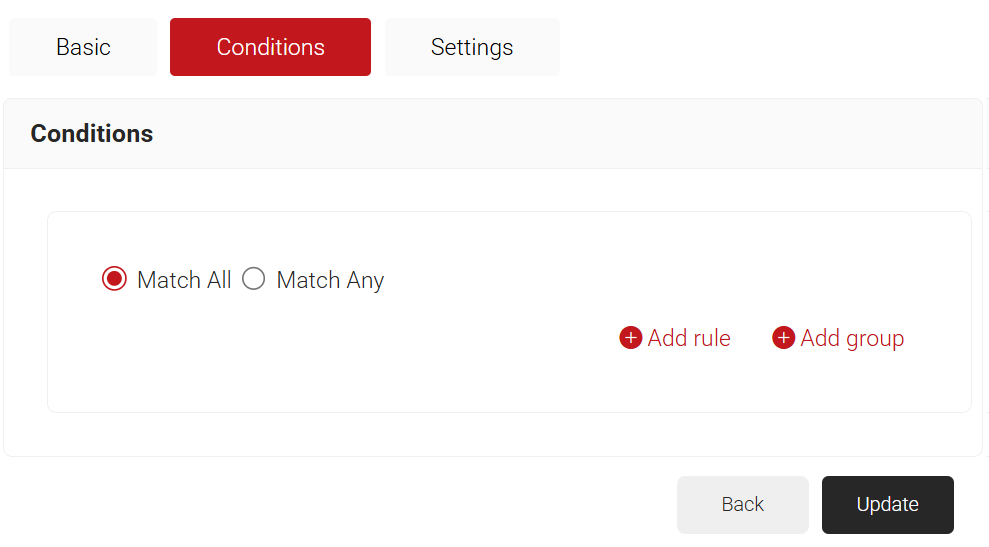
- Click Save.
- The Policy Workflow option appears under the Conditions tab.
- From the Policy Workflow Equals drop-down list, select the role policy you created earlier (refer to the Configuring Policy Workflow for Network Authentication section). You can select multiple User Roles to assign to a Network Policy.
- Select the Settings tab.
- Click Add Attribute.
- From the Dictionary drop-down-list, select an option: Radius:IETF or Custom.
- From the Attribute drop-down-list, select Filter-Id
- In the Value field, enter the appropriate value for the attribute.
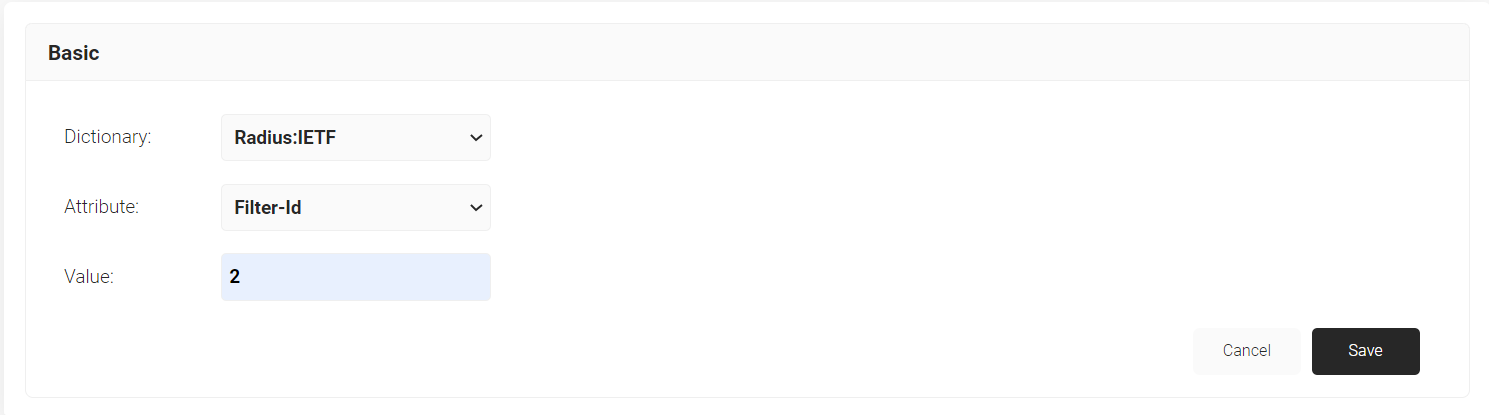
- Click Save.