Core Providers manage digital identities that help organizations to authenticate their users or employees and grant or revoke access permissions as needed. Follow the steps below to create a Core Provider in the JoinNow Management Portal and configure it for MAC Authentication:
- Log in to the JoinNow Management Portal.
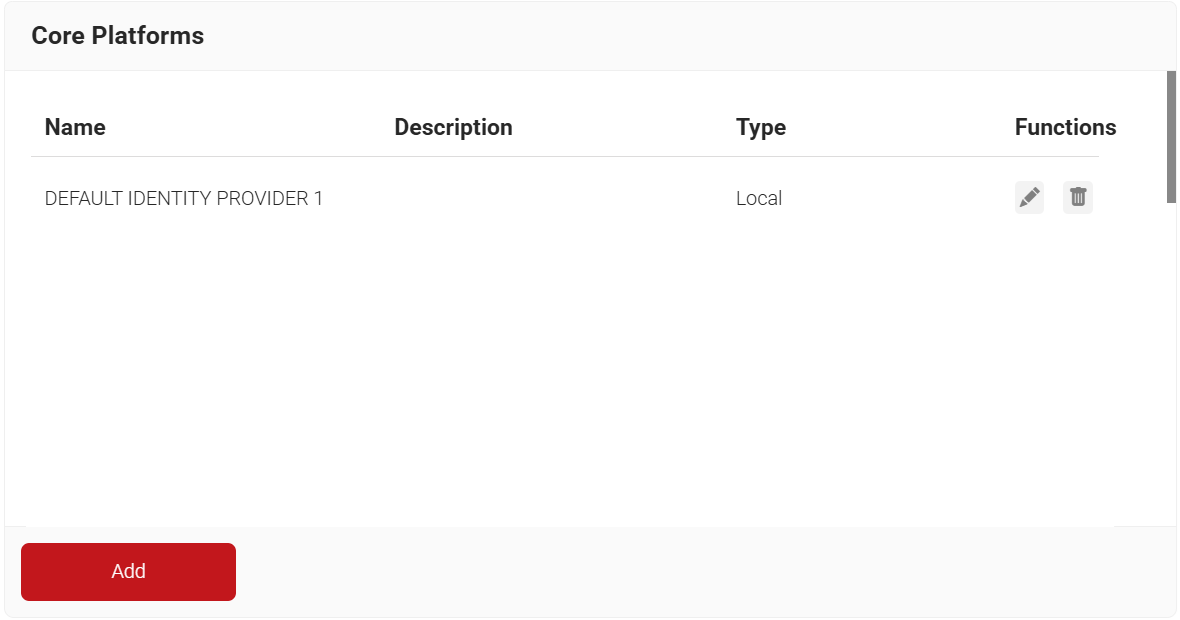
- Navigate to Integration Hub > Core Platforms.
- Click Add.
- In the Name and Description fields, enter a suitable name and description for your core provider.
- From the Type drop-down list, select MAC Authentication.
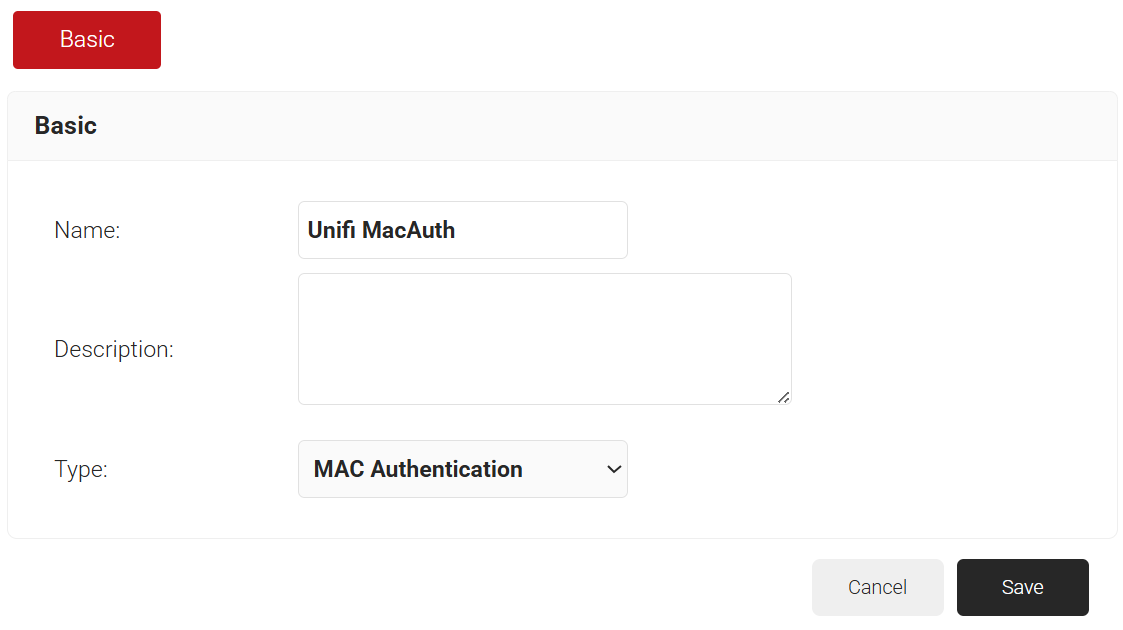
- Click Save.
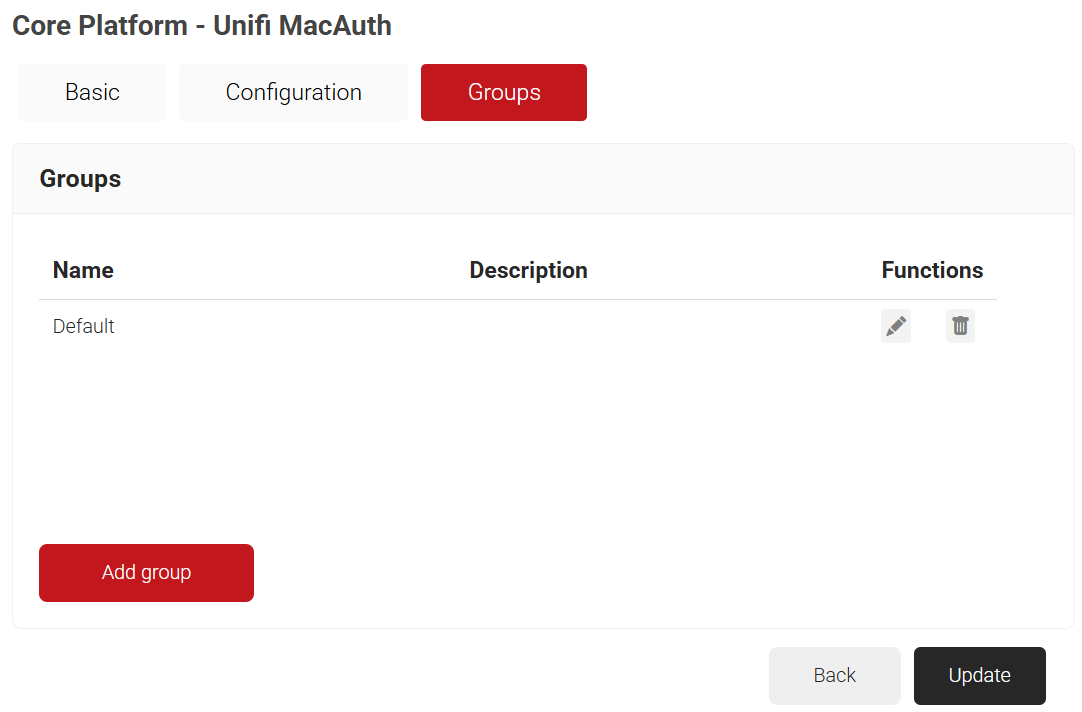
- The page refreshes and displays the Configuration and Groups tabs.
- Select the Groups tab.
- Click Add group.
- On the displayed pop-up window, in the Name field, enter a name for your group.
- In the Description field, enter a suitable description for your group.
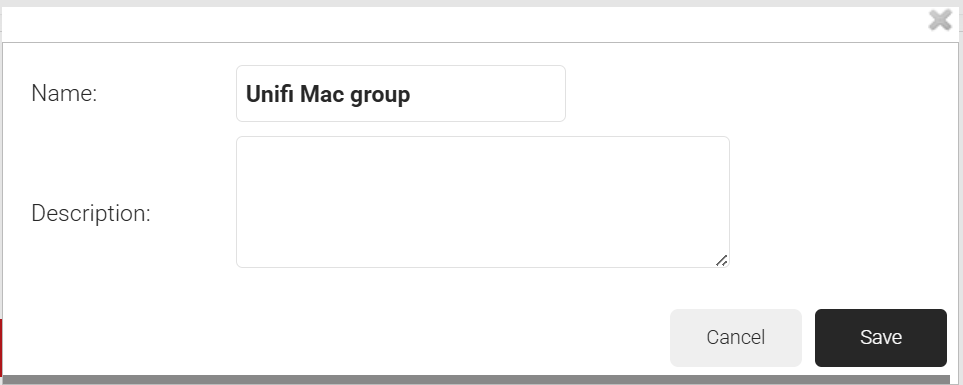
- Click Save.
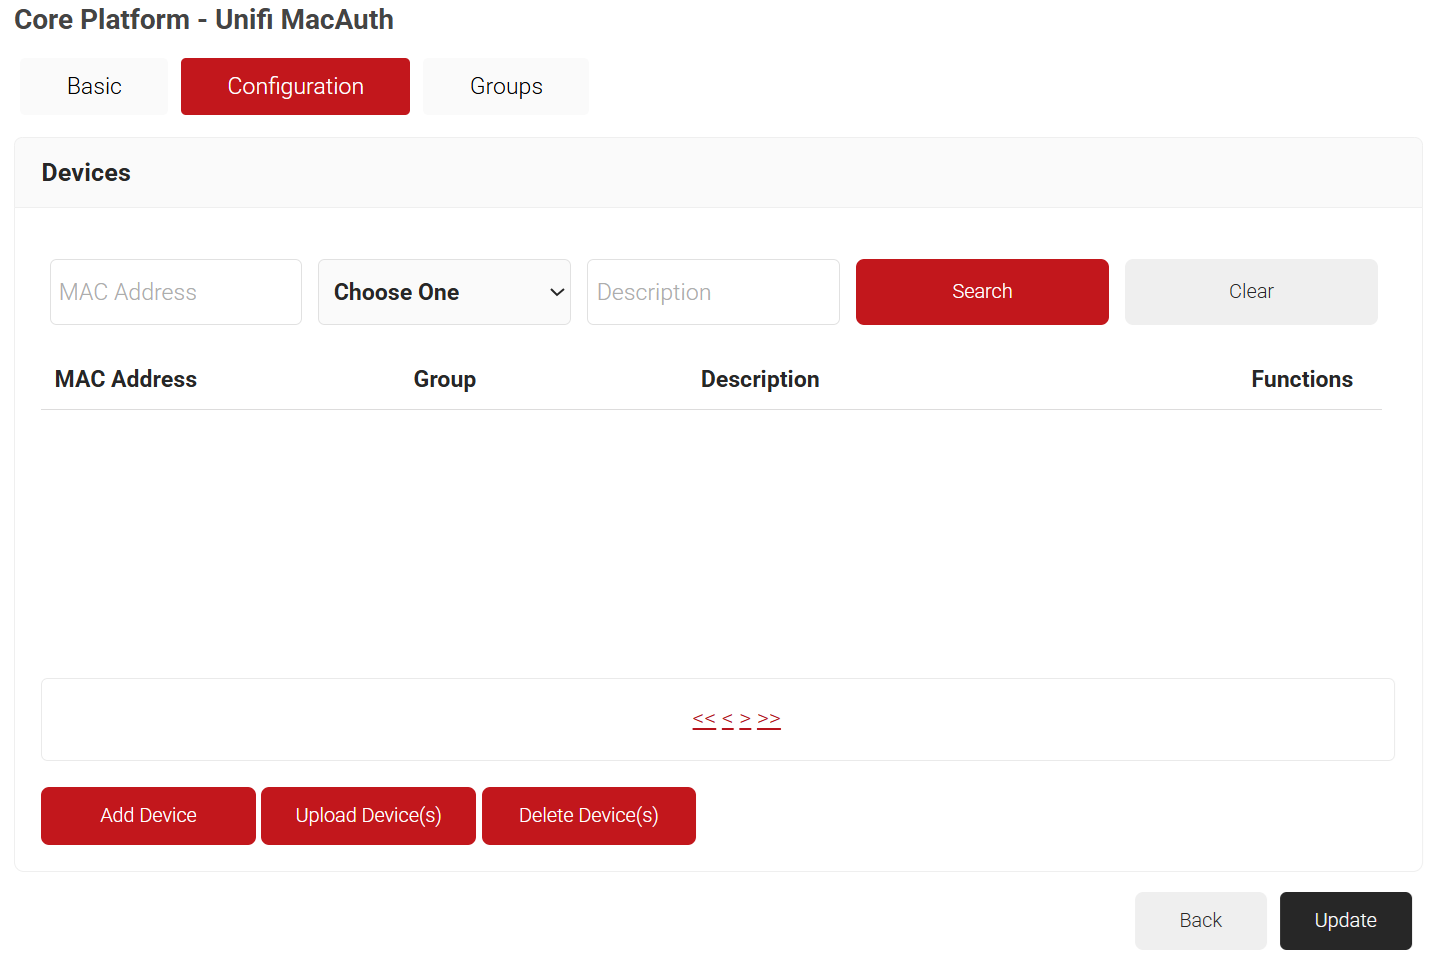
- Select the Configuration tab.
- Click Add Device.
- On the displayed pop-up window, in the MAC Address field, enter the MAC address of the device that you want to authenticate.
- From the Group Name drop-down list, select the group name you created earlier.
- In the Description field, enter a suitable description for your device.
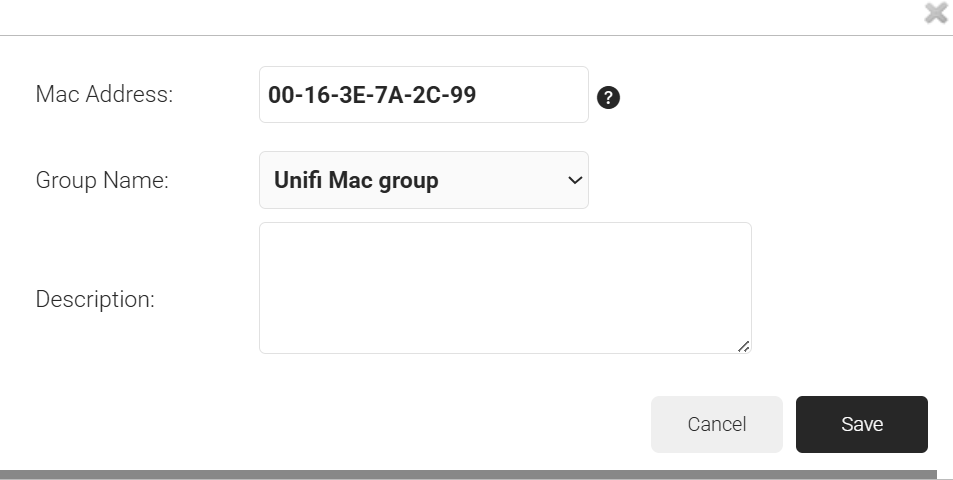
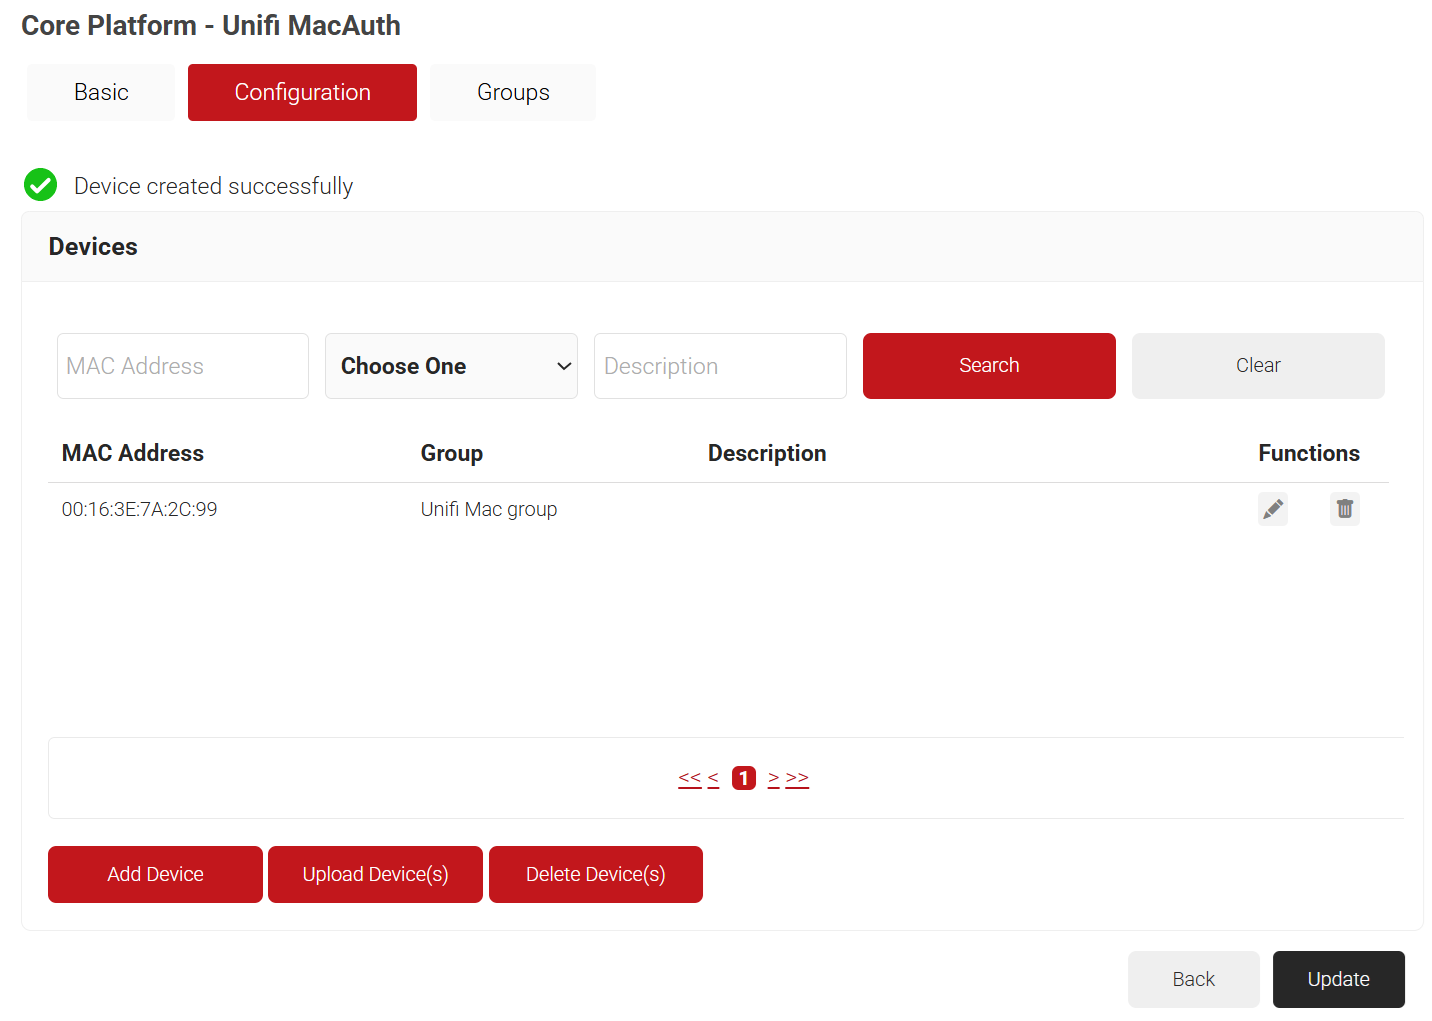
- Click Save.
- Click Update.
A Policy Workflow grants a user access to defined resources. To create a policy workflow, perform the following steps:
- Navigate to Policy Management > Policy Workflows.
- Click Add Policy Workflow.
- In the Name and Display Description fields, enter a name and a suitable description for your policy workflow.
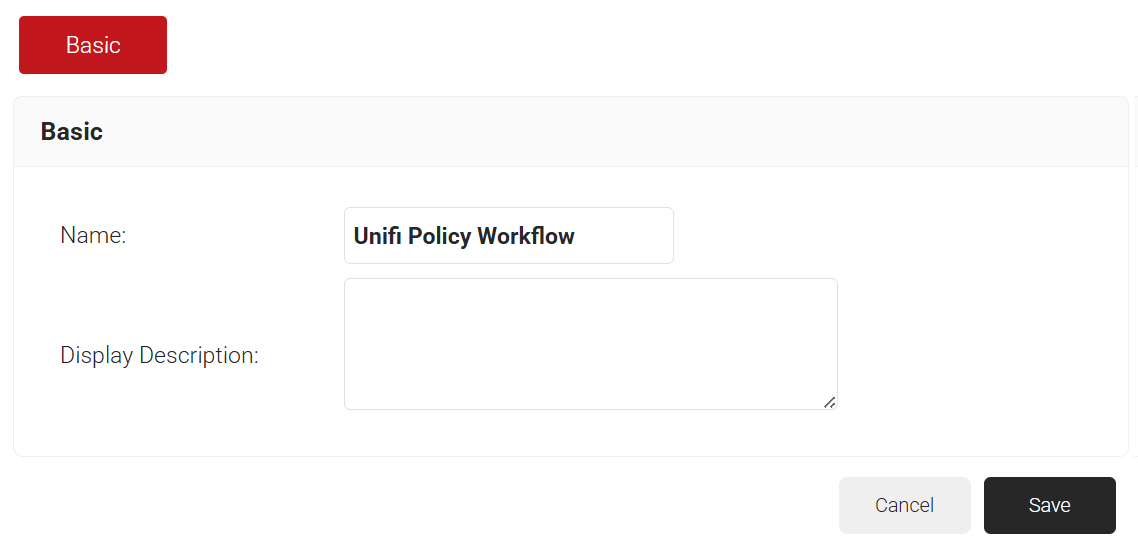
- Click Save.
- The page refreshes, and the Conditions tab is displayed.
- Select the Conditions tab.
- From the Core Provider drop-down list, select the core provider you created with the MAC Authentication type.
- In the Groups field, select the group you created earlier.
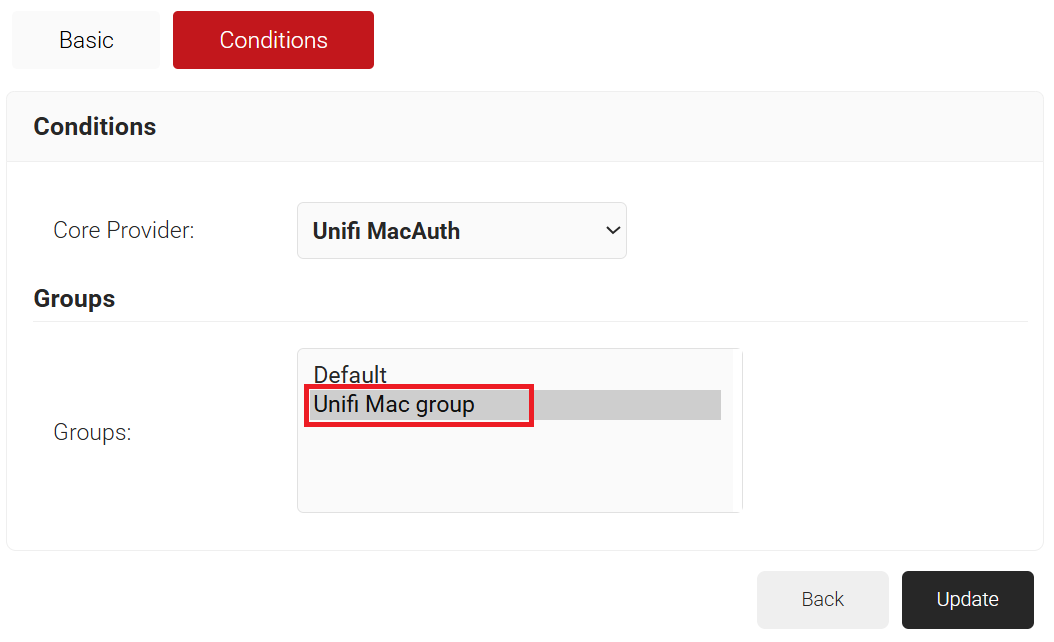
- Click Update.
The purpose of a network policy is to specify how Cloud RADIUS will authorize access to a particular user role. To create and configure the Network policy, perform the following steps:
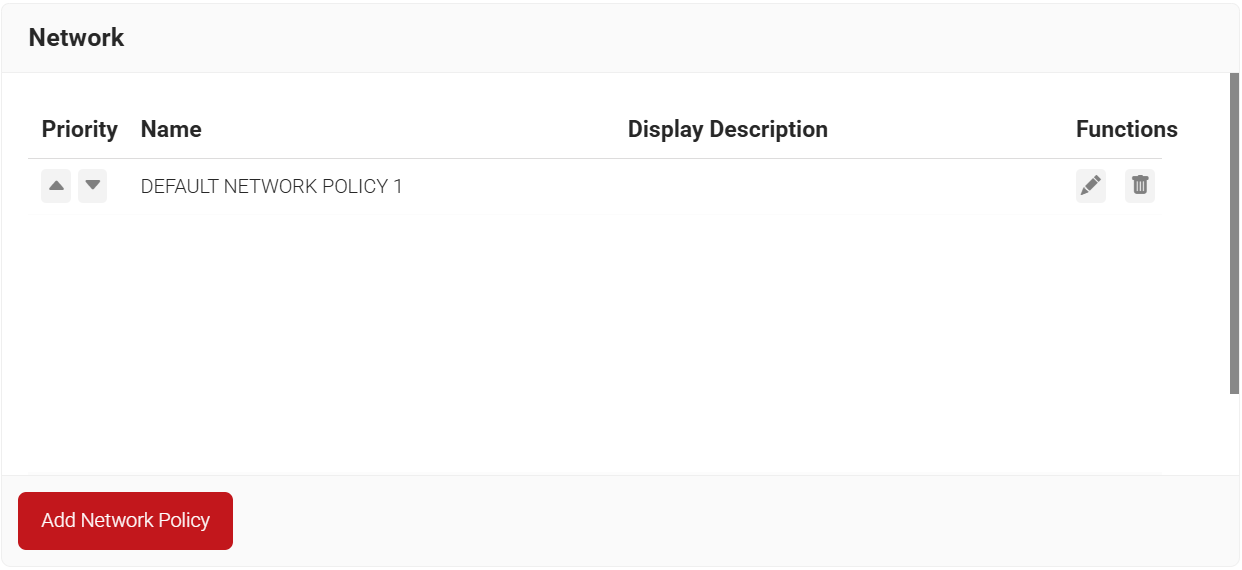
- Navigate to Policy Management > Network.
- Click Add Network Policy.
- In the Name and Display Description fields, enter a name and a suitable description for your network policy.
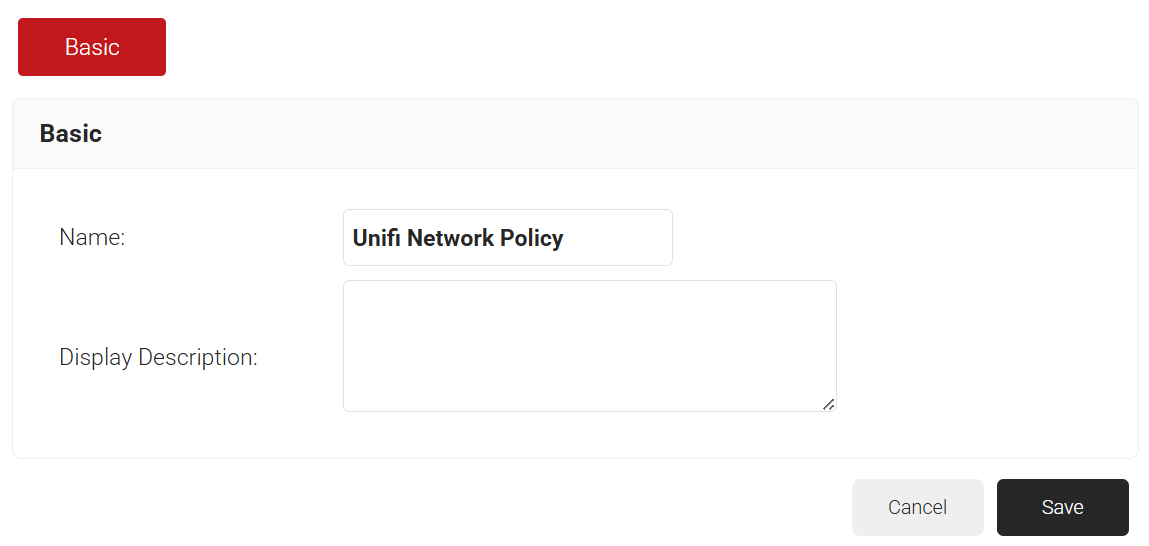
- Click Save.
- The page refreshes and displays the Conditions and Settings tabs.
- Select the Conditions tab.
- In the Conditions section, select Match All or Match Any based on your requirement to set authentication criteria. In the case explained here, we are selecting Match All.
- Click the Add rule and select the role you want to assign to this network policy. It is essential to select the appropriate policy workflow, as it triggers the network policy. This menu offers various rules that you can select based on your business requirements.


- Click Save.
- The Policy Workflow option appears under the Conditions tab.
- From the Policy Workflow Equals drop-down list, select the policy workflow you created earlier.

- Select the Settings tab.
- From the Access drop-down list, select any one of the options to allow or deny authentication requests. The default value is “Allow”.
- To configure MFA, select the checkbox to enable MFA.
- From the Perform MFA Using drop-down list, select a Core Provider for MFA.
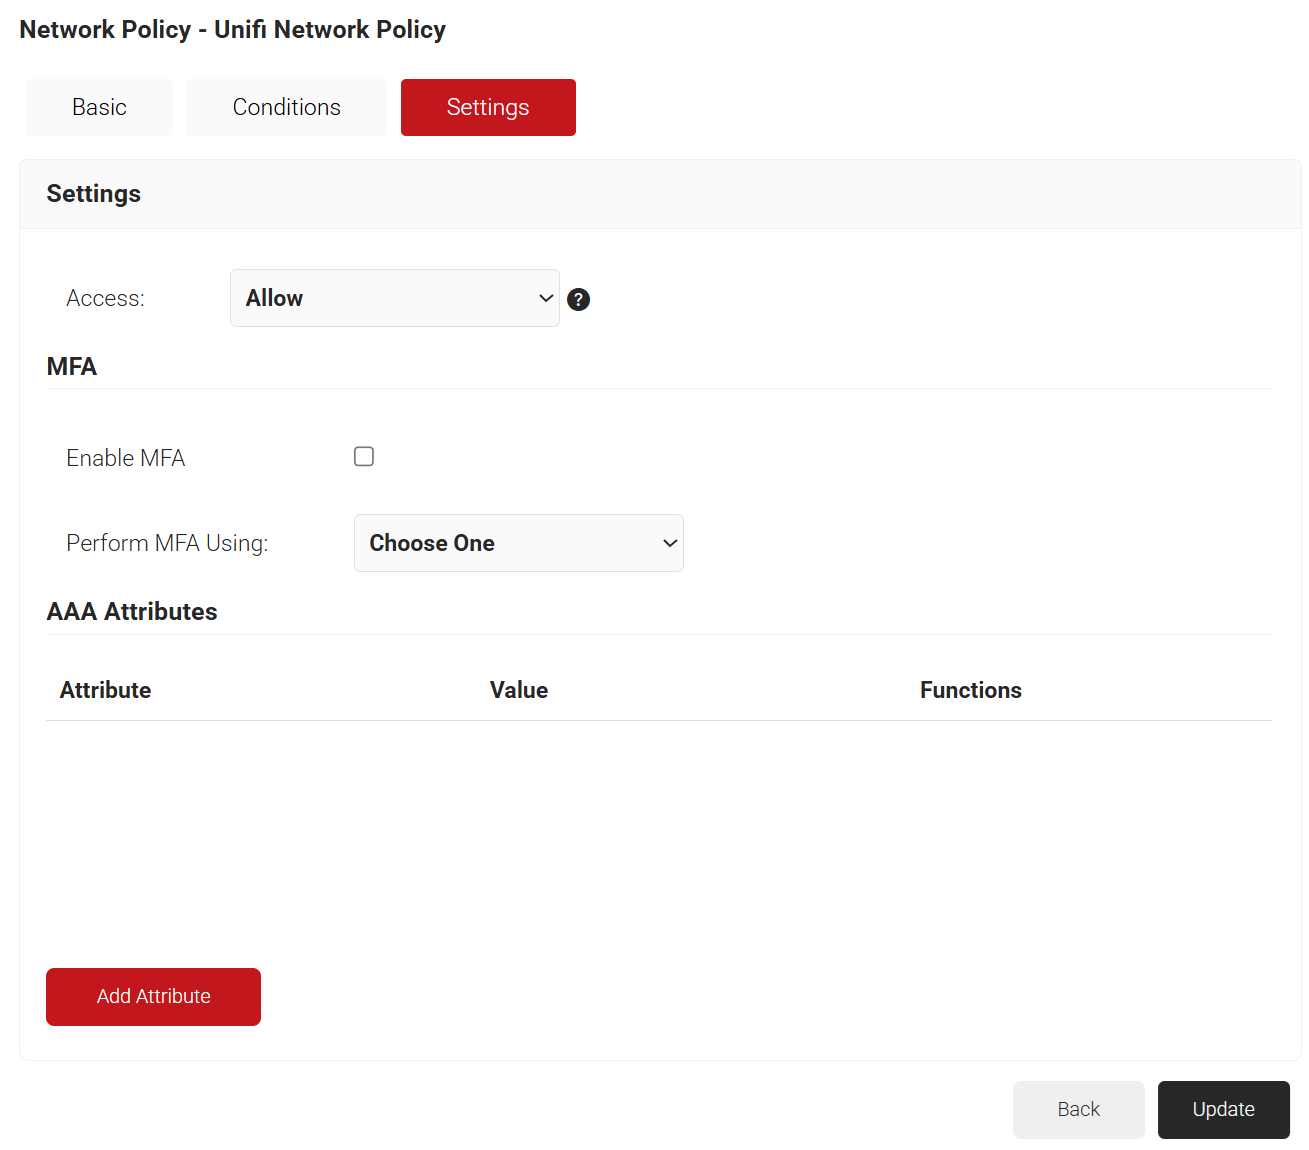
- Click Add Attribute.
- From the Dictionary drop-down list, select an option:
- Radius: IETF – This is what we will use for the following attributes, as we are using standard RADIUS attributes for VLAN assignment.
- Custom: Used for any VSAs (Vendor-Specific Attributes).
- From the Dictionary drop-down list, select an option:
- From the Attribute drop-down, select Filter-Id.
NOTE: Filter-Id is created on your access point to form a VLAN range.
- In the Value field, enter the VLAN filter-ID you wish to connect to.
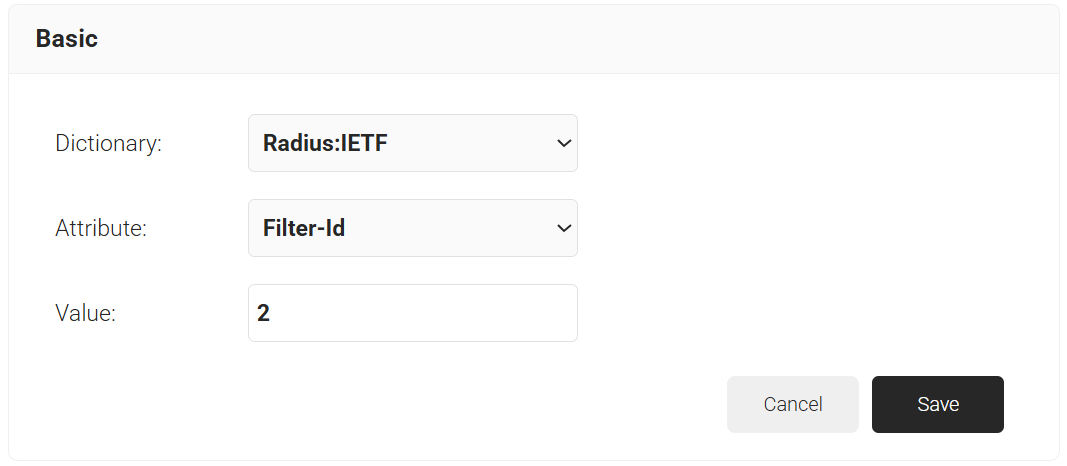
- Click Save.
Follow the steps below to set up MAC-based Authentication using Unifi:
- Log in to the Unifi Portal.
- On the left pane, select Profiles.
- Click Create New RADIUS Profile.
- In the New RADIUS Profile page, for the Name field, enter the name of your RADIUS profile.
- Under the RADIUS Assigned VLAN Support section, select the Enable checkbox for Wireless Networks.
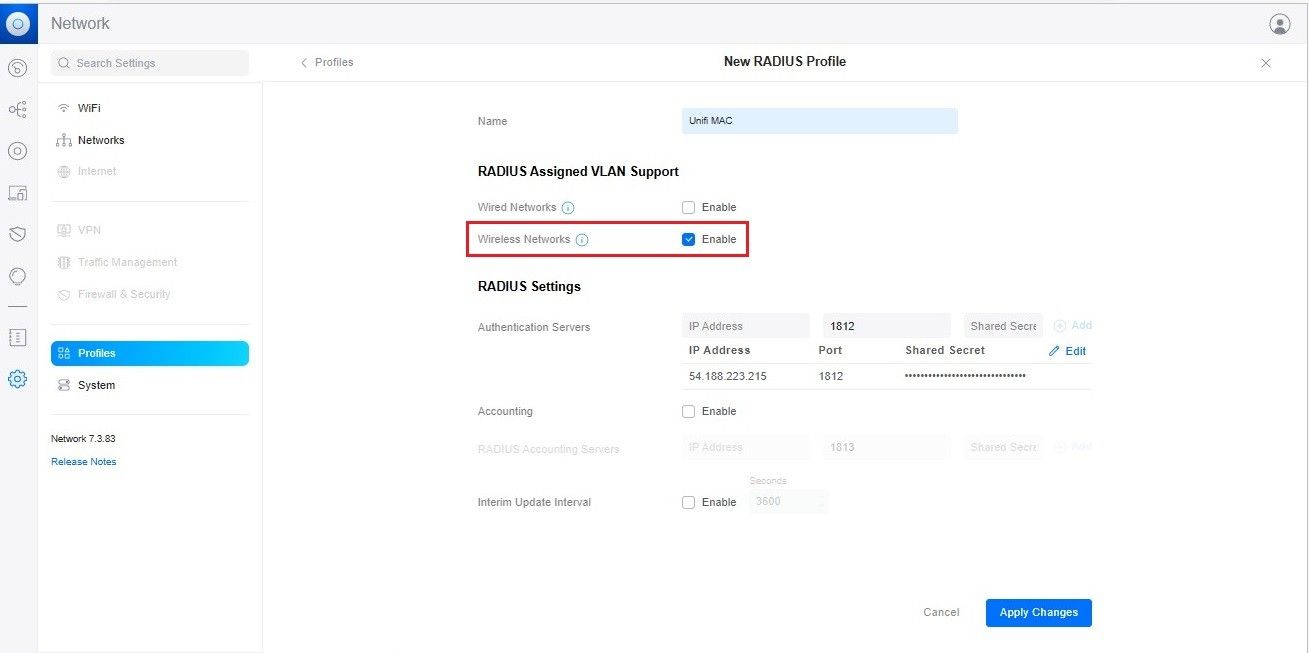
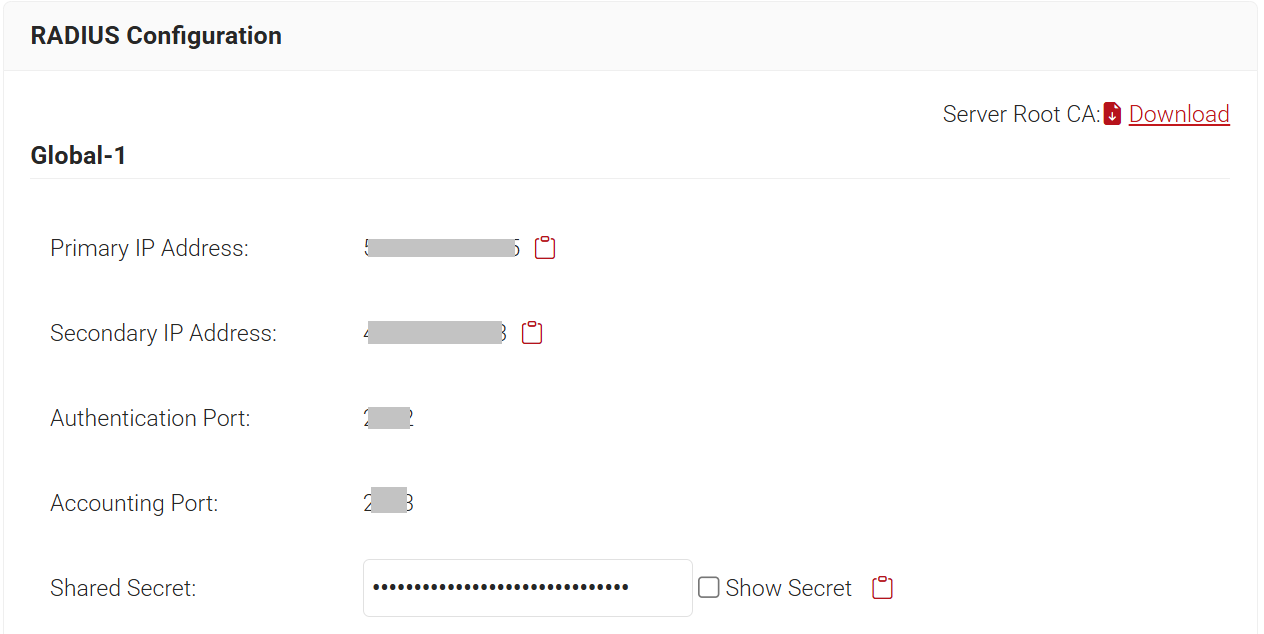
- In the RADIUS Settings section, for Authentication Servers, enter the IP Address, Port and Shared Secret. From the JoinNow Management Portal (navigate to RADIUS > RADIUS Configuration), copy the IP Address, Port, and Shared Secret and paste them into the IP Address, Port, and Shared Secret fields in the Unifi.
NOTE: The details of the RADIUS profile must be from the Organization in which the MAC-based authentication IDP was created in the Creating a Core Provider in SecureW2 section.
- After entering the RADIUS details, click Add.

- Click Apply Changes.