3. Creating a Network Profile
To add a network profile, perform the following steps:
- Navigate to Device Onboarding > Network Profiles.
- Click Add Profile in the Network Profiles page. The Basic screen is displayed.

- In the Network Profile field, enter a name for the network profile.
- Select the Searchable checkbox to allow this network profile to be searched using the organization code or domain name.
- From the Wireless Vendor drop-down list, select the wireless vendor used in your organization.
- From the RADIUS Vendor drop-down list, select the RADIUS vendor used in your organization.
NOTE: Please choose SecureW2 in case you have purchased the SecureW2 CloudRADIUS subscription. - Click Next. The Network Profile will be generated.
- Navigate to the Network Settings section and click Add Network Setting.
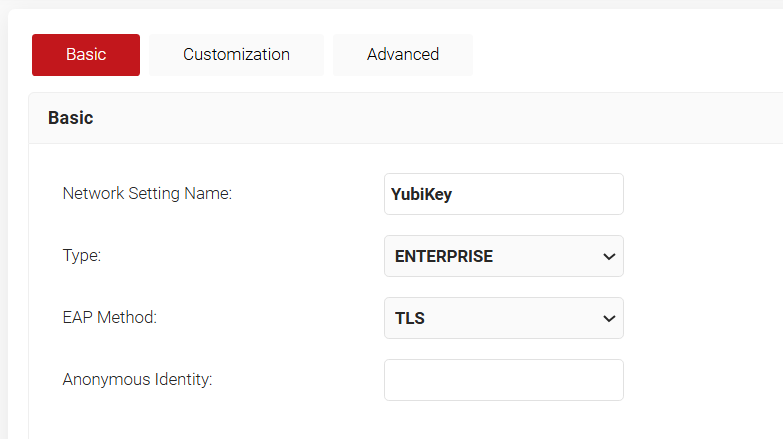
- In the Network Setting Name field, enter a name for the onboarding SSID.
- From the Type drop-down list, select ENTERPRISE.
- From the EAP Method drop-down list, select TLS.
- In the Anonymous Identity field, enter the anonymous identity if this is used for authentication. If the field is left empty, Identity Privacy of the network is configured as Disabled.
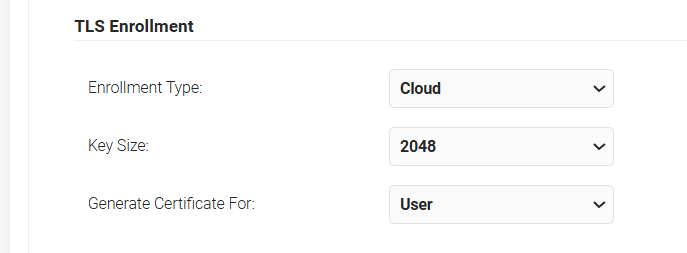
- From the Enrollment Type drop-down list, select Cloud.
- From the Key Size drop-down list, select the required key size.
- From the Generate Certificate For drop-down list, select the required parameter.
- Enable the Use Smart Card for private key storage button.
- From the Smart Card drop-down list, select YubiKey.
- From the Require Touch drop-down list, select
- Disabled – If no touch is required to start YubiKey
- Enabled – If touch is required to start YubiKey
- Under the PIN Management section, make the required changes for setting the complexity of PIN:
- Prevent Default PIN: This option is used to prevent the usage of the Default PIN provided by YubiKey so as to ensure that the user enters new PIN.
- Minimum PIN Length: The PIN can contain a minimum of 6 characters and a maximum of 8 characters.
- Enforce PIN Complexity: Use this option to apply PIN complexity criteria to the new PIN in case of the Forgot PIN option.
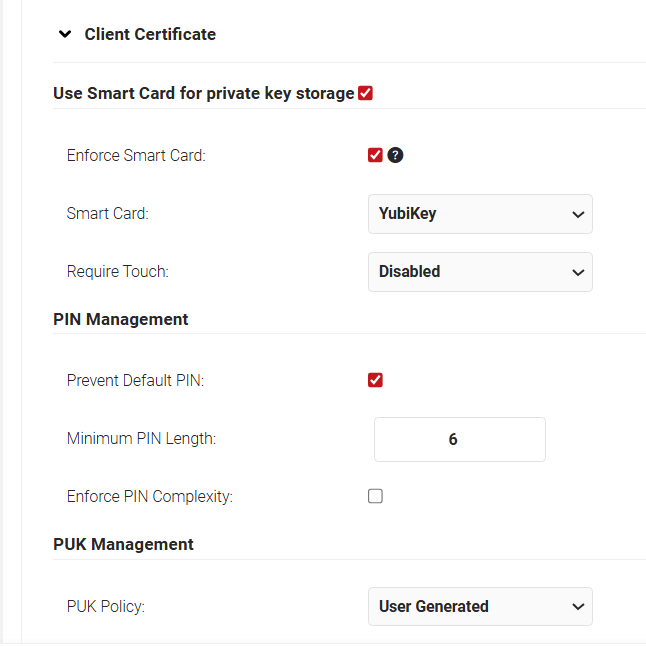
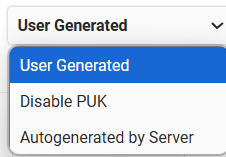
- PUK refers to the PIN Unlock Key and the admin can configure the ways for the user to handle the Forget PIN scenario. Under PUK Management, from the PUK Policy drop-down list, select the required option from:
- User Generated – User can change both PIN and PUK in case of the Forget PIN scenario.
- Disable PUK – Users can change PIN but not PUK as it will be disabled.Please note this resets the Yubikey.
- Autogenerated by Server – User can change PIN. The PUK for the YubiKey will be managed by the SecureW2 server.
- Check the Enable Client Certificate Reuse button for enabling certificate reuse. Configure Existing Certificate Validity Offset and Enable Revocation Check as required.
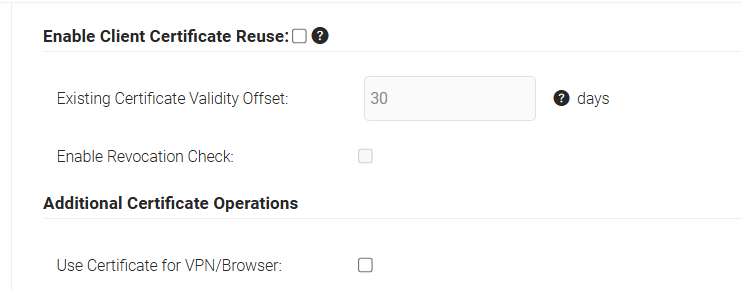
- Click Save.
- On the Profile page, click on the Advanced tab. Scroll down to the Workflows section.
- Enable the Check for Existing Valid Certificate field.
- Uncheck the following fields for uninterrupted seamless Desktop Login:
- Wireless Configuration
- Wireless Connect
- Enable Wired 802.1X
- Wired Configuration
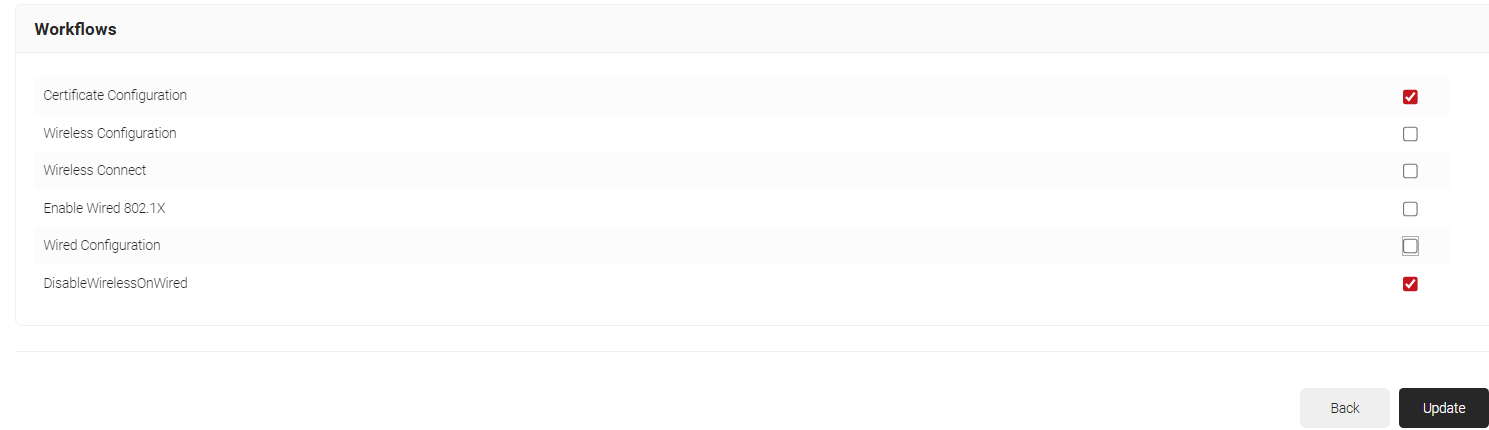
- Click Update.
4. Configuring Key Attestation Provider
Key Attestation gives you confidence that the keys you use in your app are stored in a hardwarebacked keystore. To set up a Key Attestation Provider:
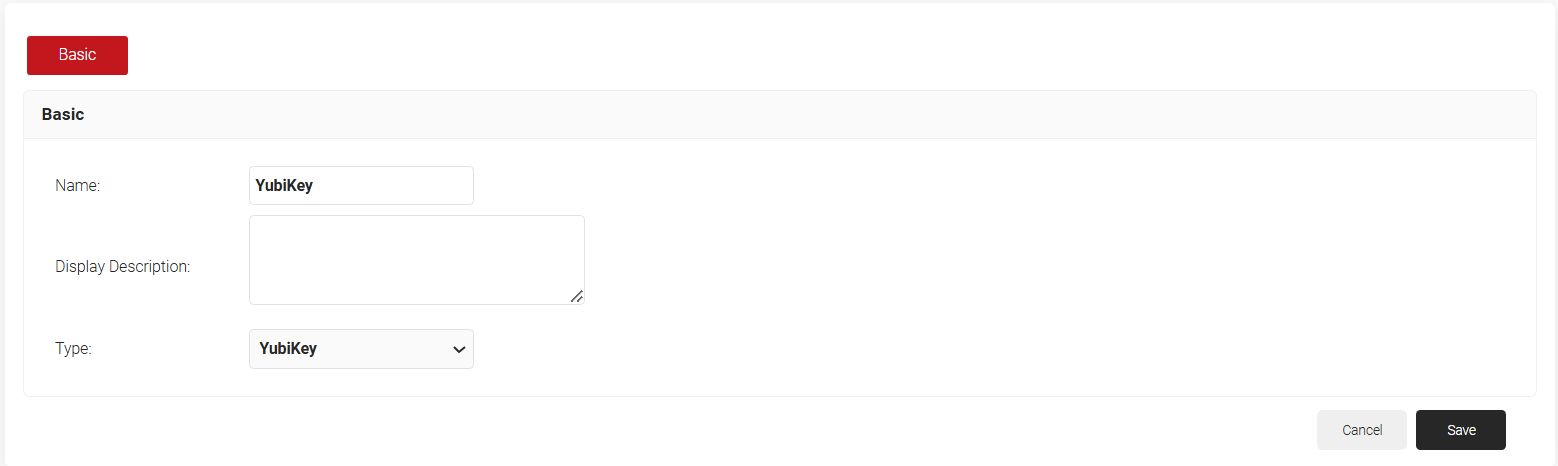
- Navigate to Integrations Hub > Key Attestation Platforms and click Add
- Enter a name and description for the key attestation provider in the respective fields.
- From the Type drop-down list, select YubiKey
- Click Save.
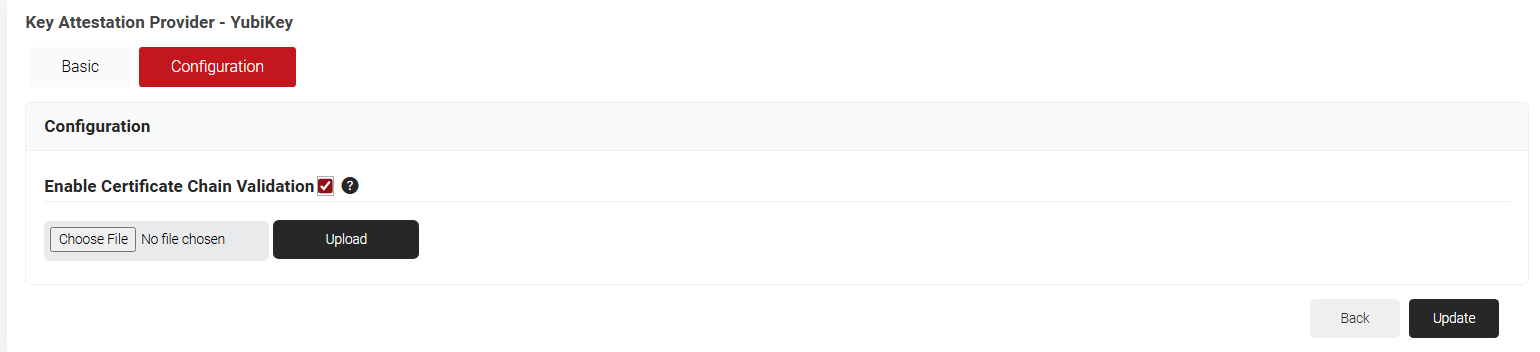
- Click on the Configuration tab.
- Click the Enable Certificate Chain Validation check-box.
- Click Choose File. Upload the default YubiKey Root CA (or) your organization-specific Root CA for certificate chain validation.
- Click Upload and Click Update.
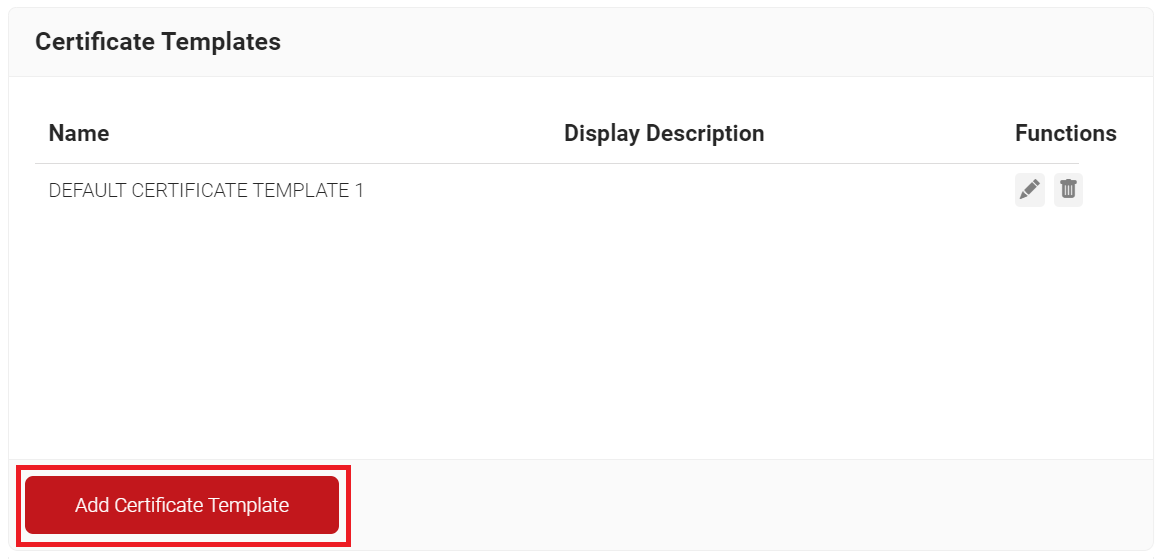
5. Creating a Certificate Template
A certificate template is a blueprint for attributes that must be encoded on a certificate and the certificate’s intended use case.
- Navigate to Dynamic PKI > Certificate Authorities.
- Scroll to the Certificate Templates section and click Add Certificate Template.
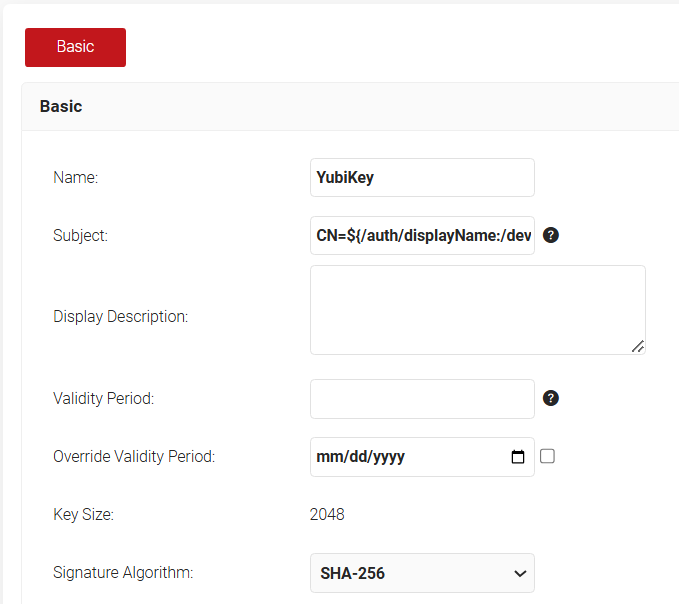
- In the Basic section, for the Name field, enter the name of the certificate template.
- In the Subject field, retain the existing values.
- In the Display Description field, enter a suitable description for the certificate template.
- In the Validity Period field, type the validity period of the certificate (based on the requirement).
- From the Signature Algorithm drop-down list, select SHA-256 as the signature algorithm for the certificate signing request.
- In the SAN section, for the Other Name, RFC822 and the URI fields, retain the default values.
- In the Extended Key Usage section, from the Use Certificate For list, select Client Authentication and Smart Card Logon. Please feel free to select other EKUs as per the business use cases.
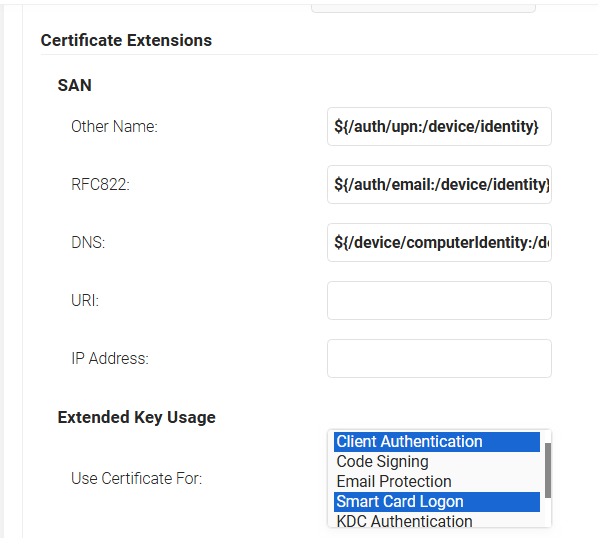
- Click Save.
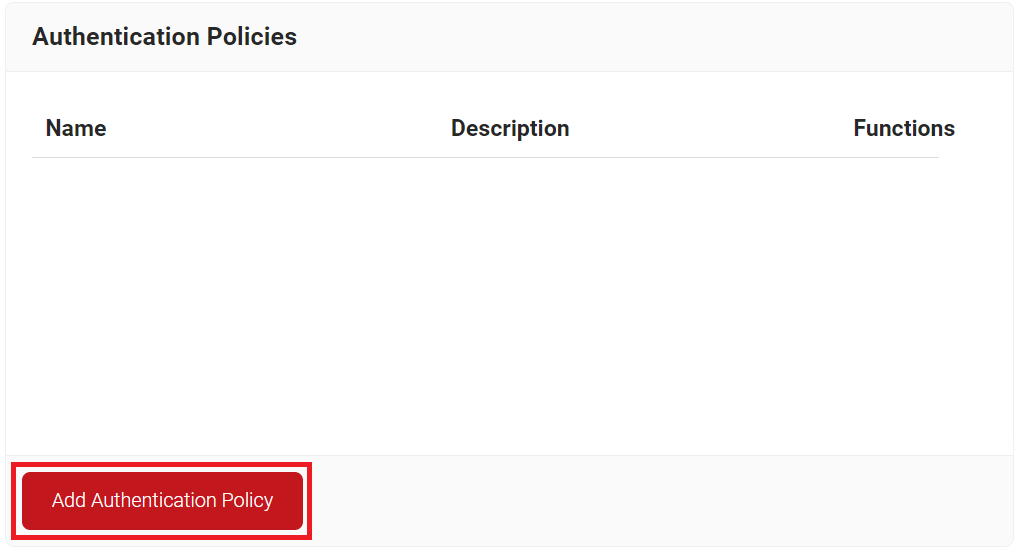
6.1 Configuring an Authentication Policy
An Authentication Policy can be created from the Authentication Policies page. If you’ve already set up an authentication policy through Getting Started, you can either edit it with the required values or create a new one.
To create a new Authentication Policy, perform the following steps:
- Navigate to Policy Management > Authentication Policies.
- On the Authentication Policies page, click Add Authentication Policy.
- In the Basic section, enter the name of the Authentication Policy in the Name field.
- In the Display Description field, enter a suitable description for the Authentication Policy.
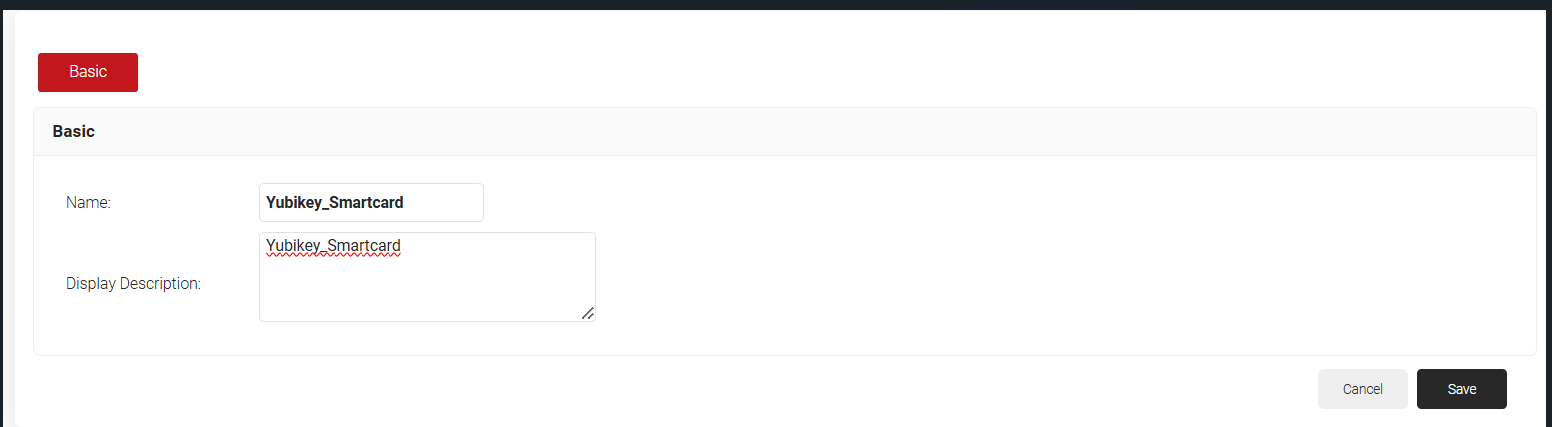
- Click Save.
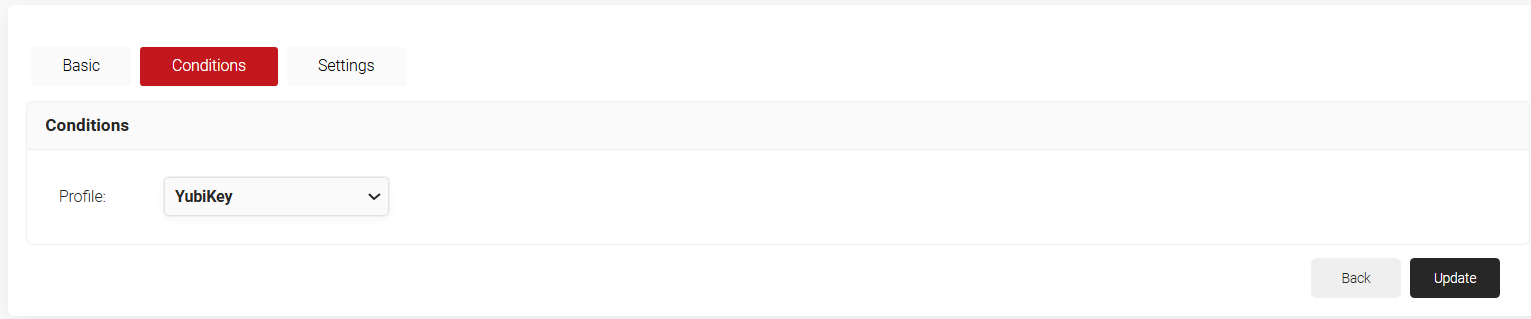
- Click the Conditions tab.
- In the Profile drop-down list, select the network profile created in the 3. Creating a Network Profile section.
- Click the Settings tab.
- From the Identity Provider drop-down list, select the IDP required for authentication.
- Select the Enable User Self Service checkbox, if required.
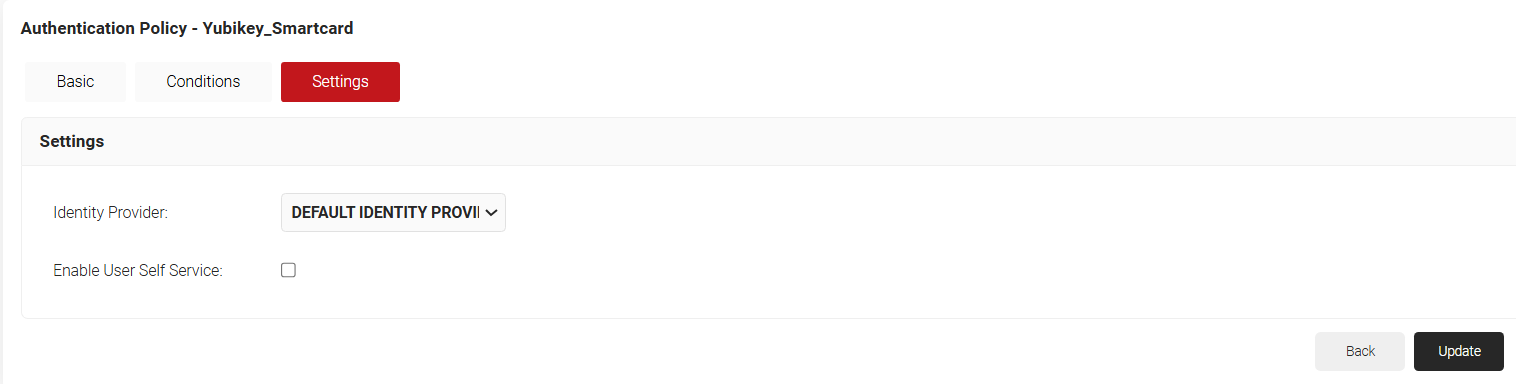
- Click Update.
6.2 Creating a Policy Engine Workflow
- Go to Policy Management > Policy Engine Workflows.
- Click Add Policy Engine Workflows.
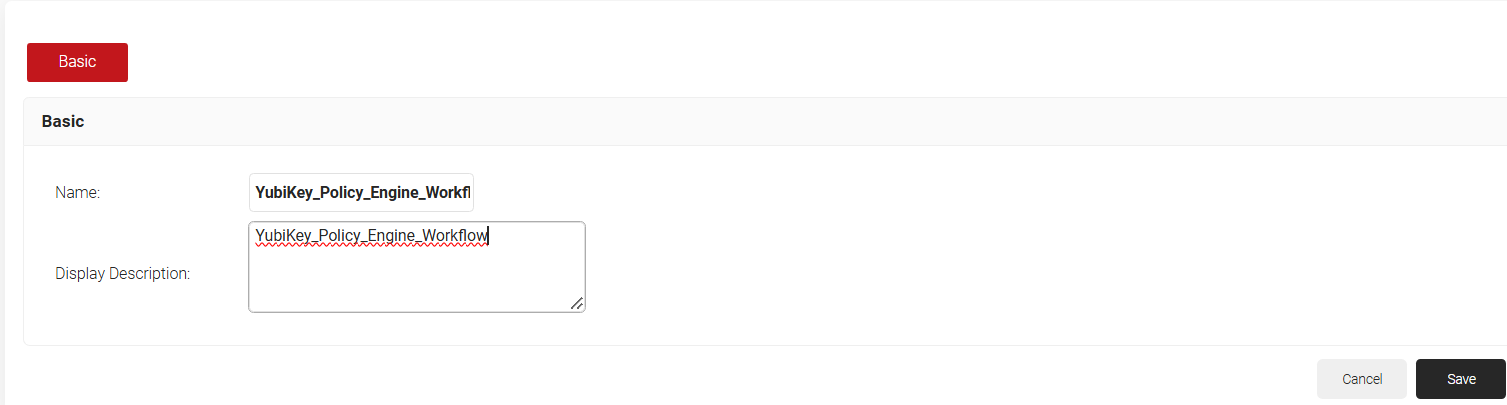
- In the Basic section, in the Name field, enter a name for the policy.
- In the Description field, enter a description for the policy.
- Click Save.
- On the displayed page, click the Conditions tab.
- Click Save.The page refreshes and automatically selects the Conditions tab.
- In the Conditions section, click the Identity Provider drop-down and select the Identity Provider required for authentication.
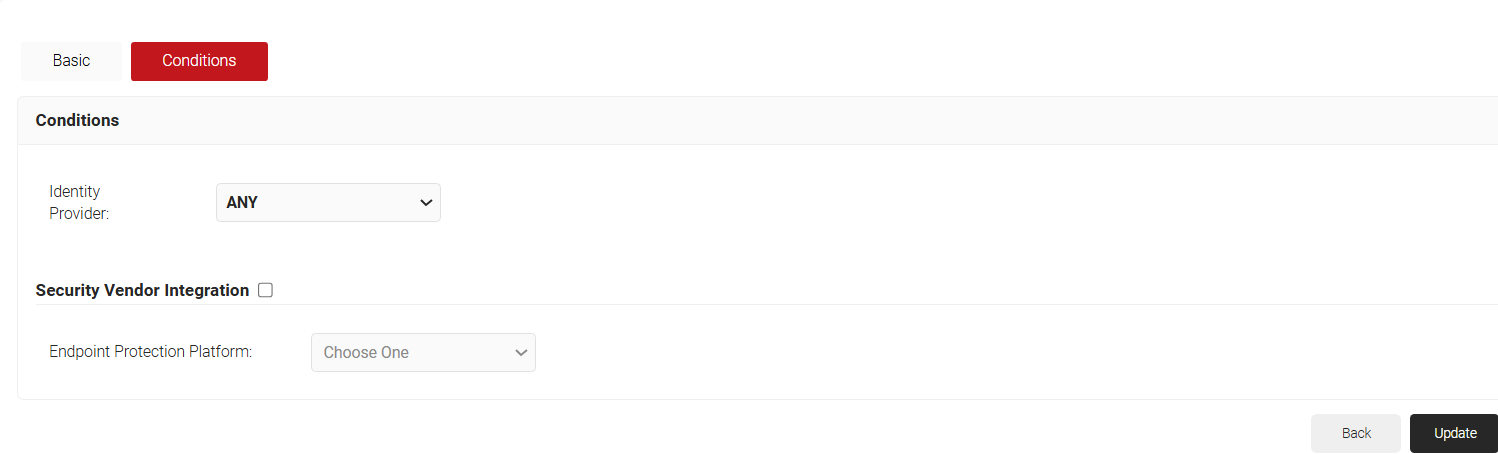
- Click Update.
6.3 Creating a Device Role Policy
Device Role Policy helps in mapping the attestation provider in JoinNow for device attestation.
- From the JoinNow Management Portal, go to Policy Management > Device Roles Policies.
- Click Add Device Role Policy.
- In the Basic tab, for Name, enter a name.
- For Description, enter a description.

- Click Save. The page refreshes and the Conditions tab opens.
- Click on the Conditions tab.
- From the Identity drop-down, select the Key Attestation Provider created in section.
- Under the Available Slot session, select Slot 9a.
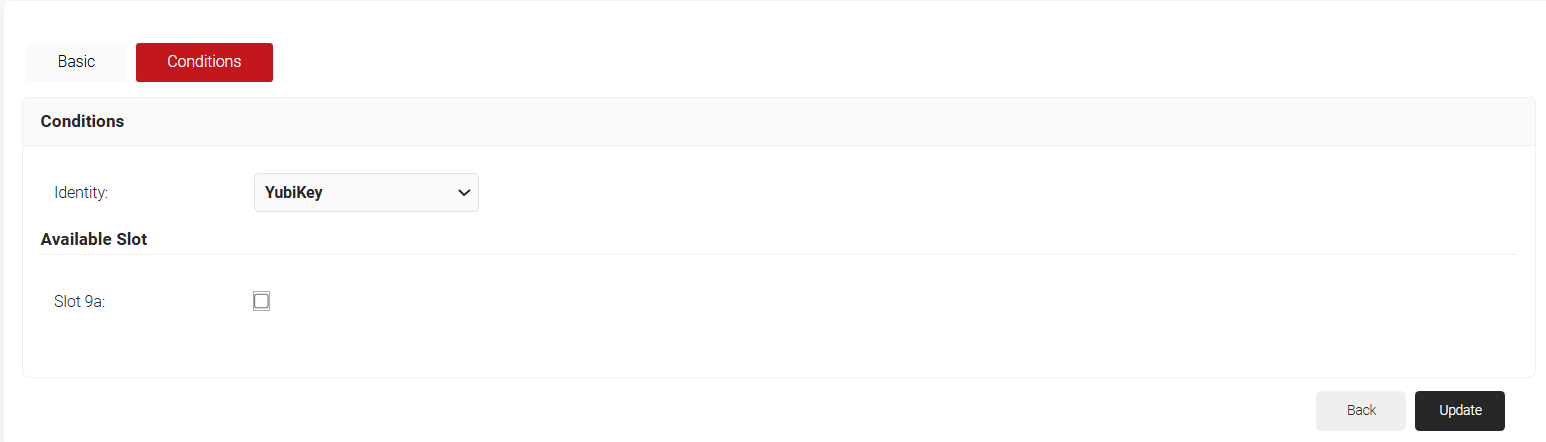
- Click Update.
6.4 Creating an Enrollment Policy
- From the JoinNow Management Portal, go to Policy Management > Enrollment Policies.
- Click Add Enrollment Policy.
- In the Basic tab, for Name, enter a name.
- For Description, enter a description.
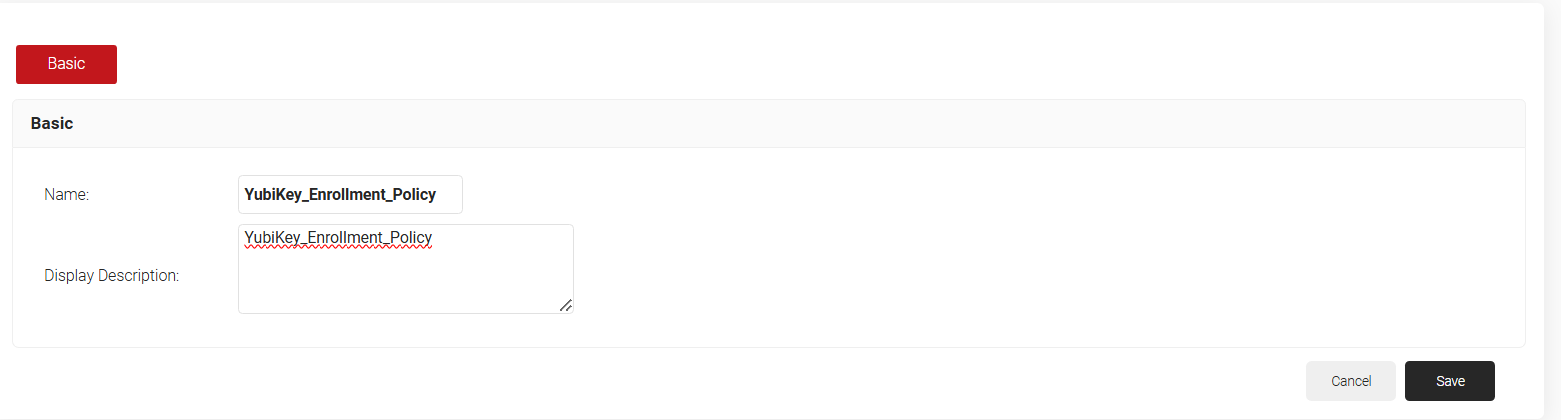
- Click Save. The page refreshes and displays the Conditions and Settings tab.
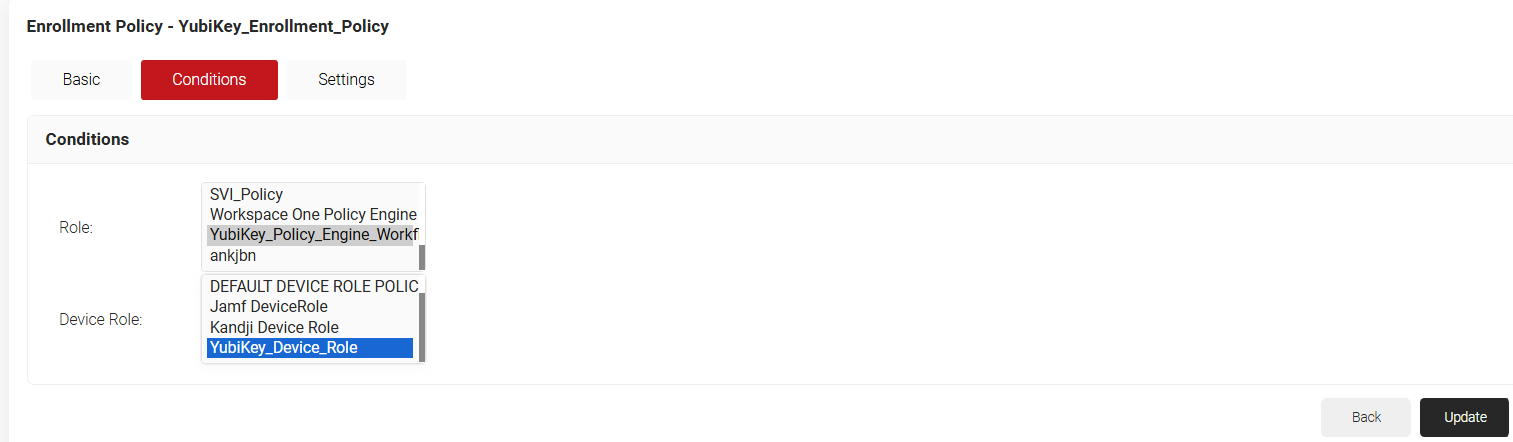
- In the Conditions section, for Role, select the Policy Engine Workflow policy you created in the 6.2 Creating a Policy Engine Workflow section.
- For Device Role, select the device role created in the 6.3 Creating a Device Role Policy section.
- Click on the Settings tab.
- From the Use Certificate Authority drop-down, select the Intermediate Certificate Authority for your organization or an Intermediate CA created for YubiKey.
- From the Use Certificate Template drop-down, choose the certificate template created for YubiKey enrollment.
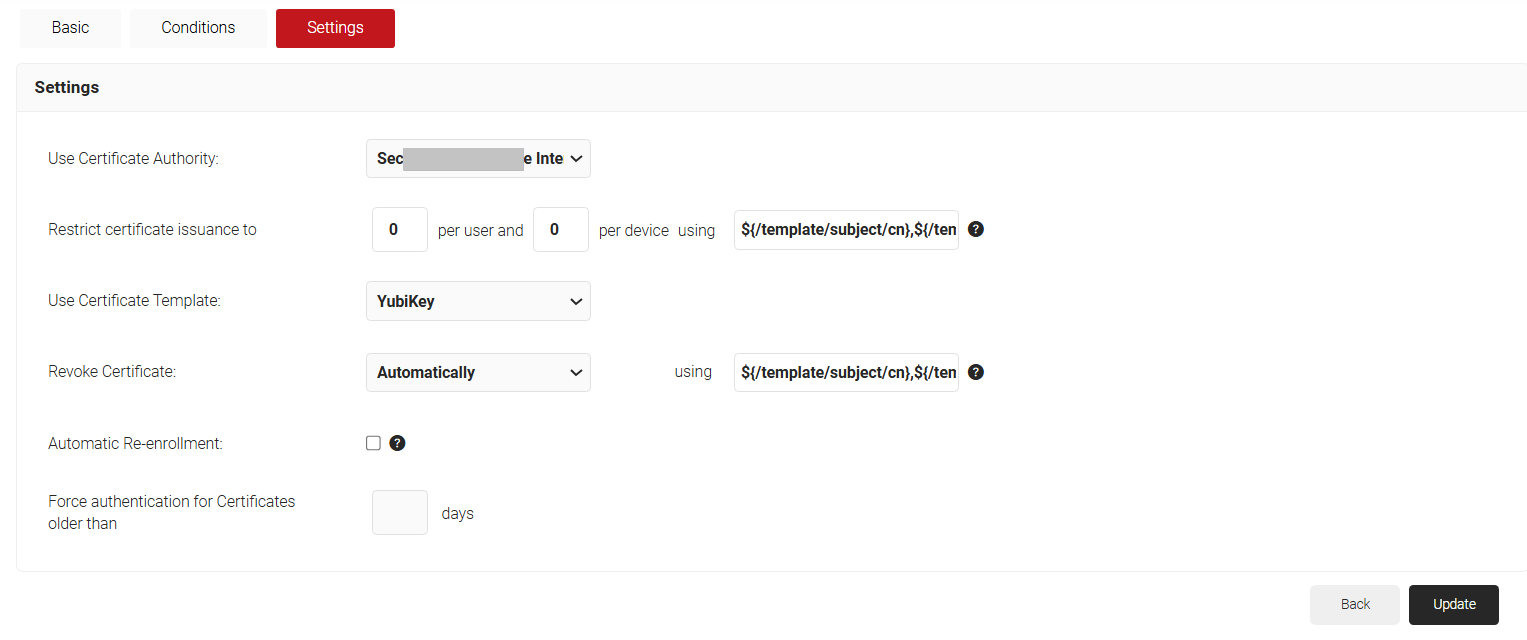
- Click Update.
7. Re-Publishing a Network Profile
Post successful configuration of policies in JoinNow, the Network Profile should be re-published to create the WiFi configuration for each Operating System.
To republish the Network Profile:
- Navigate to Device Onboarding > Network Profiles.
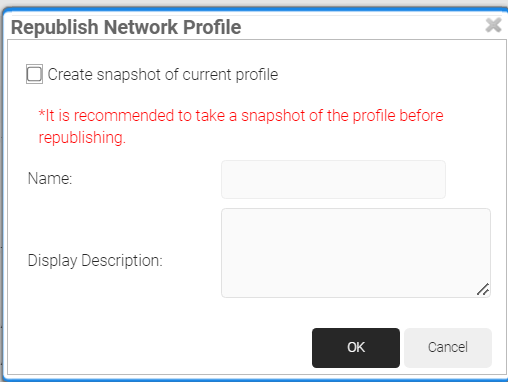
- Scroll to the created Network Profile and click Re-publish.

- In the Republish Network Profile pop-up, click Ok. It will take 60 – 90 seconds to republish the network profile.
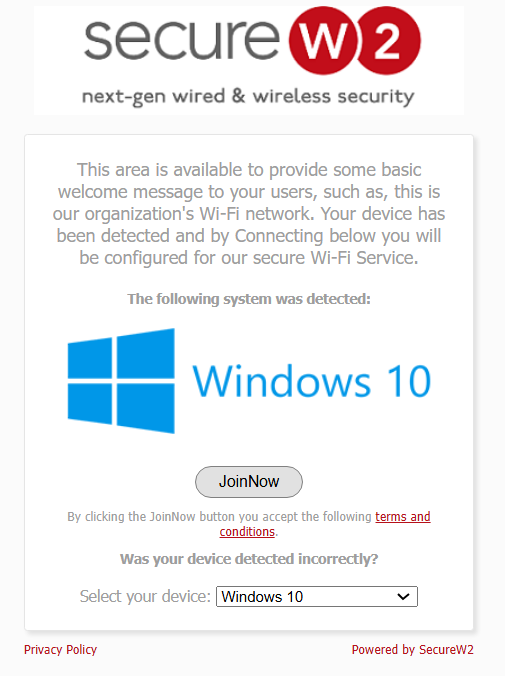
- Click on the Landing Page icon.

- Click JoinNow to enrol for a certificate.
8. Conclusion
After successfully configuring the above steps, Windows and macOS devices onboarded via the Network Profile Landing Page will be issued client certificates to be deployed on the Yubikeys. Admins can verify certificate issuance status in the JoinNow Management Portal under Data and Monitoring > General Events:
