3.1 Exporting CA Certificates
The CA Certificates from the JoinNow Management portal must be exported and uploaded to the Palo Alto GlobalProtect VPN to create a Chain of Trust. This will help the GlobalProtect VPN to authenticate client devices against the issuing Certificate Authorities.
- Log in to the JoinNow Management Portal.
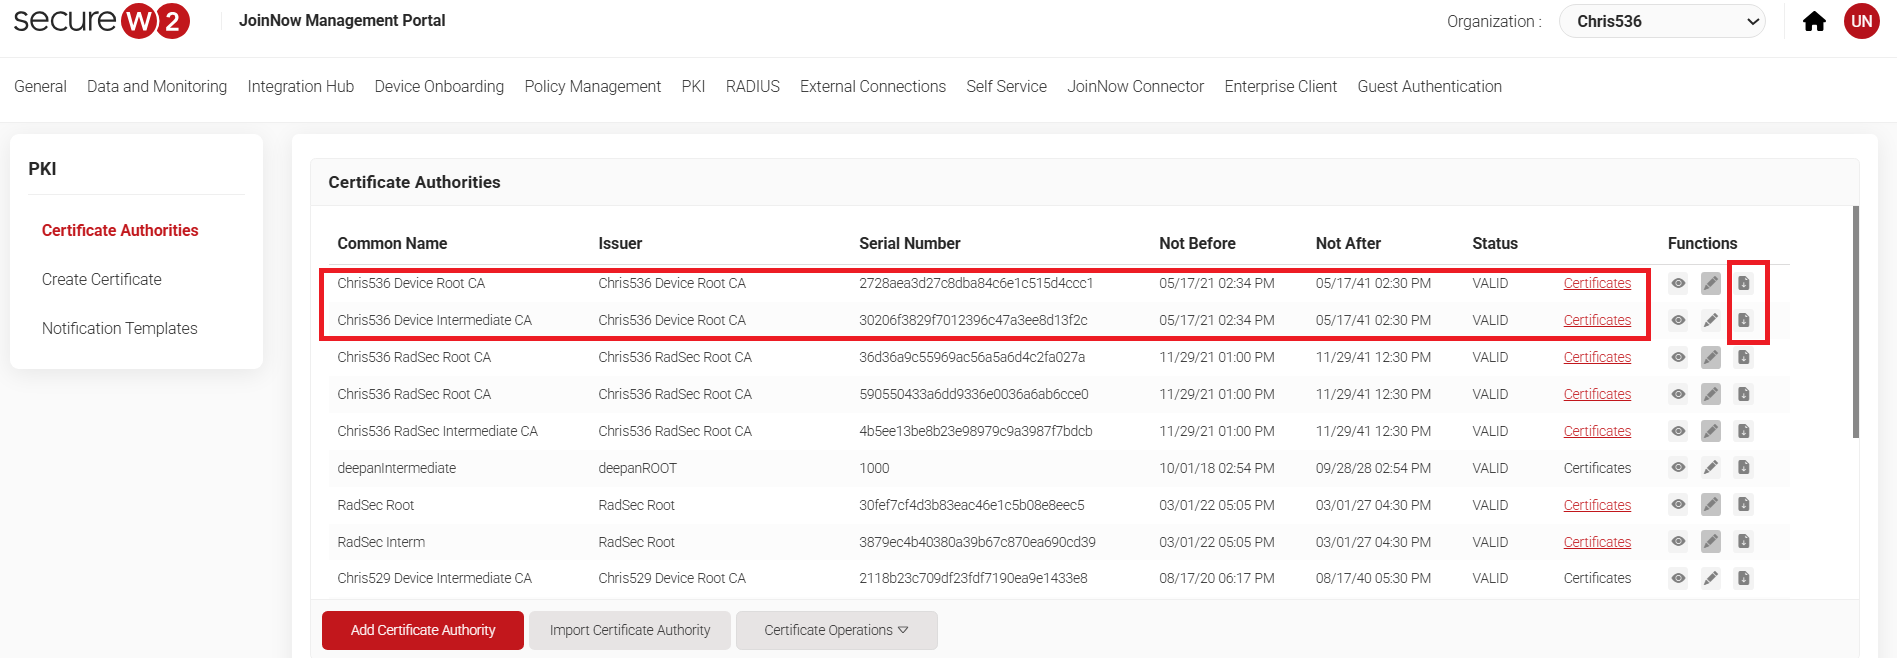
- Navigate to Dynamic PKI > Certificate Authorities.
- In the Certificate Authorities section, click the Download link for the Root CA and intermediate CA issued to your organization. An example of this is explained in the screenshot below:
3.2 Creating a Client Certificate
Palo Alto GlobalProtect necessitates a signing certificate to securely sign custom configuration profiles and software packages. Once signed, these profiles and packages are automatically trusted upon installation on managed devices. This streamlines deployment and enhances security by eliminating the need for manual trust verification.
A signing certificate can be generated with the JoinNow Management Portal by utilizing the “Create Certificate” function.
To create a Client certificate
- Navigate to Dynamic PKI > Create Certificate.
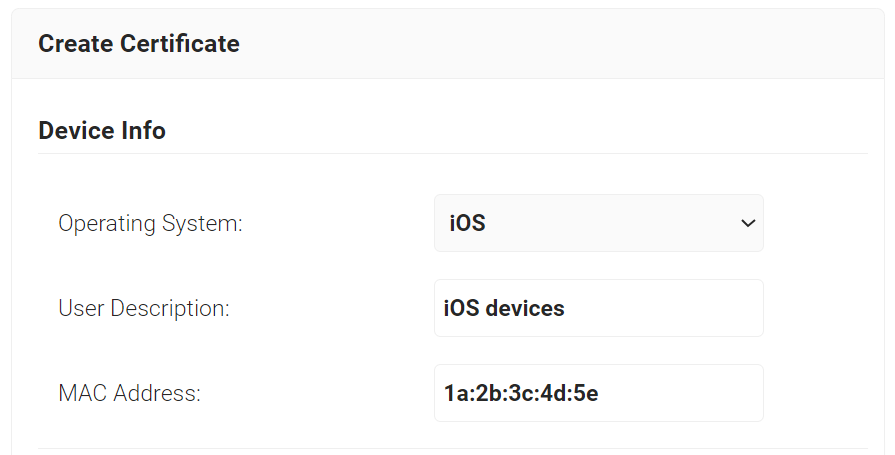
- In the Device Info section, from the Operating System drop-down list, select an operating system.
- For User Description, enter a suitable description.
- For MAC Address, enter a unique MAC address.
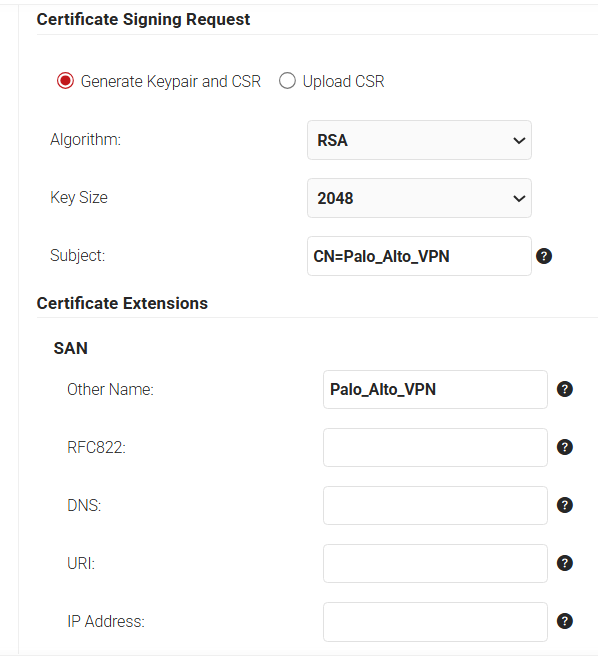
- In the Certificate Signing Request section, select the Generate Keypair and CSR option to generate a keypair and CSR file, and create client certificates.
- From the Algorithm drop-down list, select RSA.
- From the Key Size drop-down, select 2048.
- For the Subject field, enter the common name (the recommended name format for the certificate is “VPN Signing Certificate”). This helps in the easy identification of the CA.
- In the Other Name field, enter the same value as in the Subject field (Without the “CN” attribute.
- In the Certificate Issuance Policy section, from the Certificate Authority drop-down list, select the intermediate CA created for issuing certificates to clients.
- From the Use Certificate Template drop-down list, select the “DEFAULT CREATE CERTIFICATE TEMPLATE”.
- Select the Include Entire Certificate Chain checkbox. This is mandatory.
- In the Distribution section, for the Format field, select PKCS12.
- In the Receive via field, select Download.
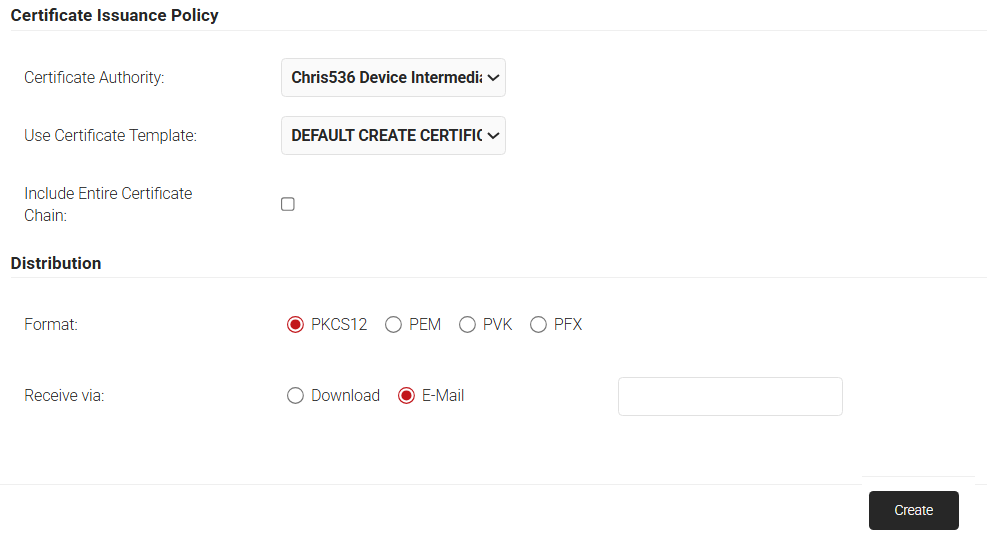
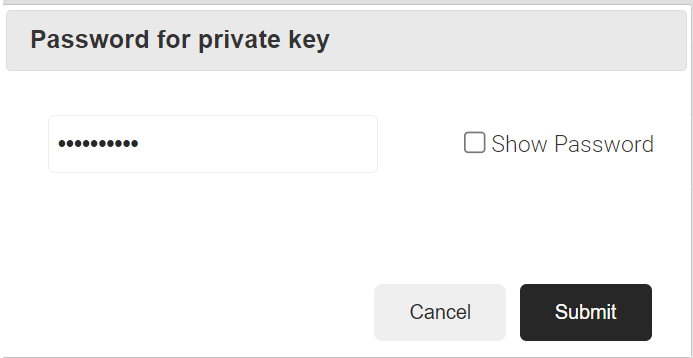
- Click the Create button, and a Password for private key pop-up window opens. Enter the password for the certificate file and click Submit.
4.1 Importing Certificates
Importing the Root and Intermediate CA certificates to Palo Alto VPN helps to create a chain of trust that helps in authenticating the client devices of an organization.
To Import CA certificates to GlobalProtect VPN, follow the steps below:
- Log in to the Palo Alto GlobalProtect portal.
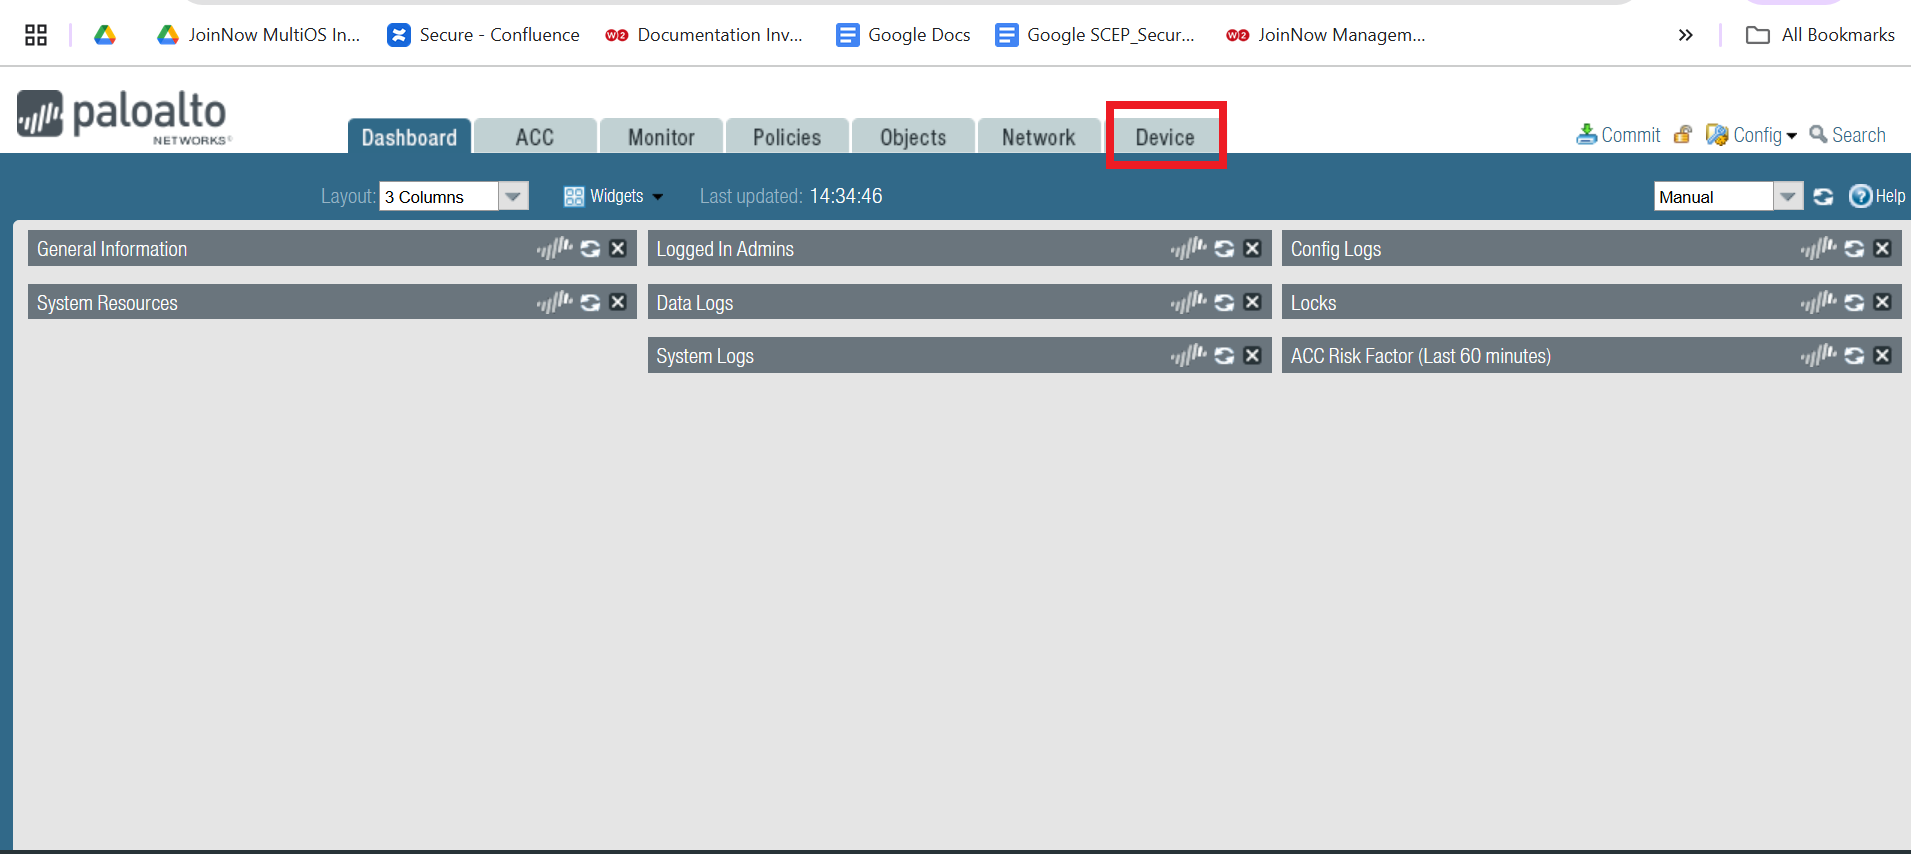
- Click on the Device tab.
- Navigate to Certificate Management > Certificates.
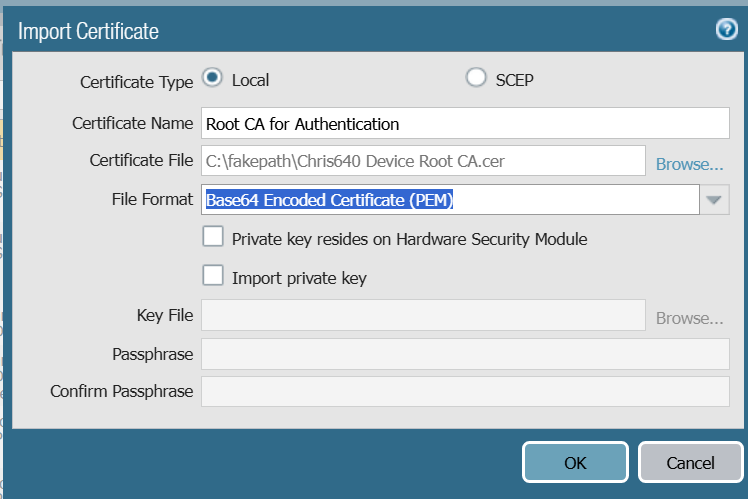
- Click Import.
- For the Certificate Type option, select the required Radio button.
- In the Certificate Name field, enter a name for the certificate.
- For the Certificate File, click Browse. Select the Root CA profile downloaded from the JoinNoe Management portal earlier.
- From the File Format drop-down list, select the Base64 Encoded Certificate (PEM) option.
- Click OK.
 NOTE: Follow the same steps as above to import the Intermediate Certificate
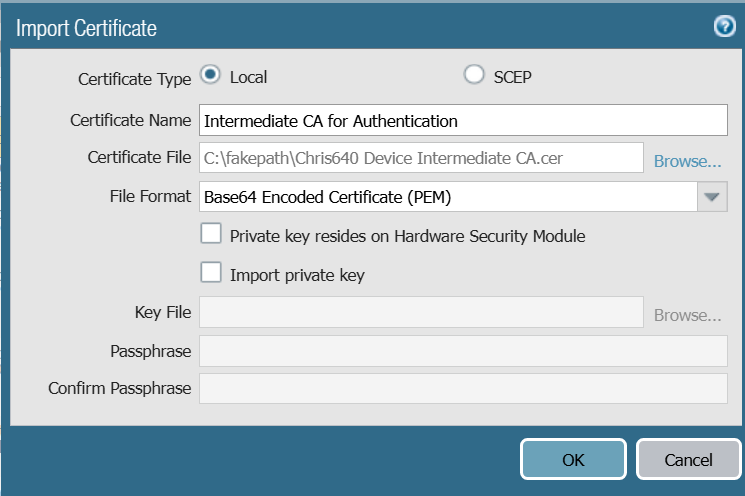
4.1.1 Creating a Certificate Profile
- Click on Certificate Profile option in the side menu.
- Click Add.
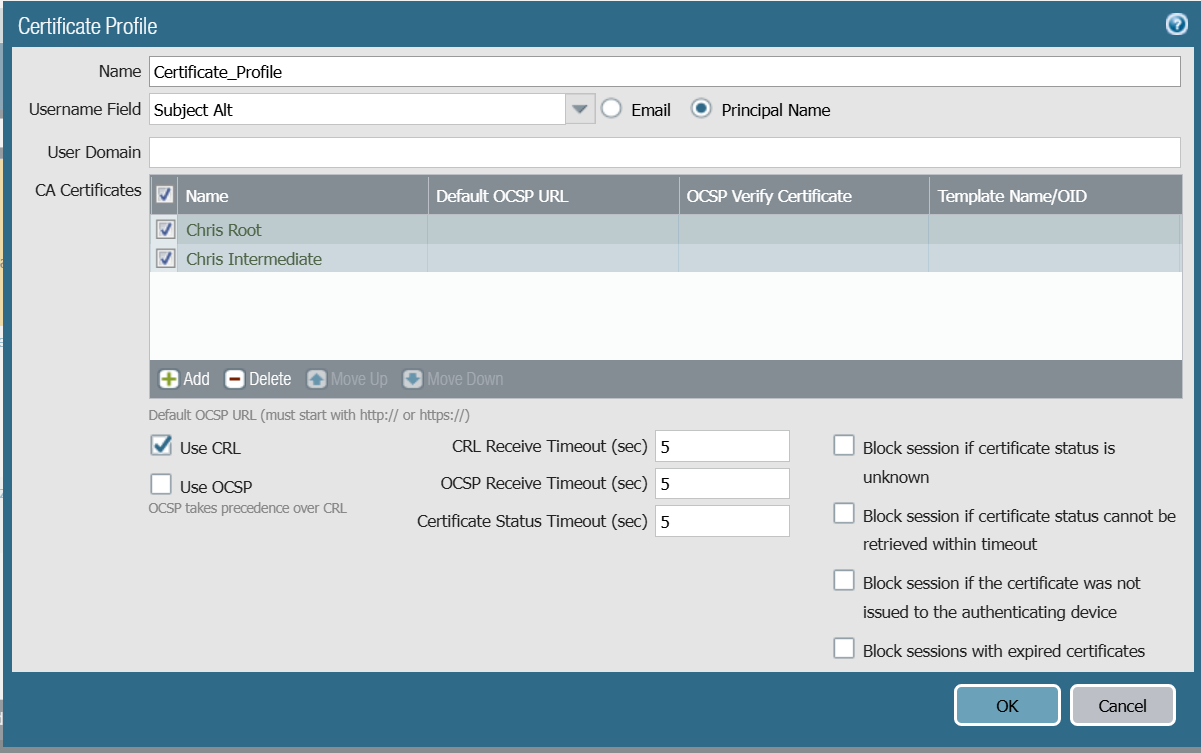
- In the Name field, enter a name for the Certificate Profile.
- From the Username Field drop-down list, select Subject Alt. Click on the Principal Name field as the type of Subject Alternative name.
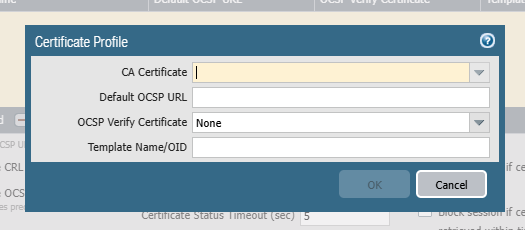
- In the CA Certificates section, click Add.
- From the CA Certificate drop-down list, select the Root CA certificate uploaded in the certificate store earlier.
- Click OK.
- Perform the same steps to upload the Intermediate Certificate.
- Click on the check-box of the selected certificates (Root and Intermediate) to add them to the certificate profile.
- Check the Use CRL checkbox.
- Click OK.
4.2 Configuring Network Portal in Palo Alto
- Click on the Network tab.
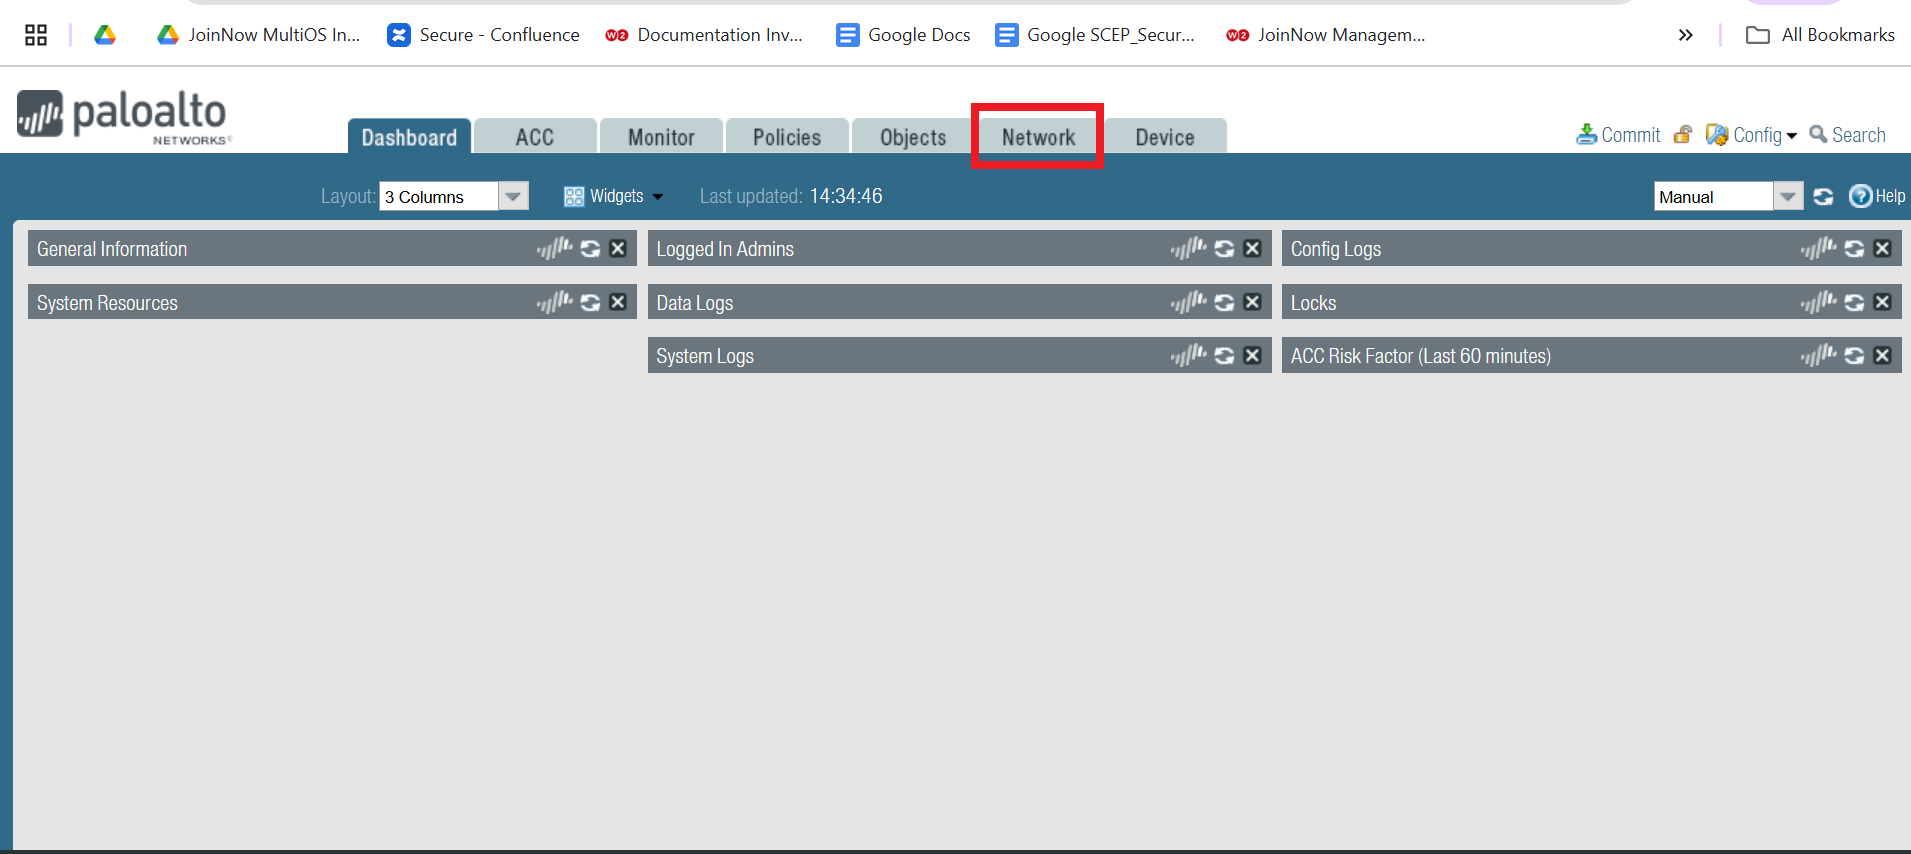
- Navigate to GlobalProtect > Portals.
- Click Add.
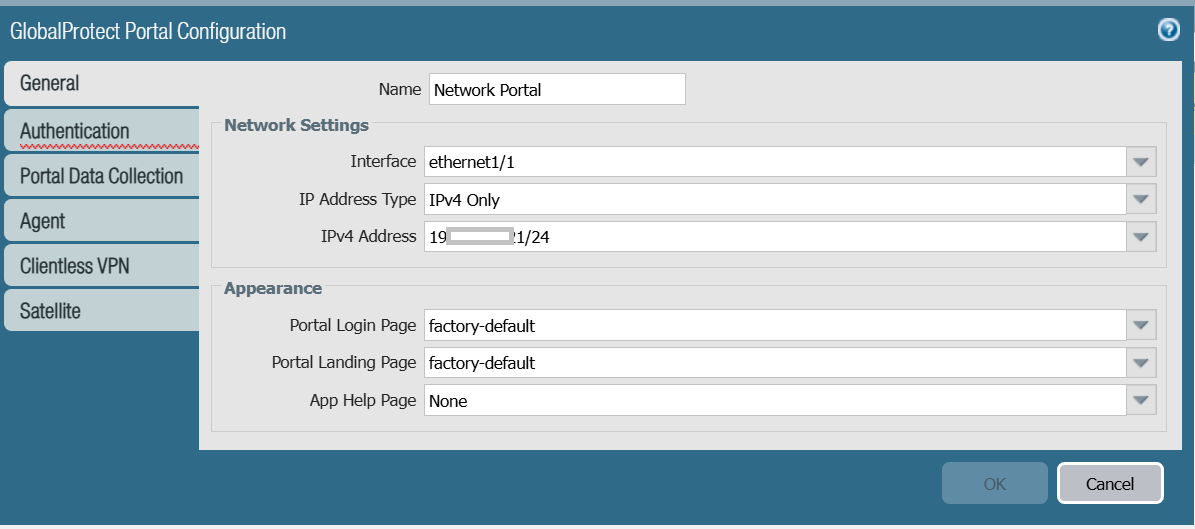
- In the General section, for the Name field, enter a name for the network portal configuration.
- From the Interface drop-down list, select the required type of network interface.
- From the IP Address Type drop-down list, select the required type of IP Address.
- From the IP Address drop-down list, select the required IP Address configured in Palo Alto VPN.
- Under Server Authentication, from the SSL/TLS Service Profile drop-down list, select the SSL/TLS certificate profile .
- Click Add.
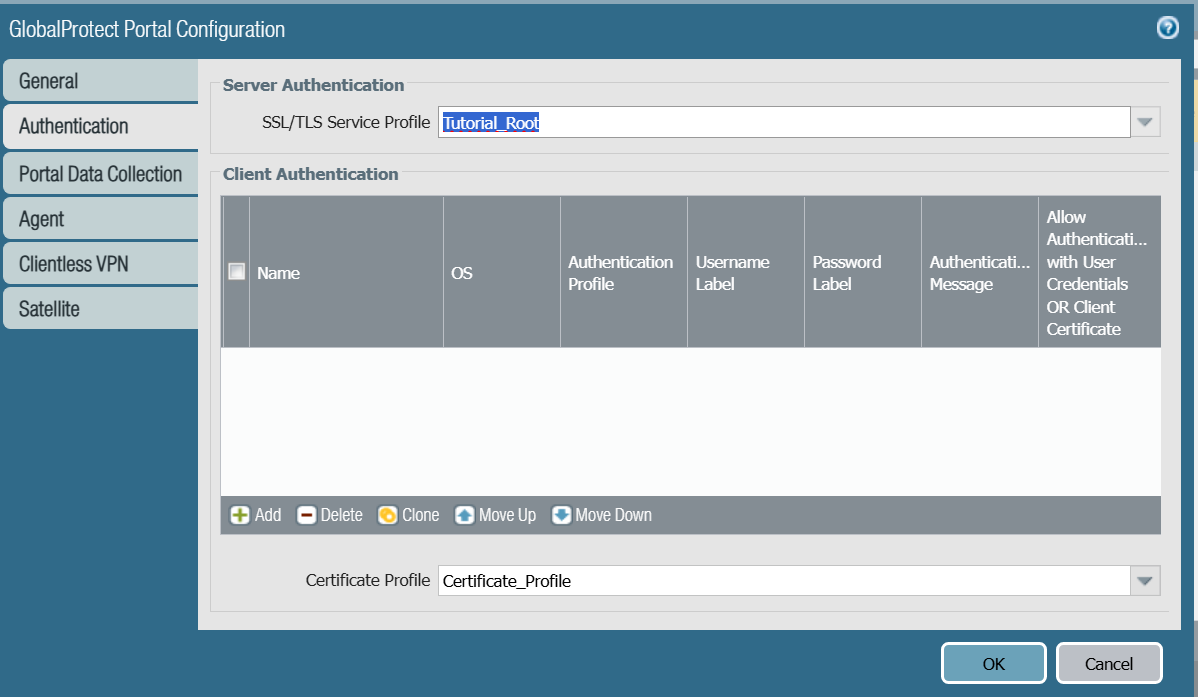
- From the Certificate Profile drop-down list, select the certificate profile created in Creating a Certificate Profile section.
- Click OK.