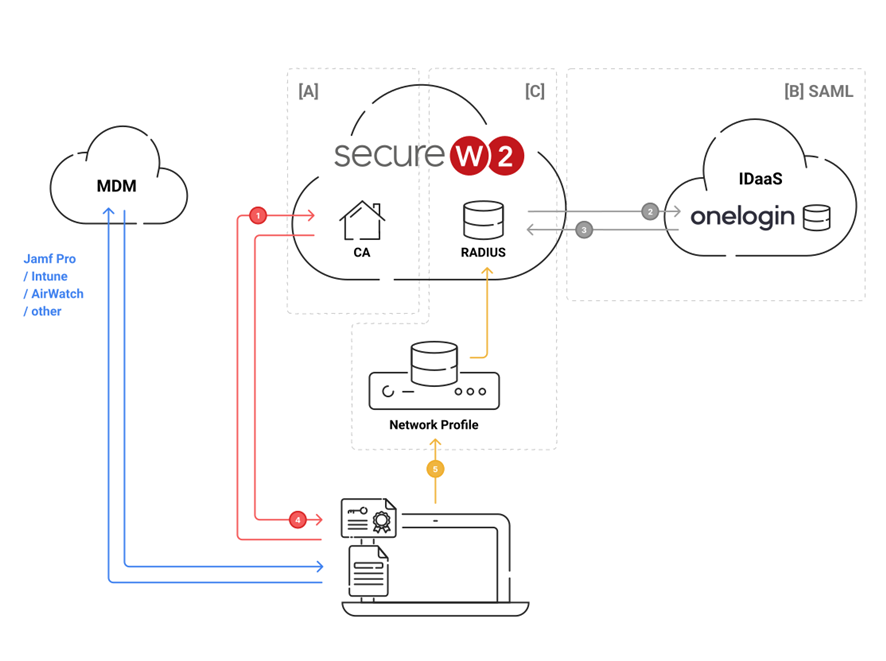
The diagram above shows both the end-user flow of the solution (in numbers) and areas of configuration (in letters), which are elaborated in detail below.
- Navigate to Device Onboarding > Getting Started.
- From the Generate Profile for drop-down list, select Internal User Authentication.
- From the Profile Type drop-down list, select Wireless.
- In the SSID text box, enter an SSID name.
- From the Security Type drop-down list, select WPA2-Enterprise.
- From the EAP Method drop-down list, select EAP-TLS.
- From the Policy drop-down list, retain DEFAULT.
- From the Wireless Vendor drop-down list, select a vendor.
- From the Radius Vendor drop-down list, select a RADIUS vendor.
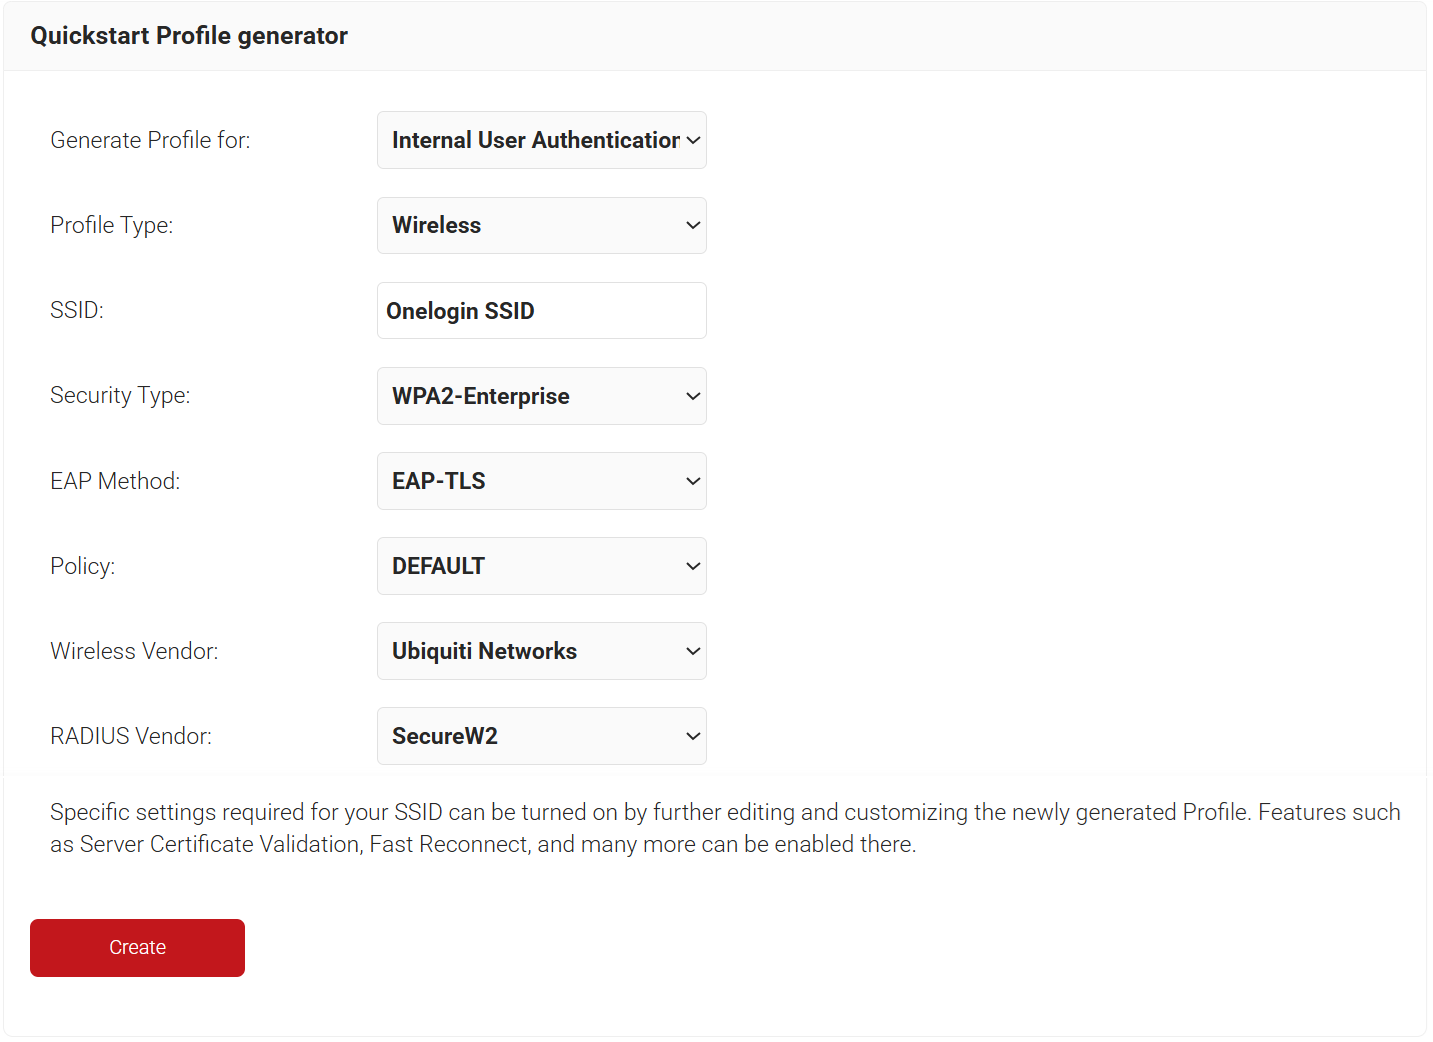
- Click Create. The process typically takes 60 to 90 seconds to complete.
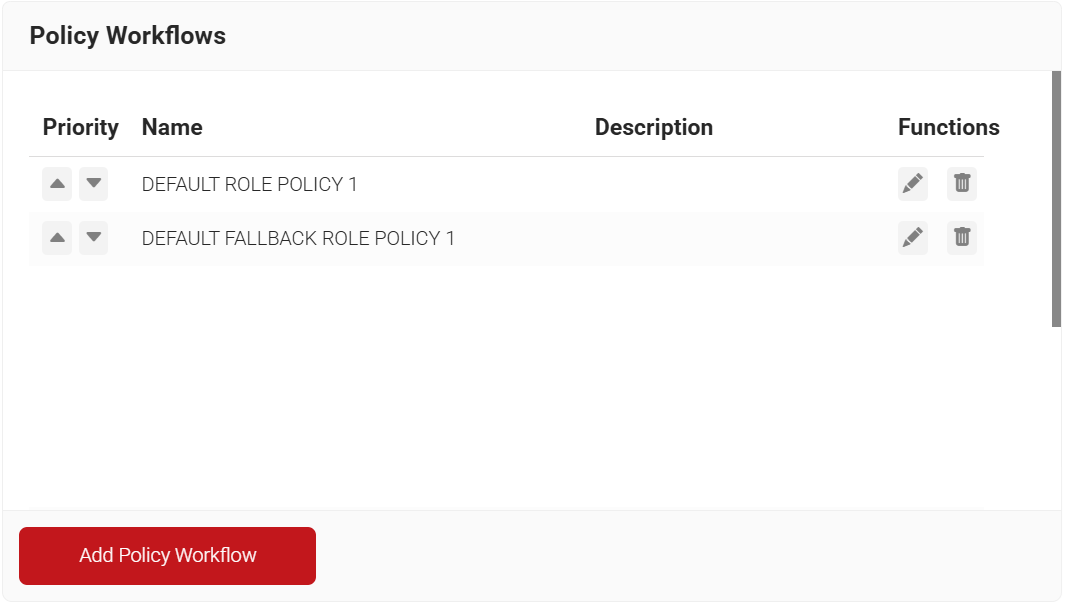
In SecureW2, you can create a Policy Workflow for users with specific attributes, or for groups, from a particular core provider. This Policy Workflow can then be used in Network and Enrollment policies. Here, we create a Policy Workflow that is specific to our OneLogin users.
- Go to Policy Management > Policy Workflows.
- Click Add Policy Workflow.
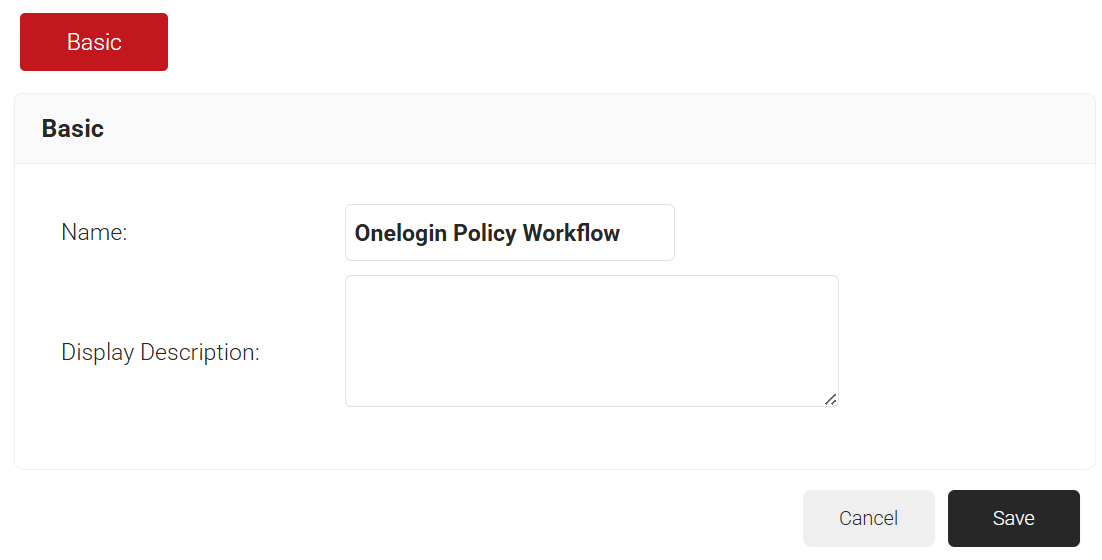
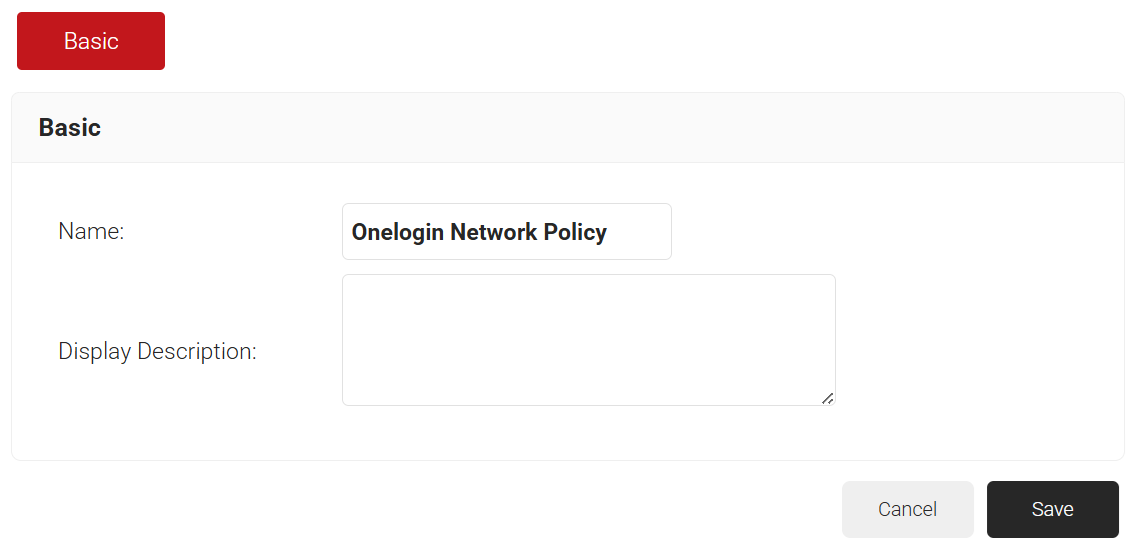
- On the displayed page, enter the name and description of the policy workflow and click Save.
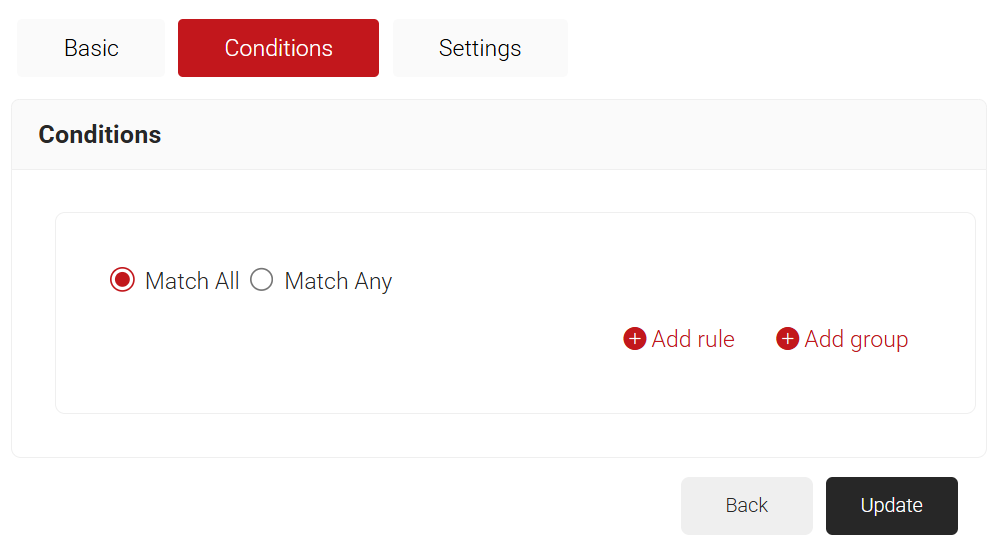
- Click the Conditions tab.
- From the Core Provider drop-down list, select the core provider created in the Integrating SAML Between OneLogin and SecureW2 section.
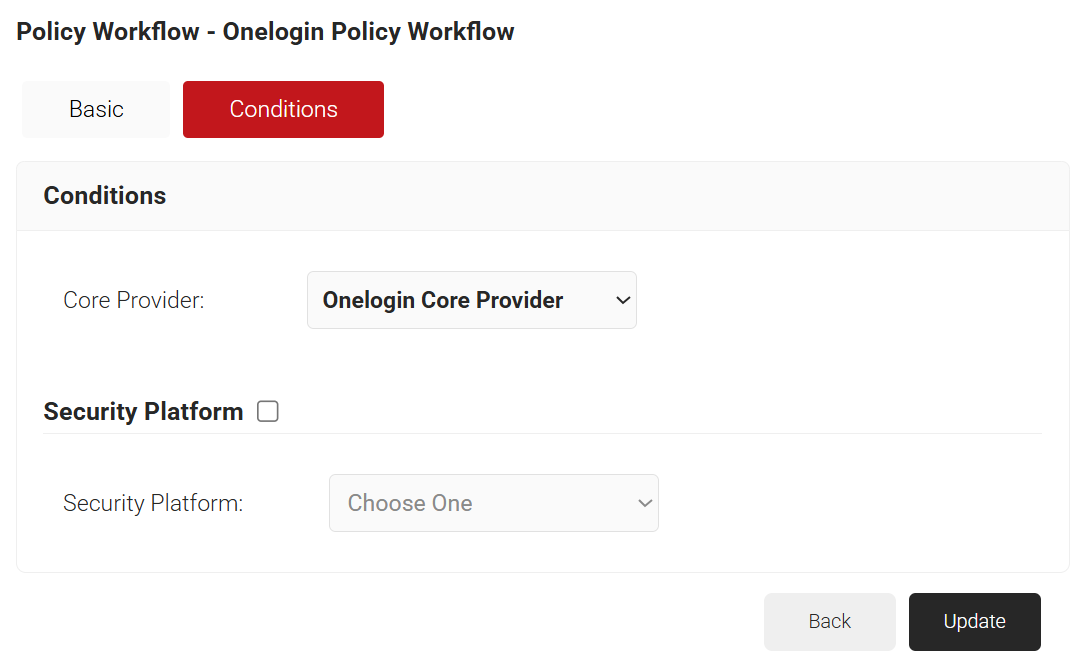
- Click Update.
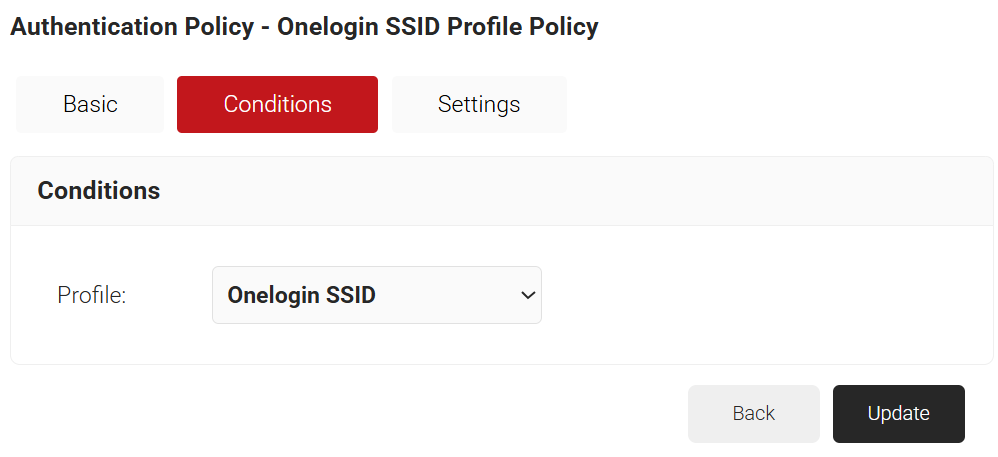
The Authentication policy is what ties the Core Provider to the Network profile. Here, the newly created network profile uses the OneLogin Core Provider to enroll users for certificates and onboard them to the network.
- Navigate to Policy Management > Authentication.
- On the Authentication page, click the Edit link for your network profile’s authentication policy.

- Click the Conditions tab and make sure that your Network profile is displayed in the Profile field.
- Click the Settings tab.
- From the Core Provider drop-down list, select the core provider you created earlier.
- Check the Enable User Self Service checkbox if required.
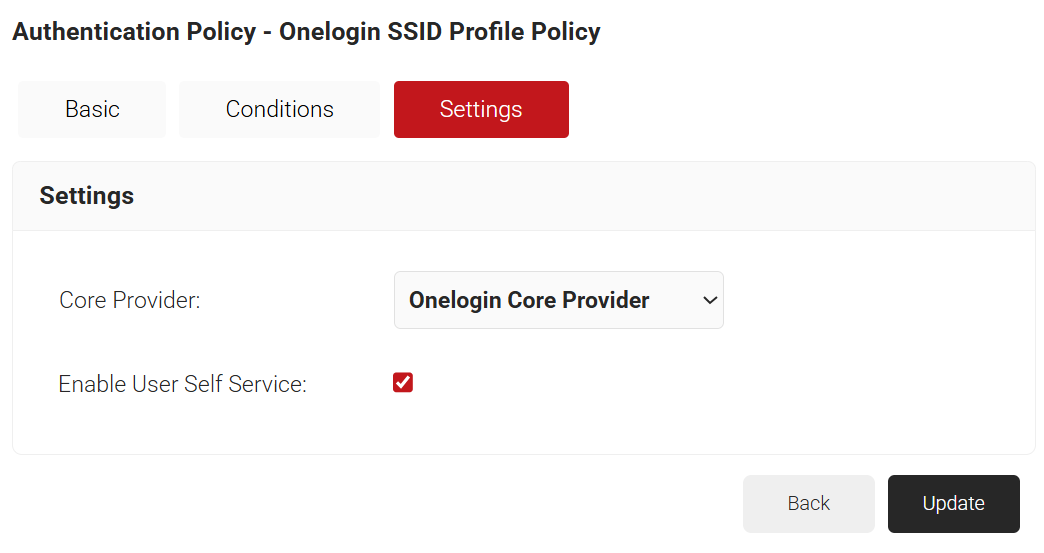
- Click Update.
Enrollment policies specify which Certificate Authority (CA), Certificate Template, and other related settings are used during the enrollment process for a particular Policy Workflow. Here, we create a basic policy that allows us to enroll certificates for our OneLogin users.
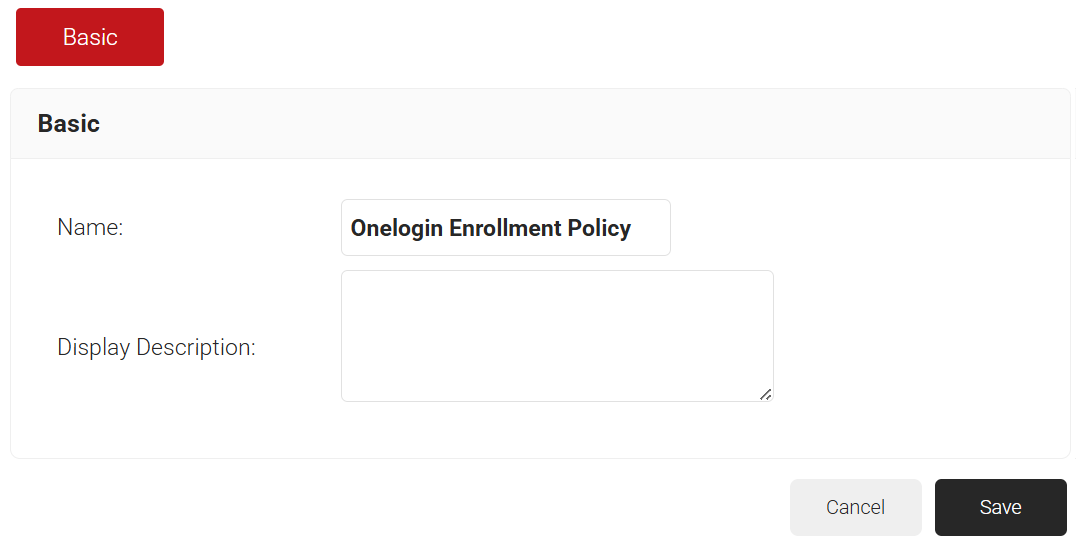
- Go to Policy Management > Enrollment and click Add Enrollment Policy.
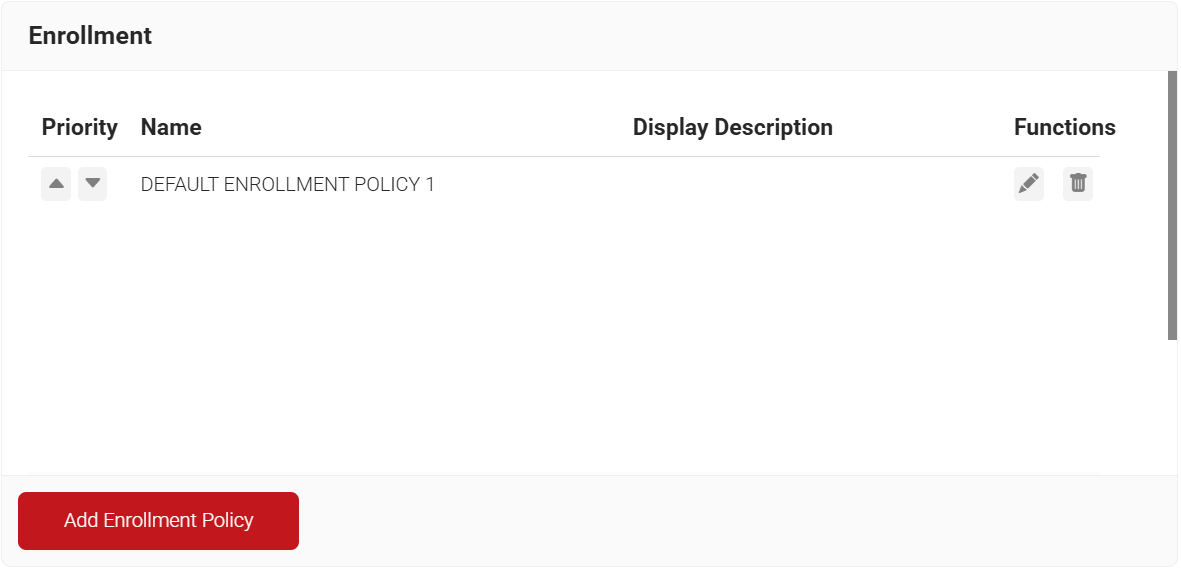
- On the displayed page, enter the name and description of the Enrollment policy in the corresponding fields.
- Click Save. The Conditions and Settings tabs are displayed.
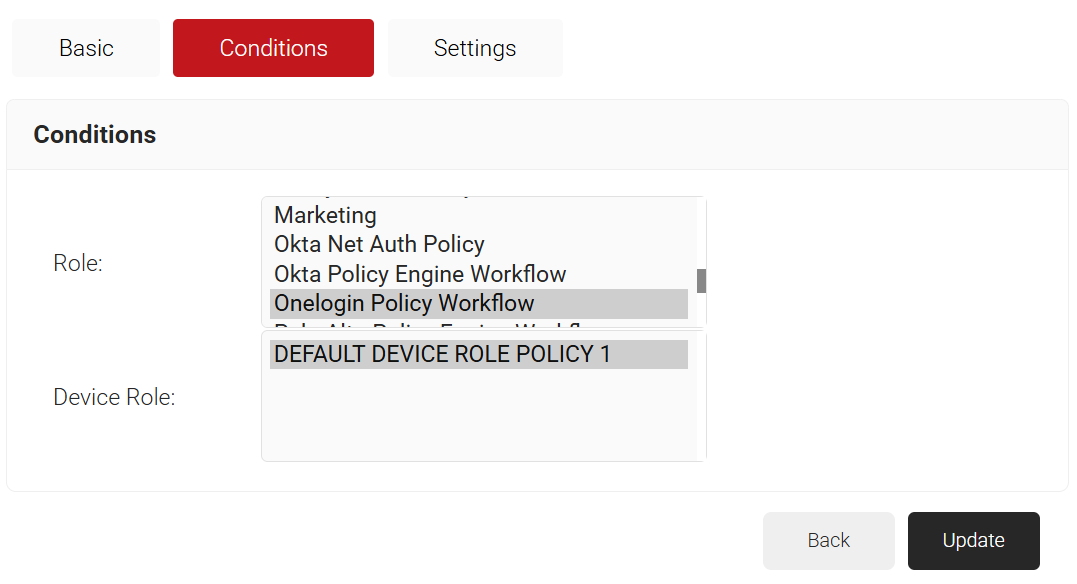
- Click the Conditions tab and from the Policy Workflow and Device Role drop-down lists, select the policies.
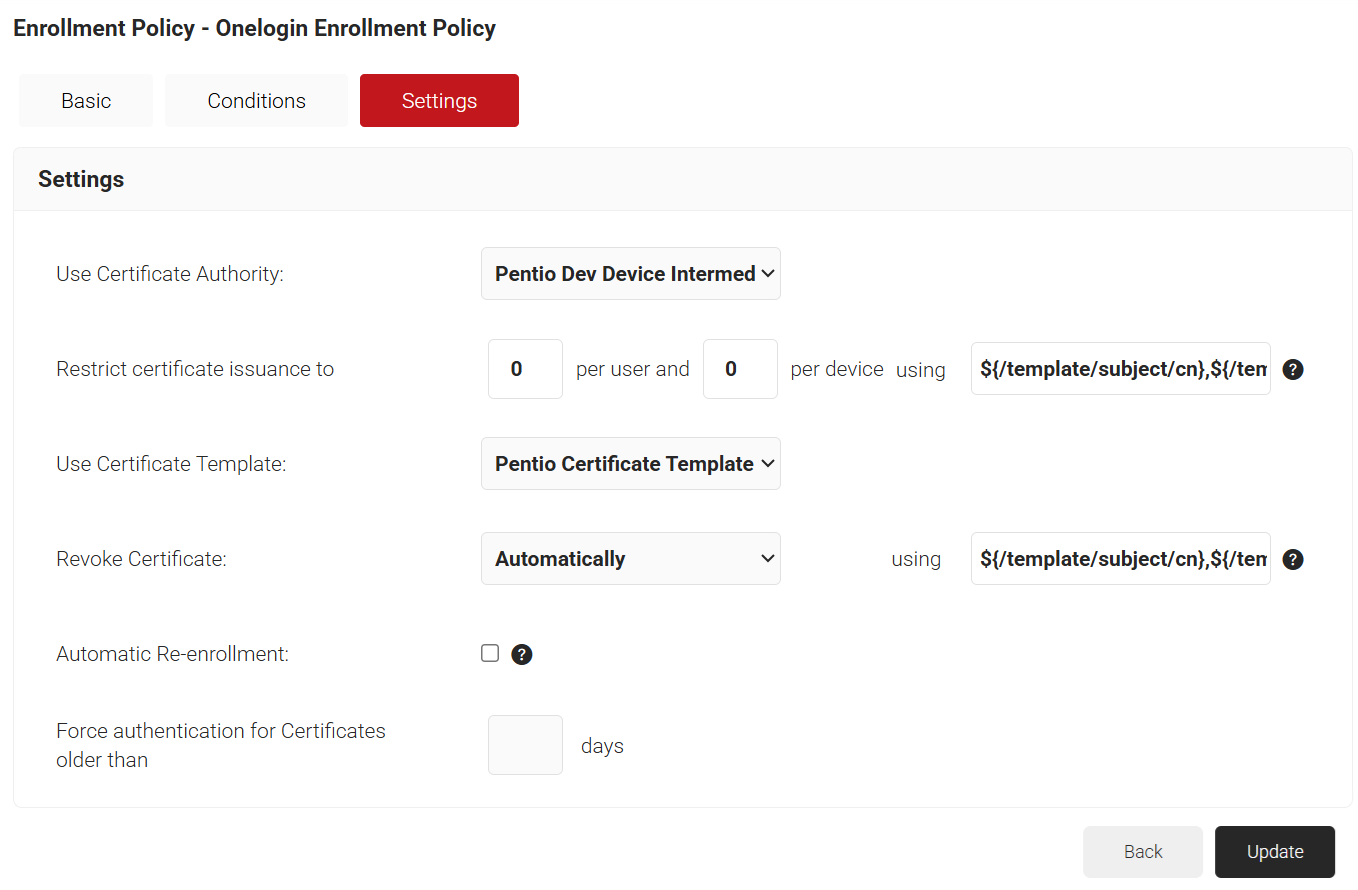
- Click the Settings tab and enter the Use Certificate Authority, Use Certificate Template, and Revoke Certificate attributes, and click Update.
The Network policy defines user access levels (acceptance conditions). The conditions include the Role attribute obtained from the RADIUS client, the Device Role attribute, and information obtained from the device during certificate registration.
- Navigate to Policy Management > Network and click Add Network Policy.
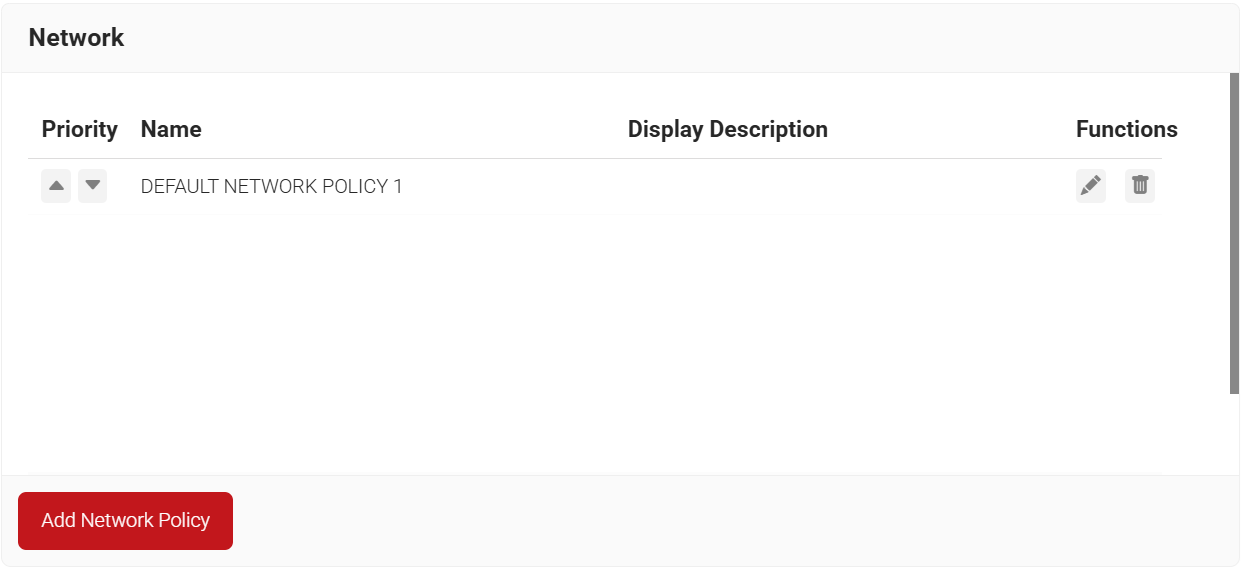
- On the displayed page, enter the name and description of the Network policy and click Save.
- The Conditions and Settings tabs are displayed.
- Select the Conditions tab.
- In the Conditions section, select Match All or Match Any based on your requirement to set authentication criteria. In the case explained here, we are selecting Match All.
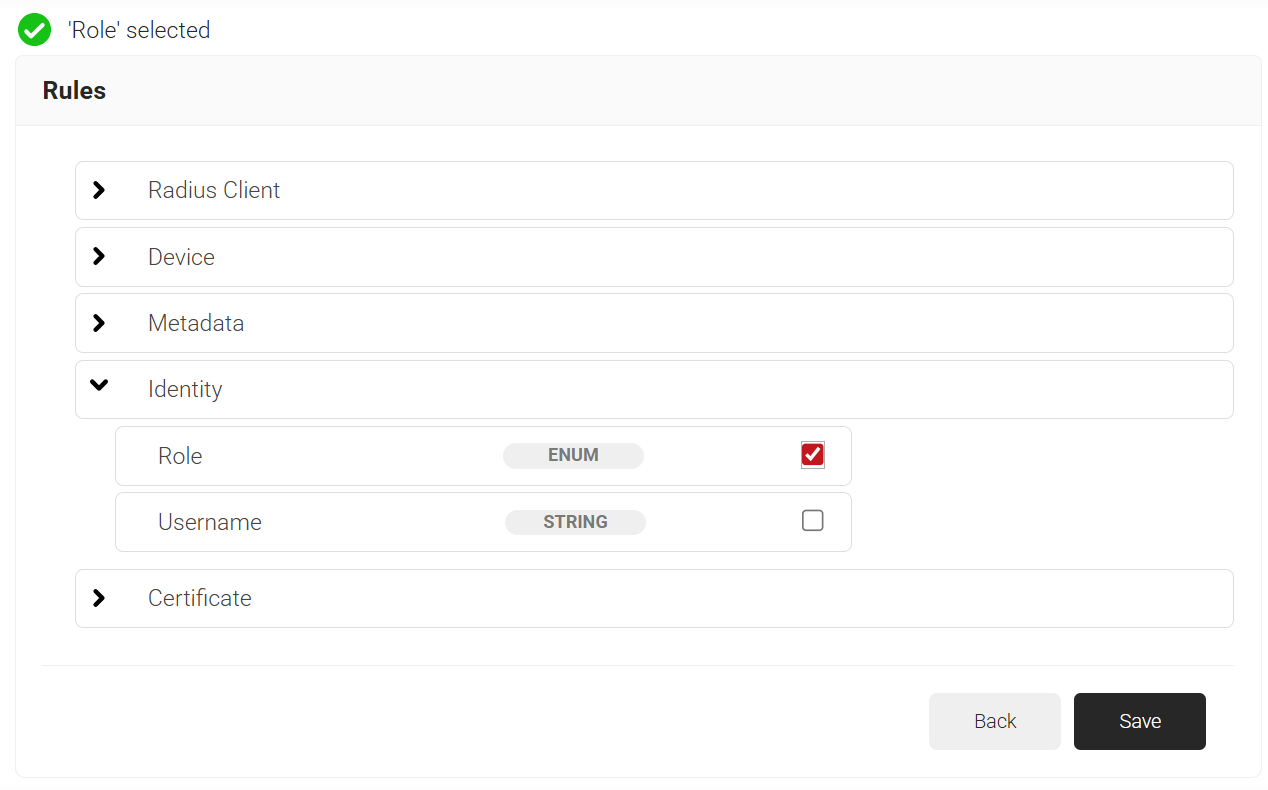
- Click the Add rule and select the role you want to assign to this network policy. It is essential to select the appropriate policy workflow, as it triggers the network policy. This menu offers various rules that you can select based on your business requirements.
- Click Save.
- The Policy Workflow option appears under the Conditions tab.
- From the Policy Workflow Equals drop-down list, select the policy workflow you created earlier.
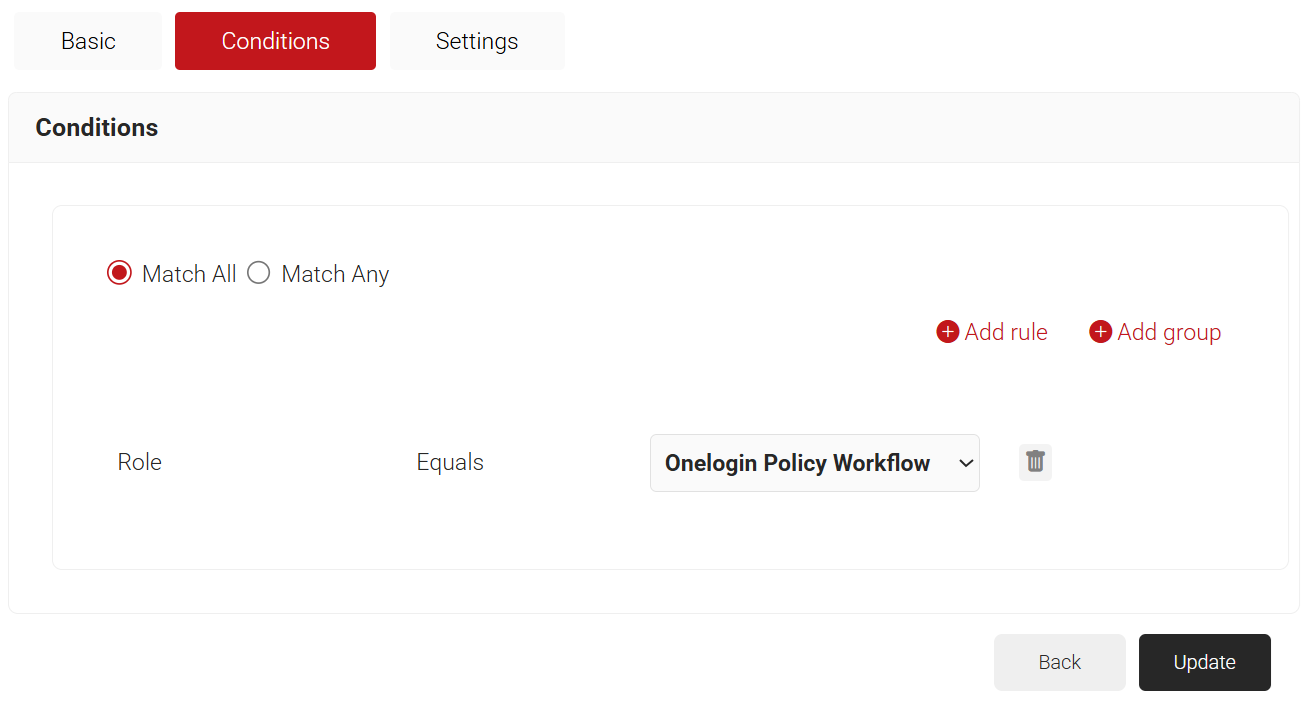
- Click Update.
With the above configuration, end users can now connect to the wireless LAN with the certificate downloaded from SecureW2.
SecureW2 and OneLogin need to be linked through SAML. This enables SecureW2 to use information authenticated by OneLogin. This section corresponds to [B] in the configuration diagram shown at the beginning.
The procedure is as follows.
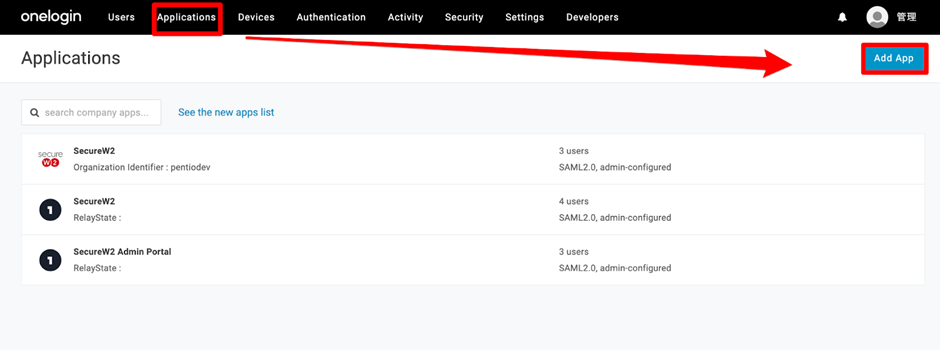
- Log in to OneLogin as an administrator and click Applications > Applications > Add App.
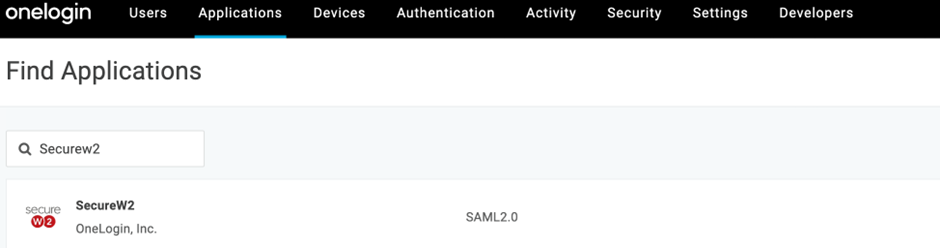
- In the search field, enter SecureW2 and select the SAML 2.0 app connector.
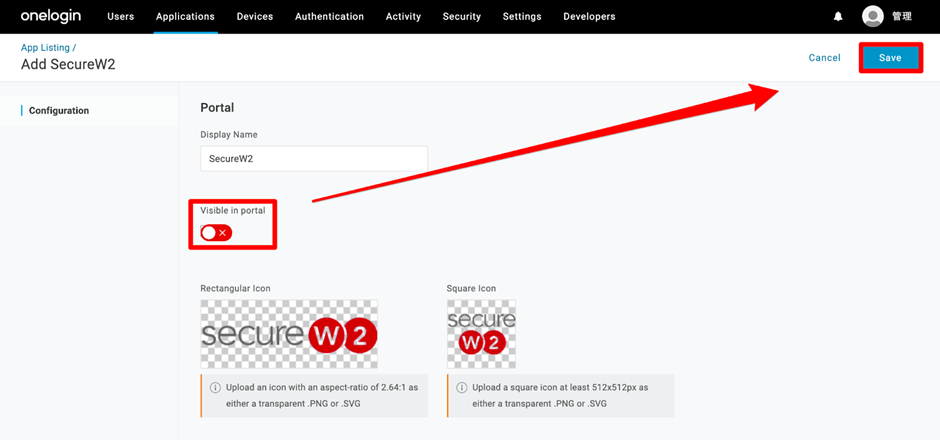
- Disable Visible in portal and click Save (at the upper-right corner).
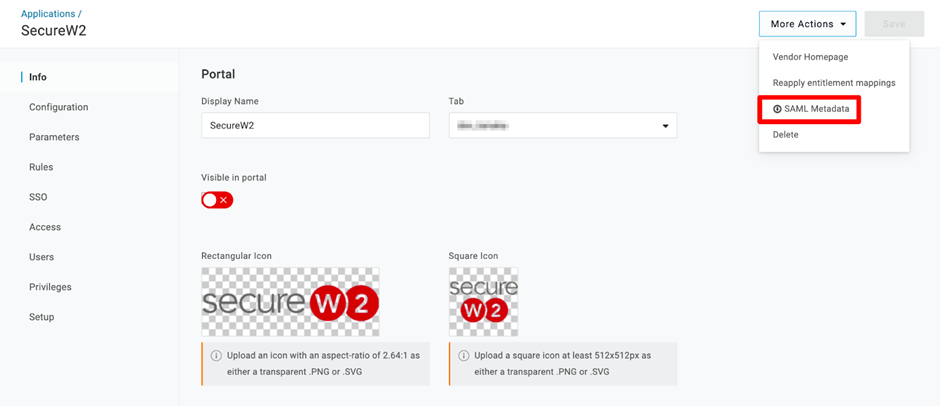
- The page will refresh. At the top-right corner, from the More Actions drop-down menu, select SAML Metadata and download it. This is required later.
- In the JoinNow Management Portal, navigate to Integration Hub > Core Platforms.
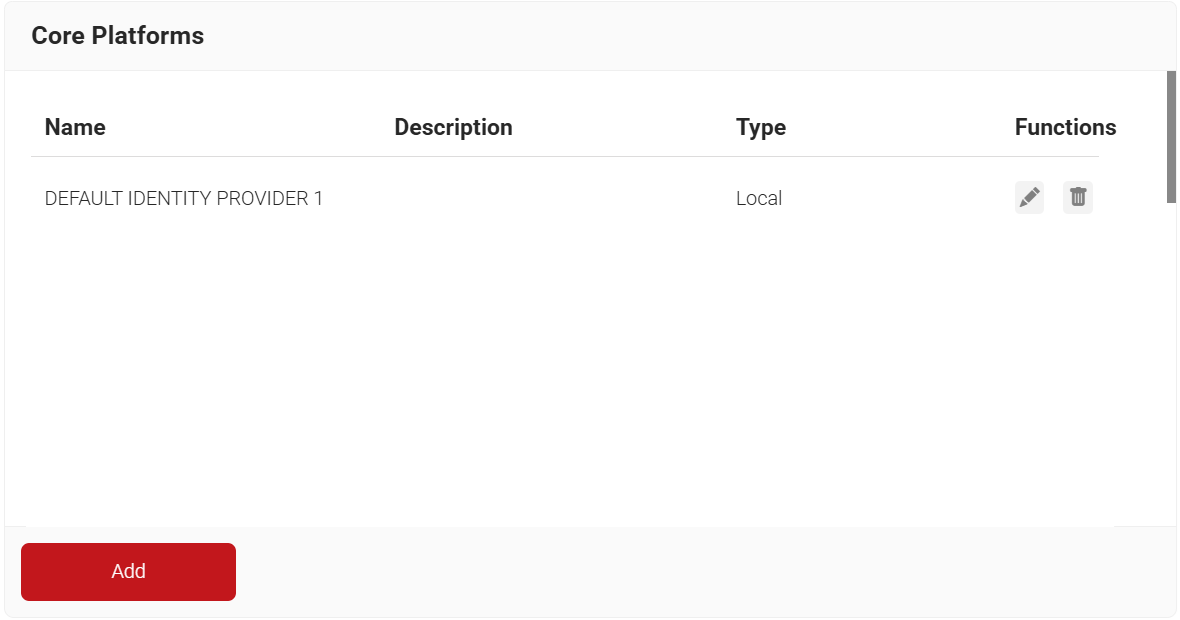
- Click Add.
- In the Name and Description fields, enter a name and a suitable description for the core provider.
- From the Type drop-down list, select SAML (Multi-Vendor).
- From the SAML Vendor drop-down list, select OneLogin.
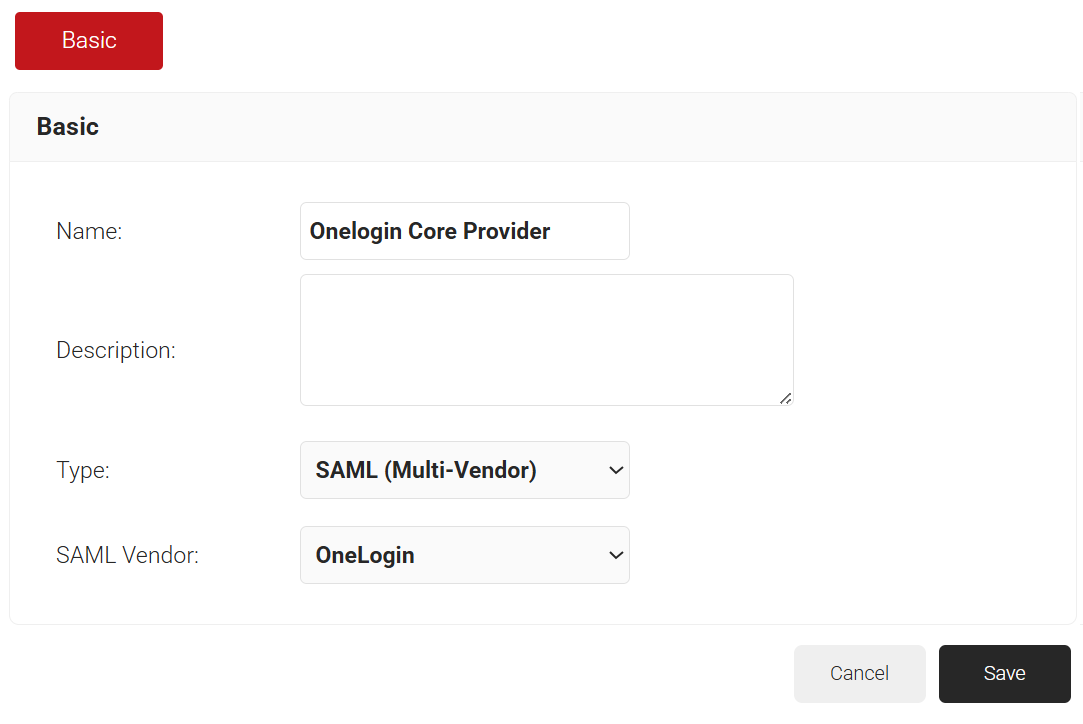
- Click Save. The page refreshes, and the Conditions, Attribute Mapping, and Groups tabs are displayed.
- Click the Configuration tab.
- Copy the ACS URL and Entity ID to your console.
- In the Core Provider Info section, click Choose file and select the OneLogin metadata file that you downloaded in step 4.
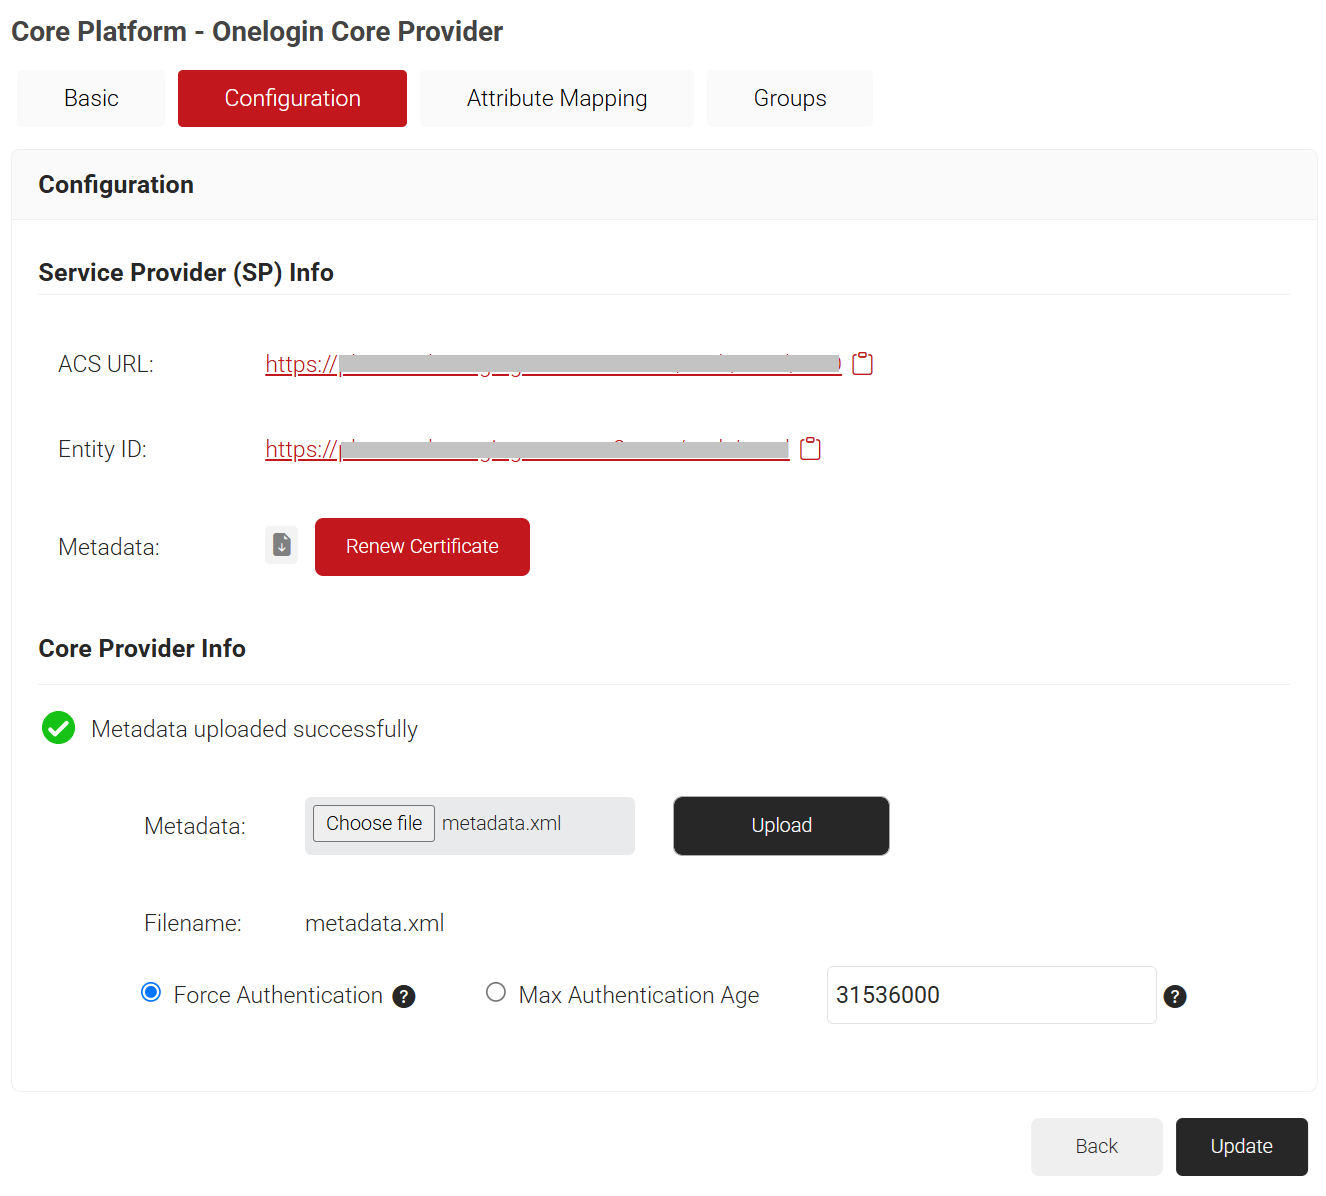
- Click Upload and then click Update.
- Click the Attribute Mapping tab and click Add.
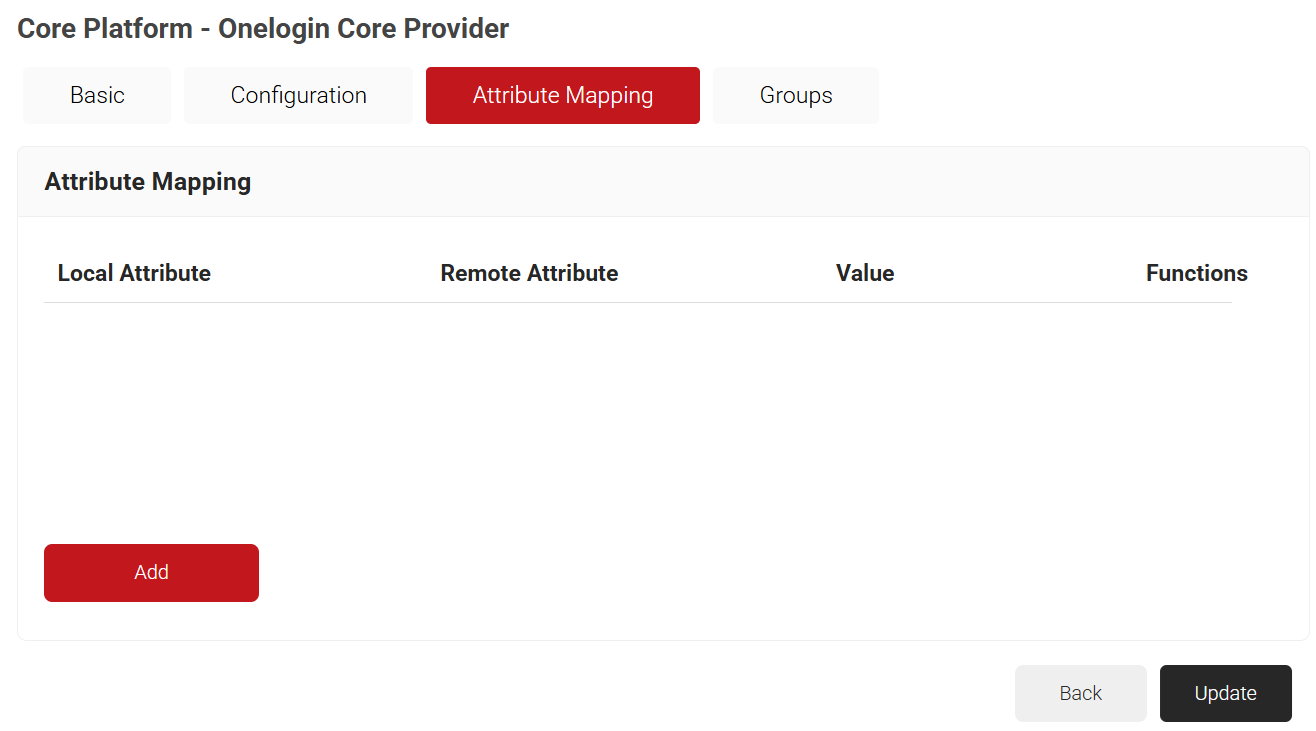
- In the Local Attribute field, provide a name to identify the attribute locally.
- In the Remote Attribute field, choose the user attribute received from the IdP. This is mapped to the local attribute.
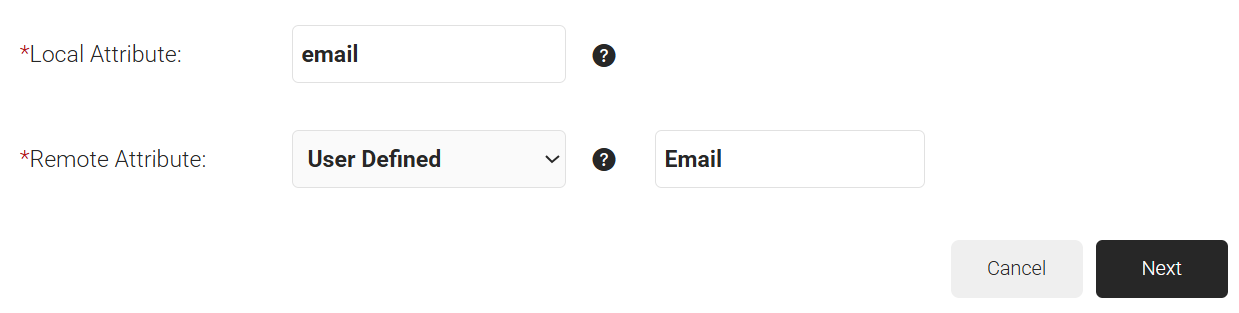
- Click Next.
- Repeat steps 13 and 16 as required (email, displayName, and UPN attributes are required for SAML authentication), and then click Update.
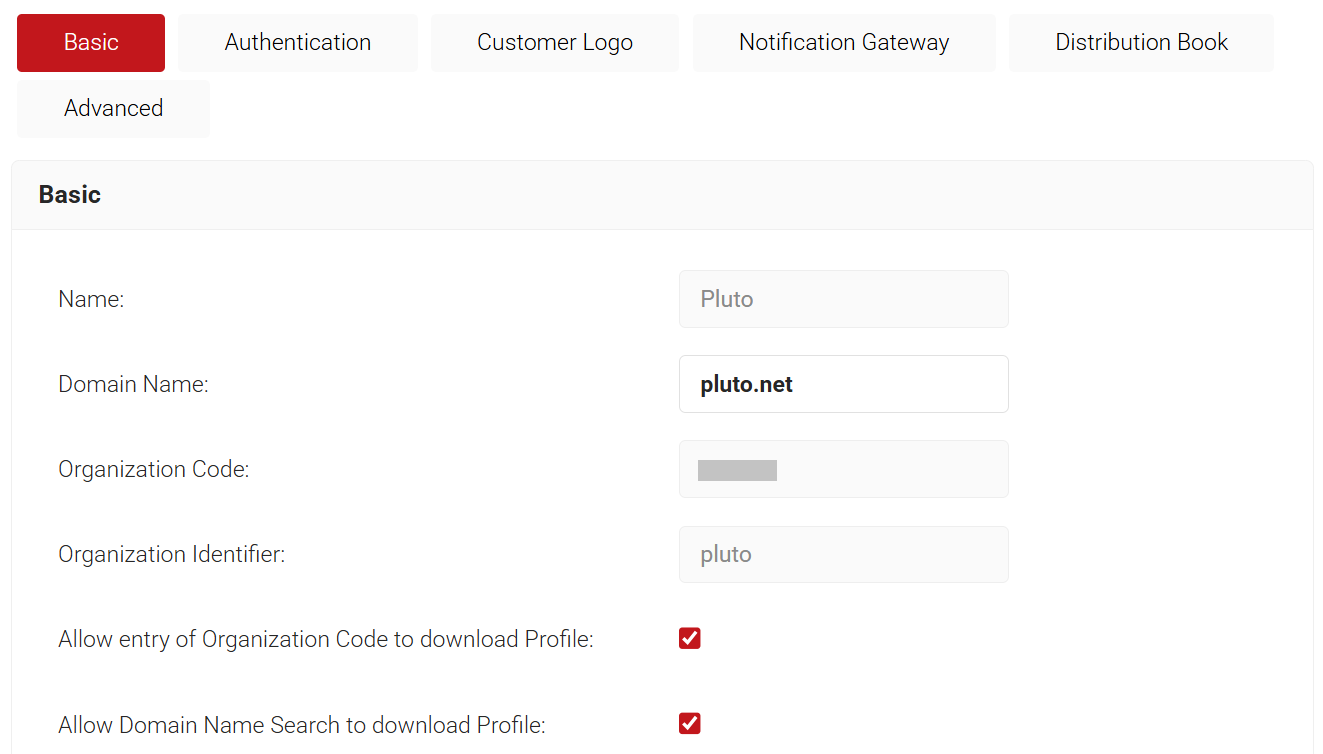
- Navigate to General > Organization and in the Basic section, copy the Domain Name and Organization Identifier to your console.
- In the OneLogin portal, navigate to the SecureW2 App Configuration screen and in the left pane, click Configuration.
a. In the Organization Identifier field, enter the Organization Identifier value obtained from the SecureW2 Portal.
b. In the Organization Domain Name field, enter the Domain Name value obtained from the SecureW2 Portal.
c. Click Save in the upper-right corner.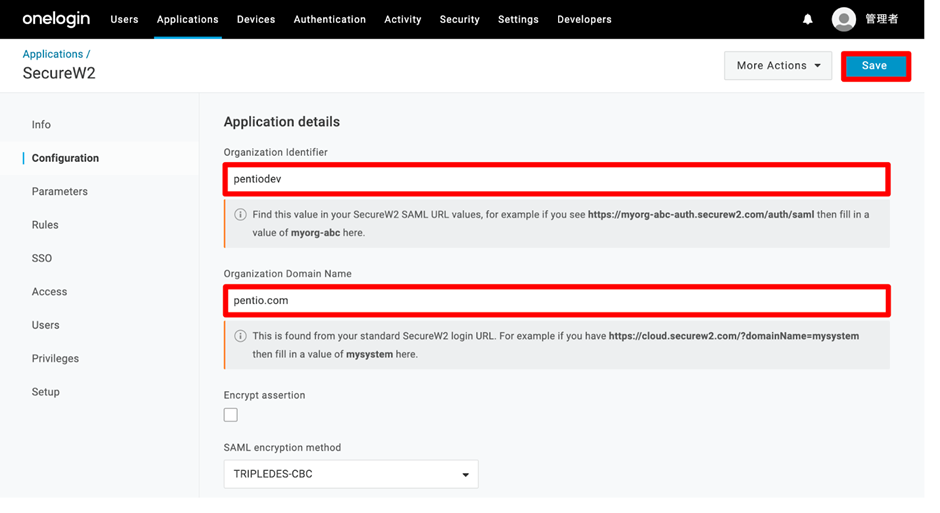
- On the left pane, select Parameters.
- For the Credentials are field, select the Configured by admin option.
- Click the + icon on the right side to add the required fields for SAML
authentication (Email, UPN, Display Name). - On the displayed screen, in the Field name textbox, enter the attribute mapping
value obtained Management Portal and click Save. - From the Value drop-down list, select:
- Email for UPN
- Email for Email
- {firstname} {lastname} for displayName
- Click Save.
- Repeat the steps b-e to add the required attributes.
- Click Save.

- From the Menu bar, select Users. A list of users is displayed.a. Select a user.b. On the displayed screen, on the left-side pane, click Applications.c. From the Roles column, select a role and click the + icon in the Applications column to add an application.
d. On the displayed screen, from the Select application drop-down list, select the SAML app you created.
e. Click Continue.
f. On the displayed screen, click Save.
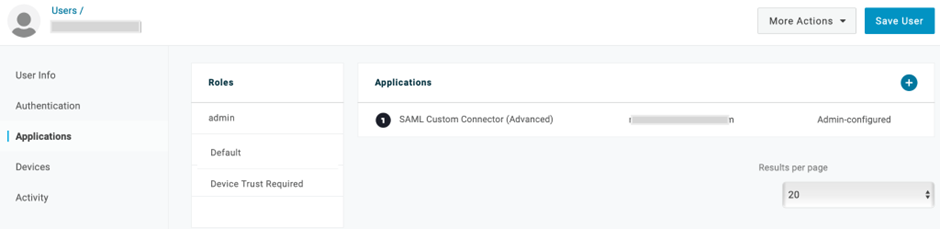
g. Click Save User at the top-right corner of the page.h. Repeat steps a – f to add the required users to the application.
This completes the SAML integration with OneLogin and SecureW2.
This section describes the steps to configure SecureW2’s CloudRADIUS as an authentication server for Cisco Meraki. CloudRADIUS can be configured with any infrastructure, but due to Meraki’s popularity, it is shown as an example for this guide.
This configuration corresponds to [C] in the configuration diagram shown at the beginning.
In this configuration, you create a secure SSID (Cisco Meraki) to be accessed by end users. Only the devices that have obtained a certificate from SecureW2 will be able to pass authentication and connect to that SSID. Authentication is performed by SecureW2’s
CloudRADIUS.
- Log in to the Meraki administration page, activate an unused SSID from the SSID list page, and give it a name. ( e.g. SecureW2_test ).
Once configured, click Save at the lower-right corner.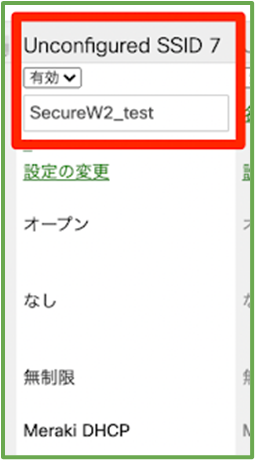

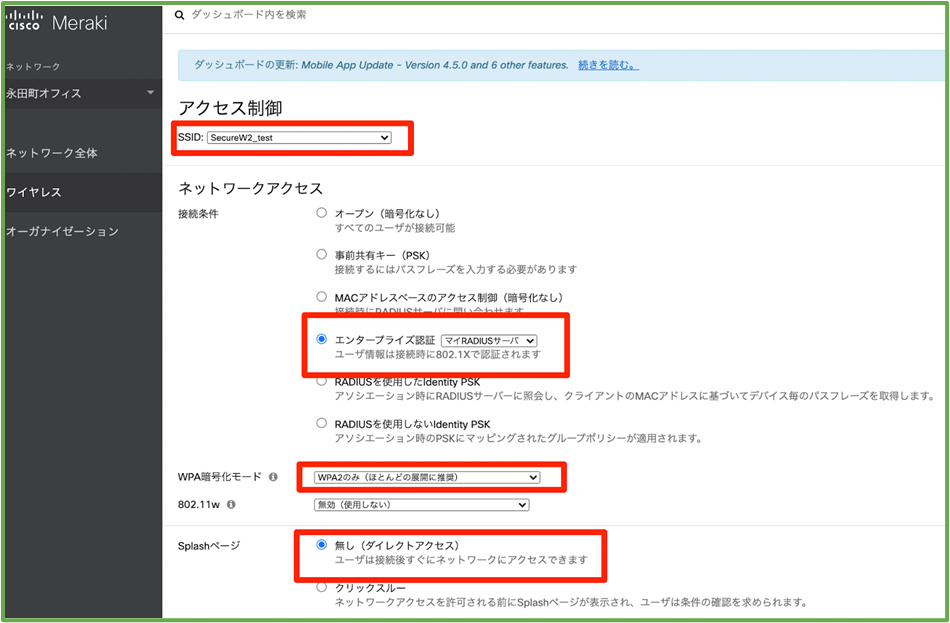
- Go to Wireless > Access Control.

- Make sure that the appropriate SSID is selected and set the connection conditions, WPA encryption mode, and Splash page.
- Scroll down the page to where you register the RADIUS server information to be used, and click Add a Server twice.
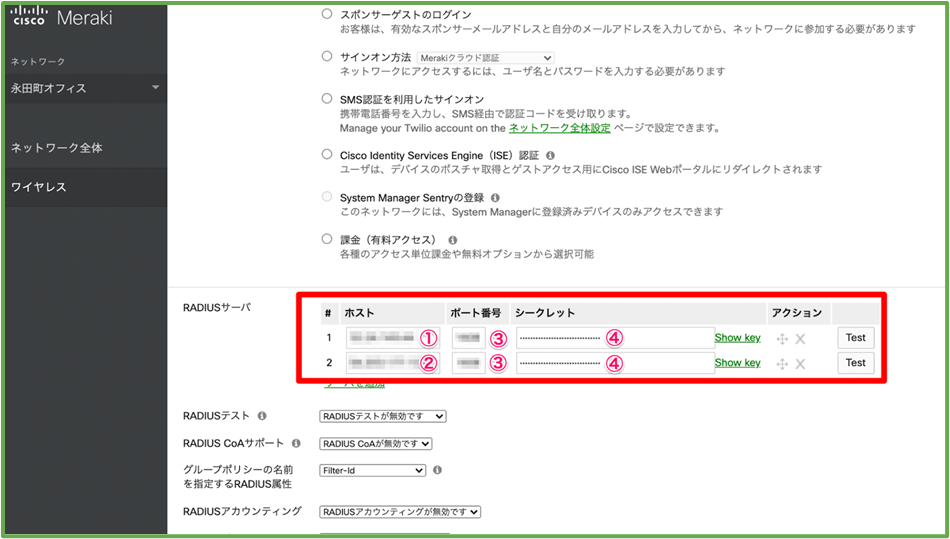
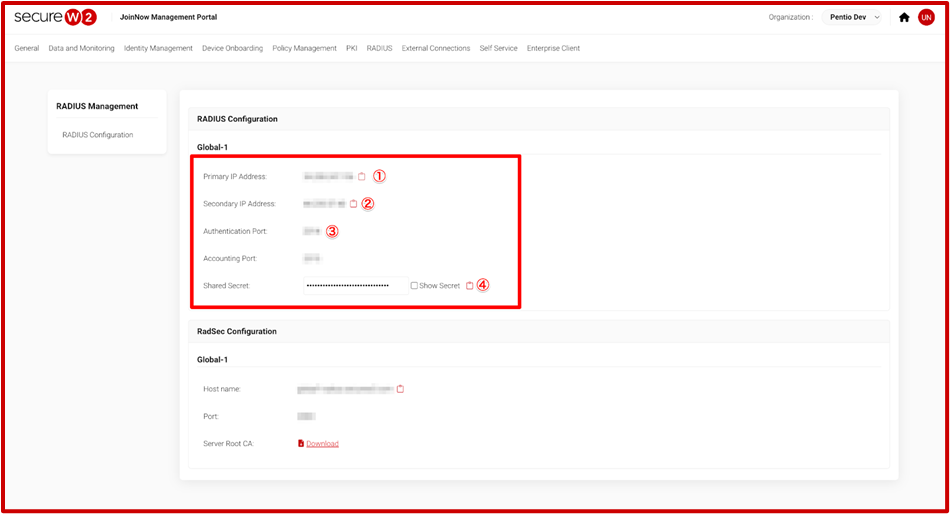
- On the JoinNow Management Portal, go to RADIUS > RADIUS Configuration and copy the Primary IP Address, Secondary IP Address, Port, and Shared Secret values to your console.
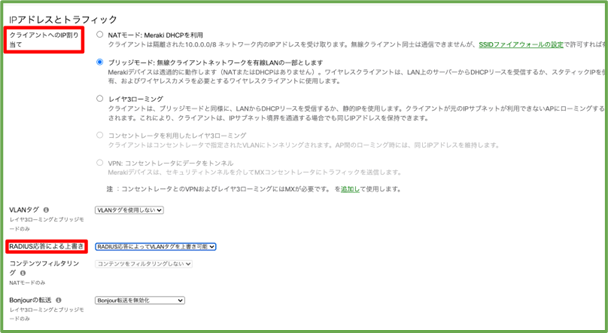
- Configure the IP address and traffic, IP assignment to client, override by RADIUS response.
- Click Save Changes.
- Log in to the Meraki administration page, activate an unused SSID from the SSID list page, and give it a name. ( e.g. SecureW2_test ).
With the above settings, you can now configure the connection authentication to Cisco Meraki to query SecureW2’s RADIUS server.